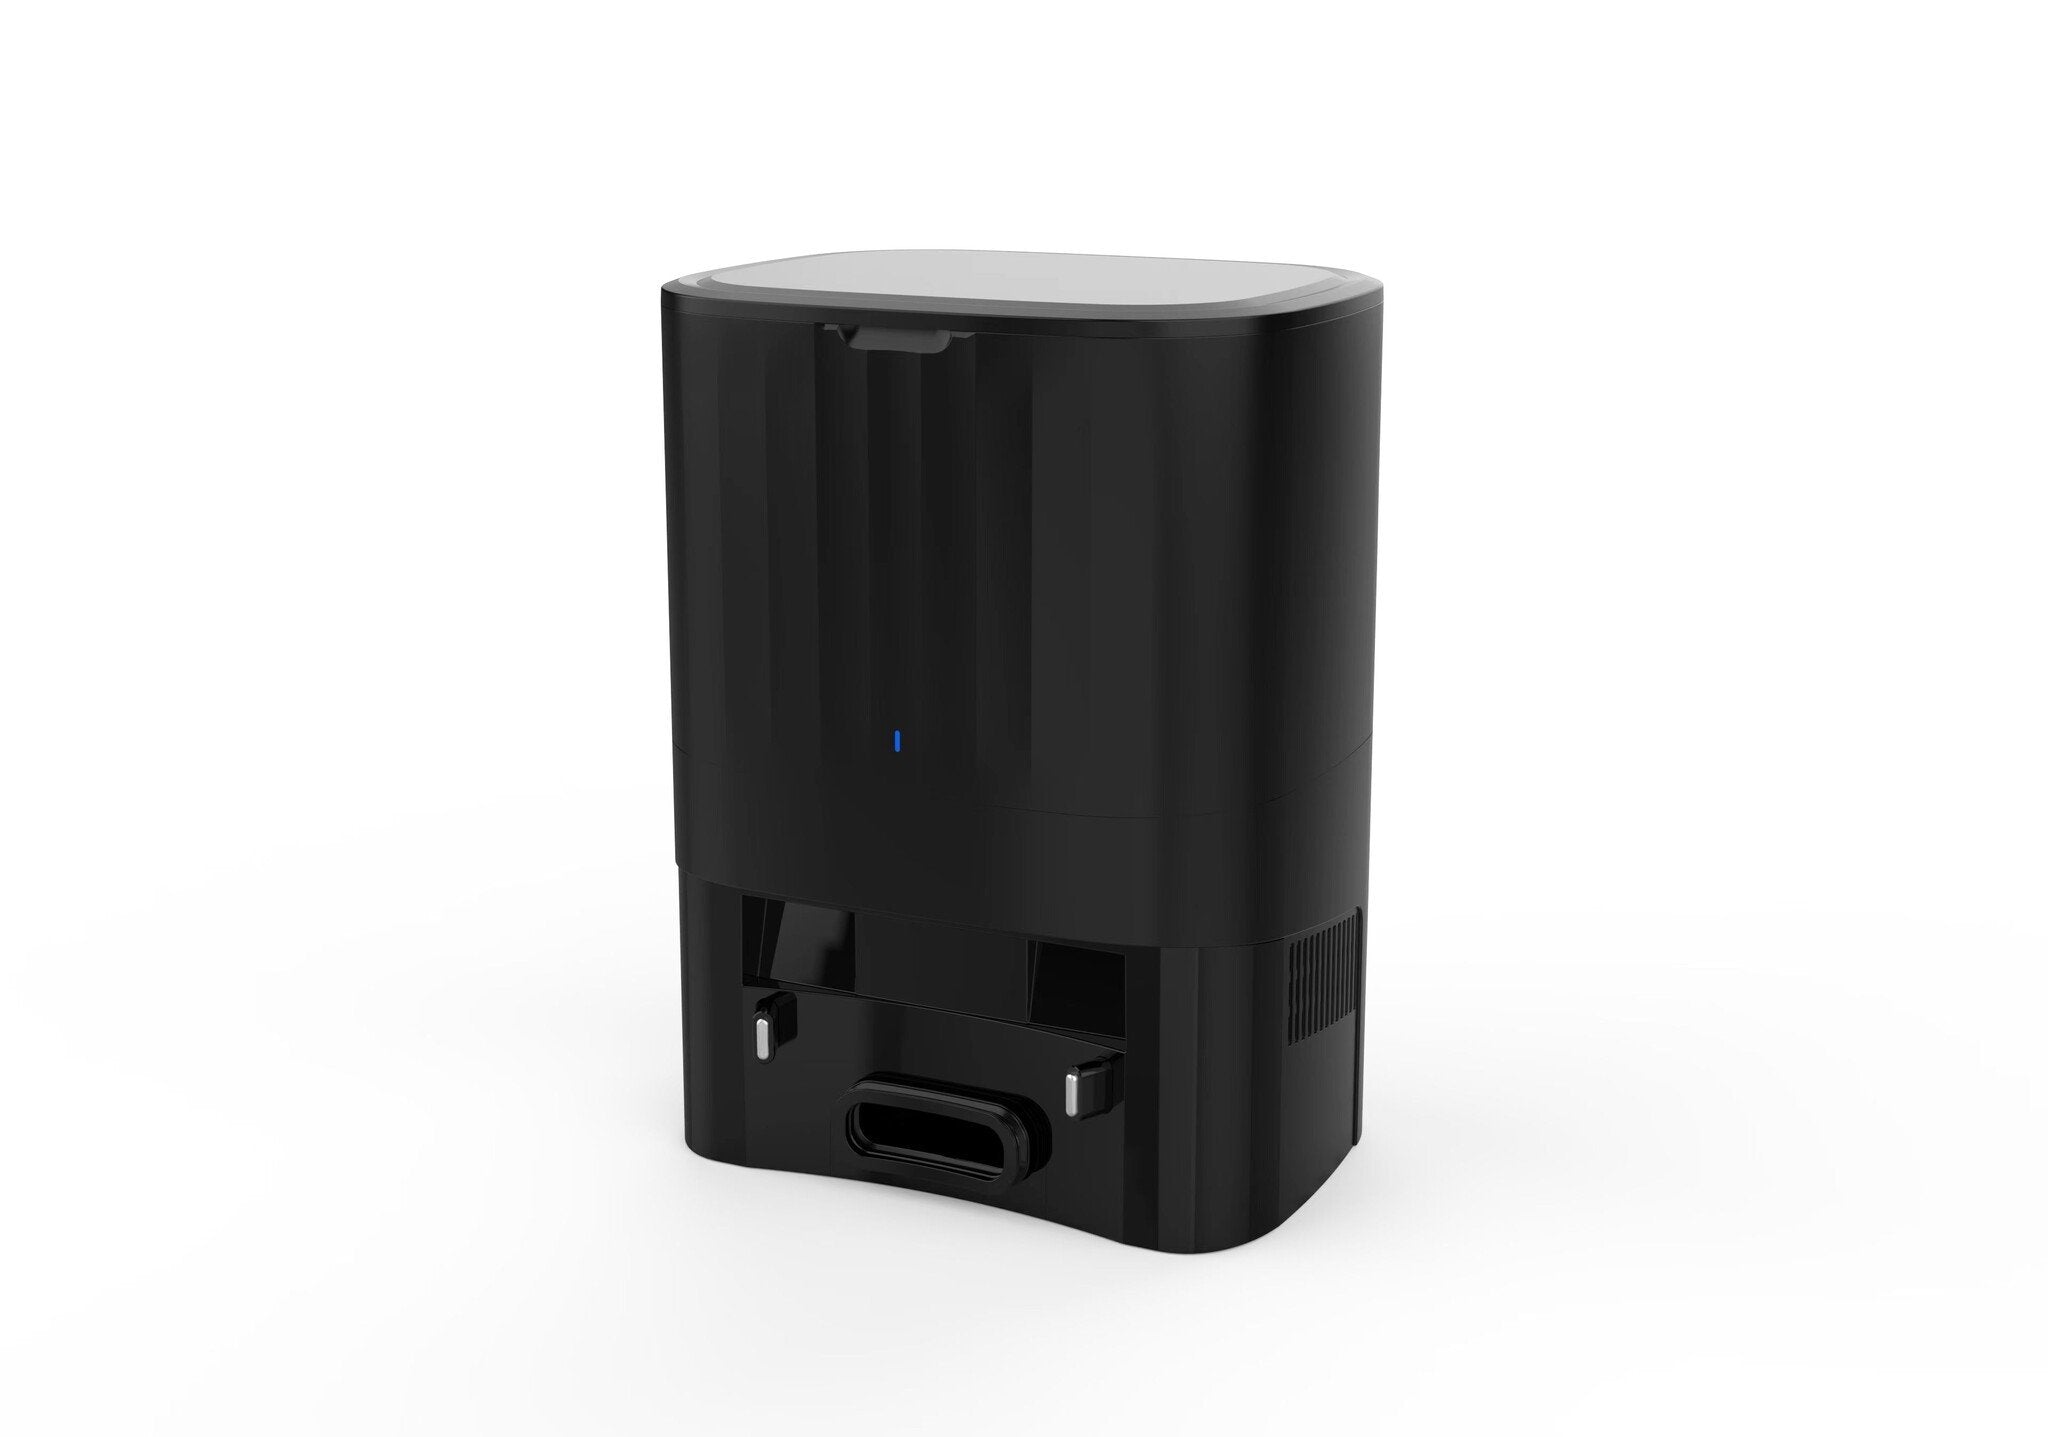
Arie (with extraction unit)
manuals
View the manuals by clicking one of the links.
Frequently asked questions and advice
View the most frequently asked questions from our customers. Do you still have questions? Please contact our customer service.
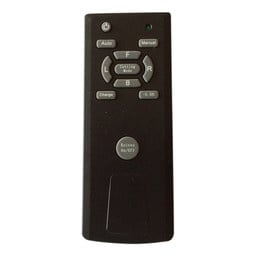
Arie: Remote control operation
Arie is also quite easy to operate with the remote control. There are only a few icons whose functions you need to know.
Here are a few highlighted:
- Return to charging station: Press this button to send the robot back to the charging station to charge.
- Adjust suction power: Choose the suction power, do you want the robot to vacuum more quietly or more powerfully?
- Adjust water: This allows you to choose the amount of water used for mopping.
- Automatic vacuuming: If you have given the robot commands, you can use this to let the robot vacuum automatically again.

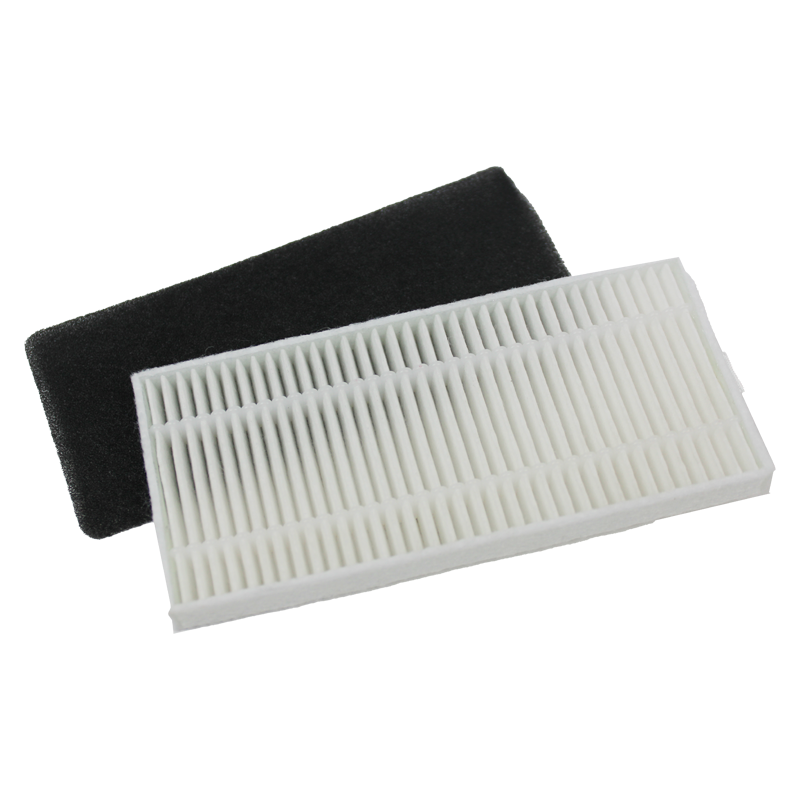
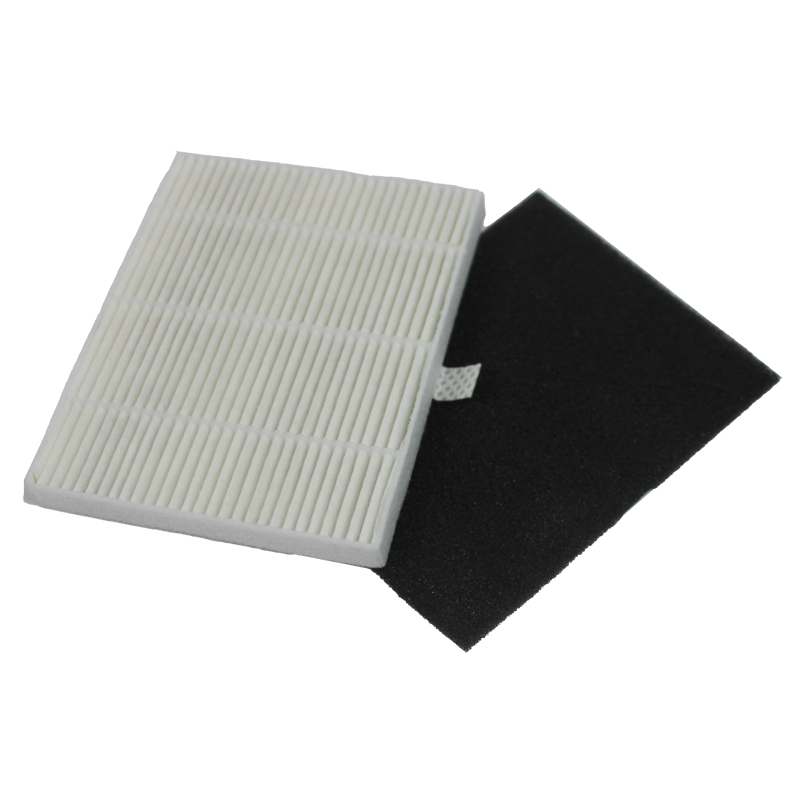
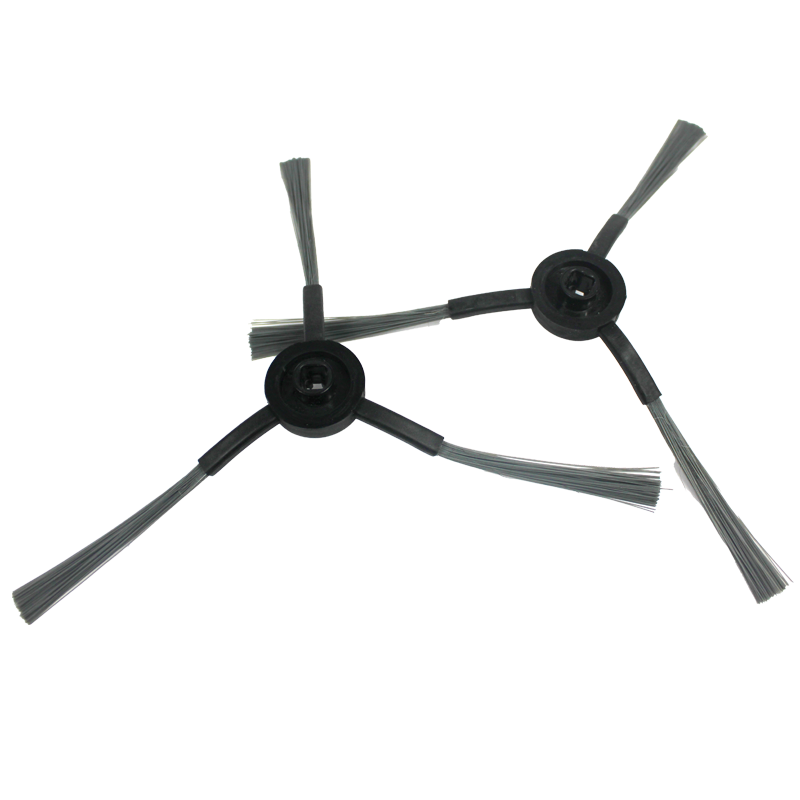
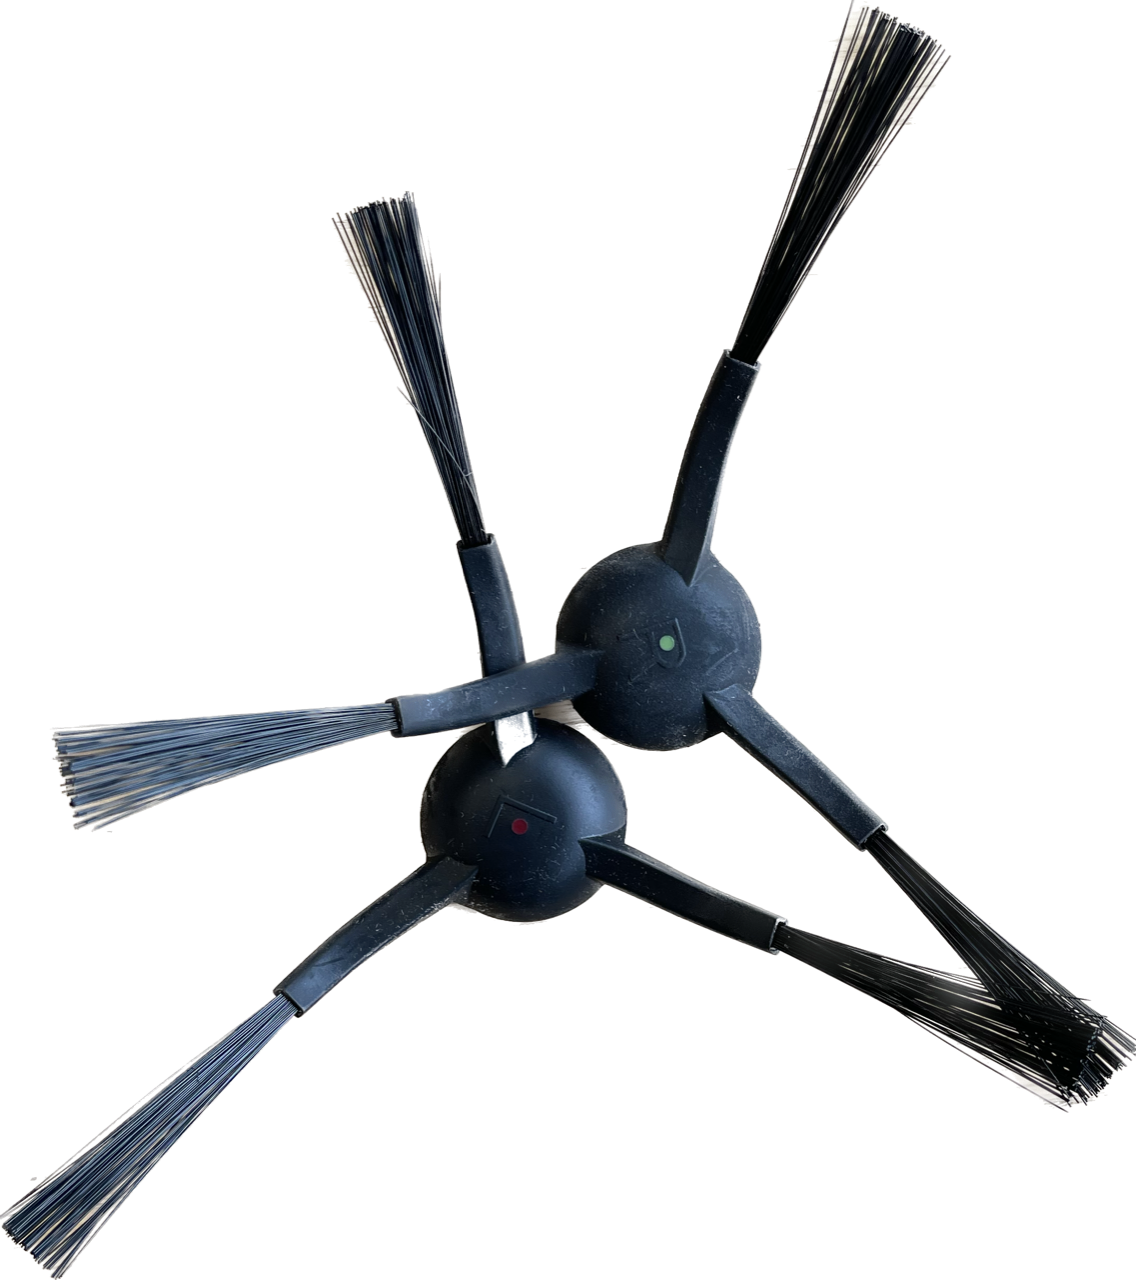
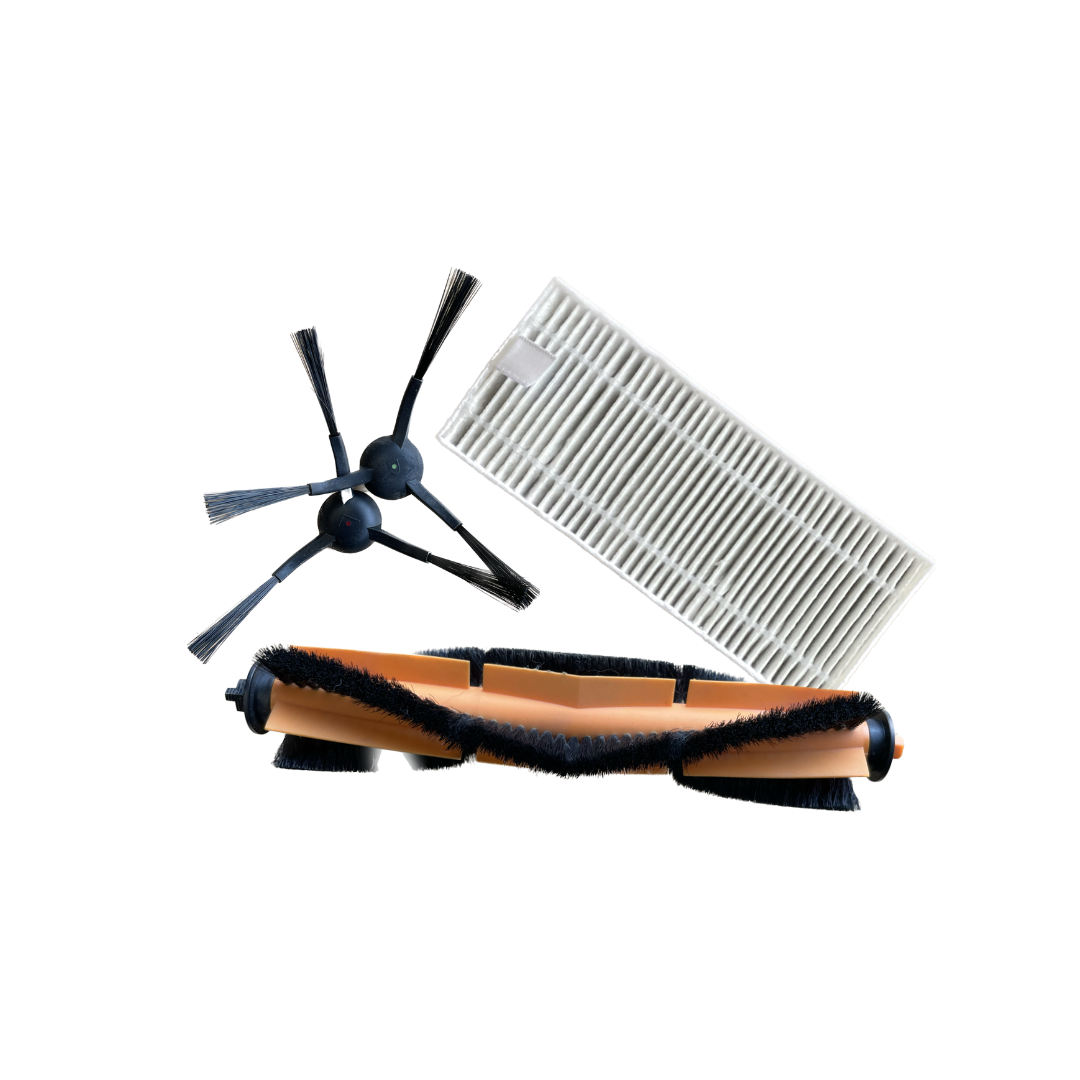
Arie: Robot vacuum cleaner maintenance
The robot is, of course, a household helper that you want to keep for as long as possible and in good and fresh condition.
Robot maintenance is therefore very important. Make sure you regularly keep up with the robot's maintenance and check the list to see what you can replace/clean to maintain the best cleaning qualities.

This is, of course, an average estimate. If you see that a part is no longer in good condition, or is very worn or dirty, clean it thoroughly as soon as possible or, if necessary, replace the part for the best cleaning qualities.
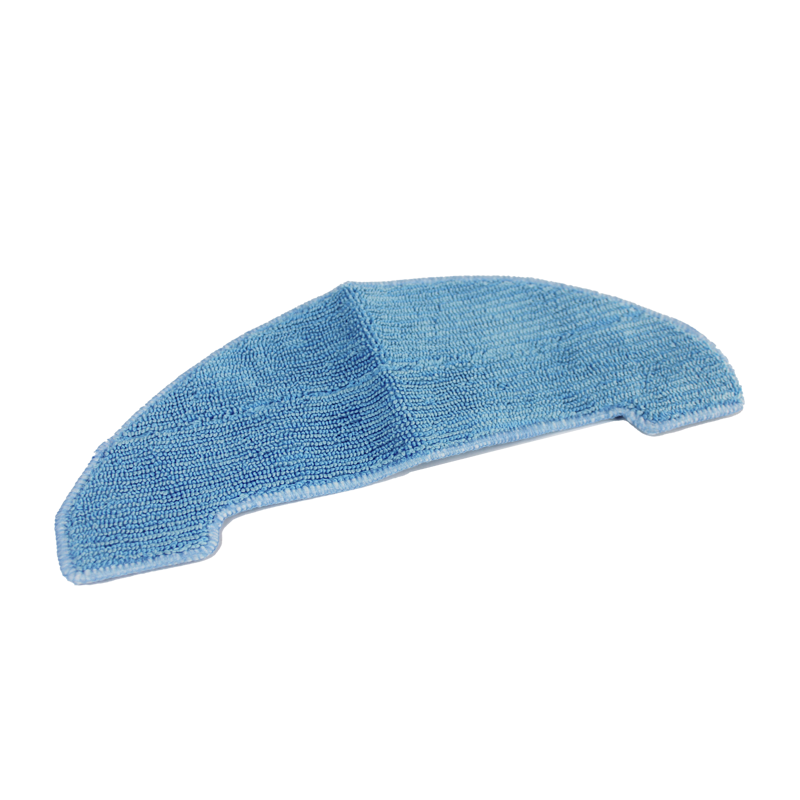
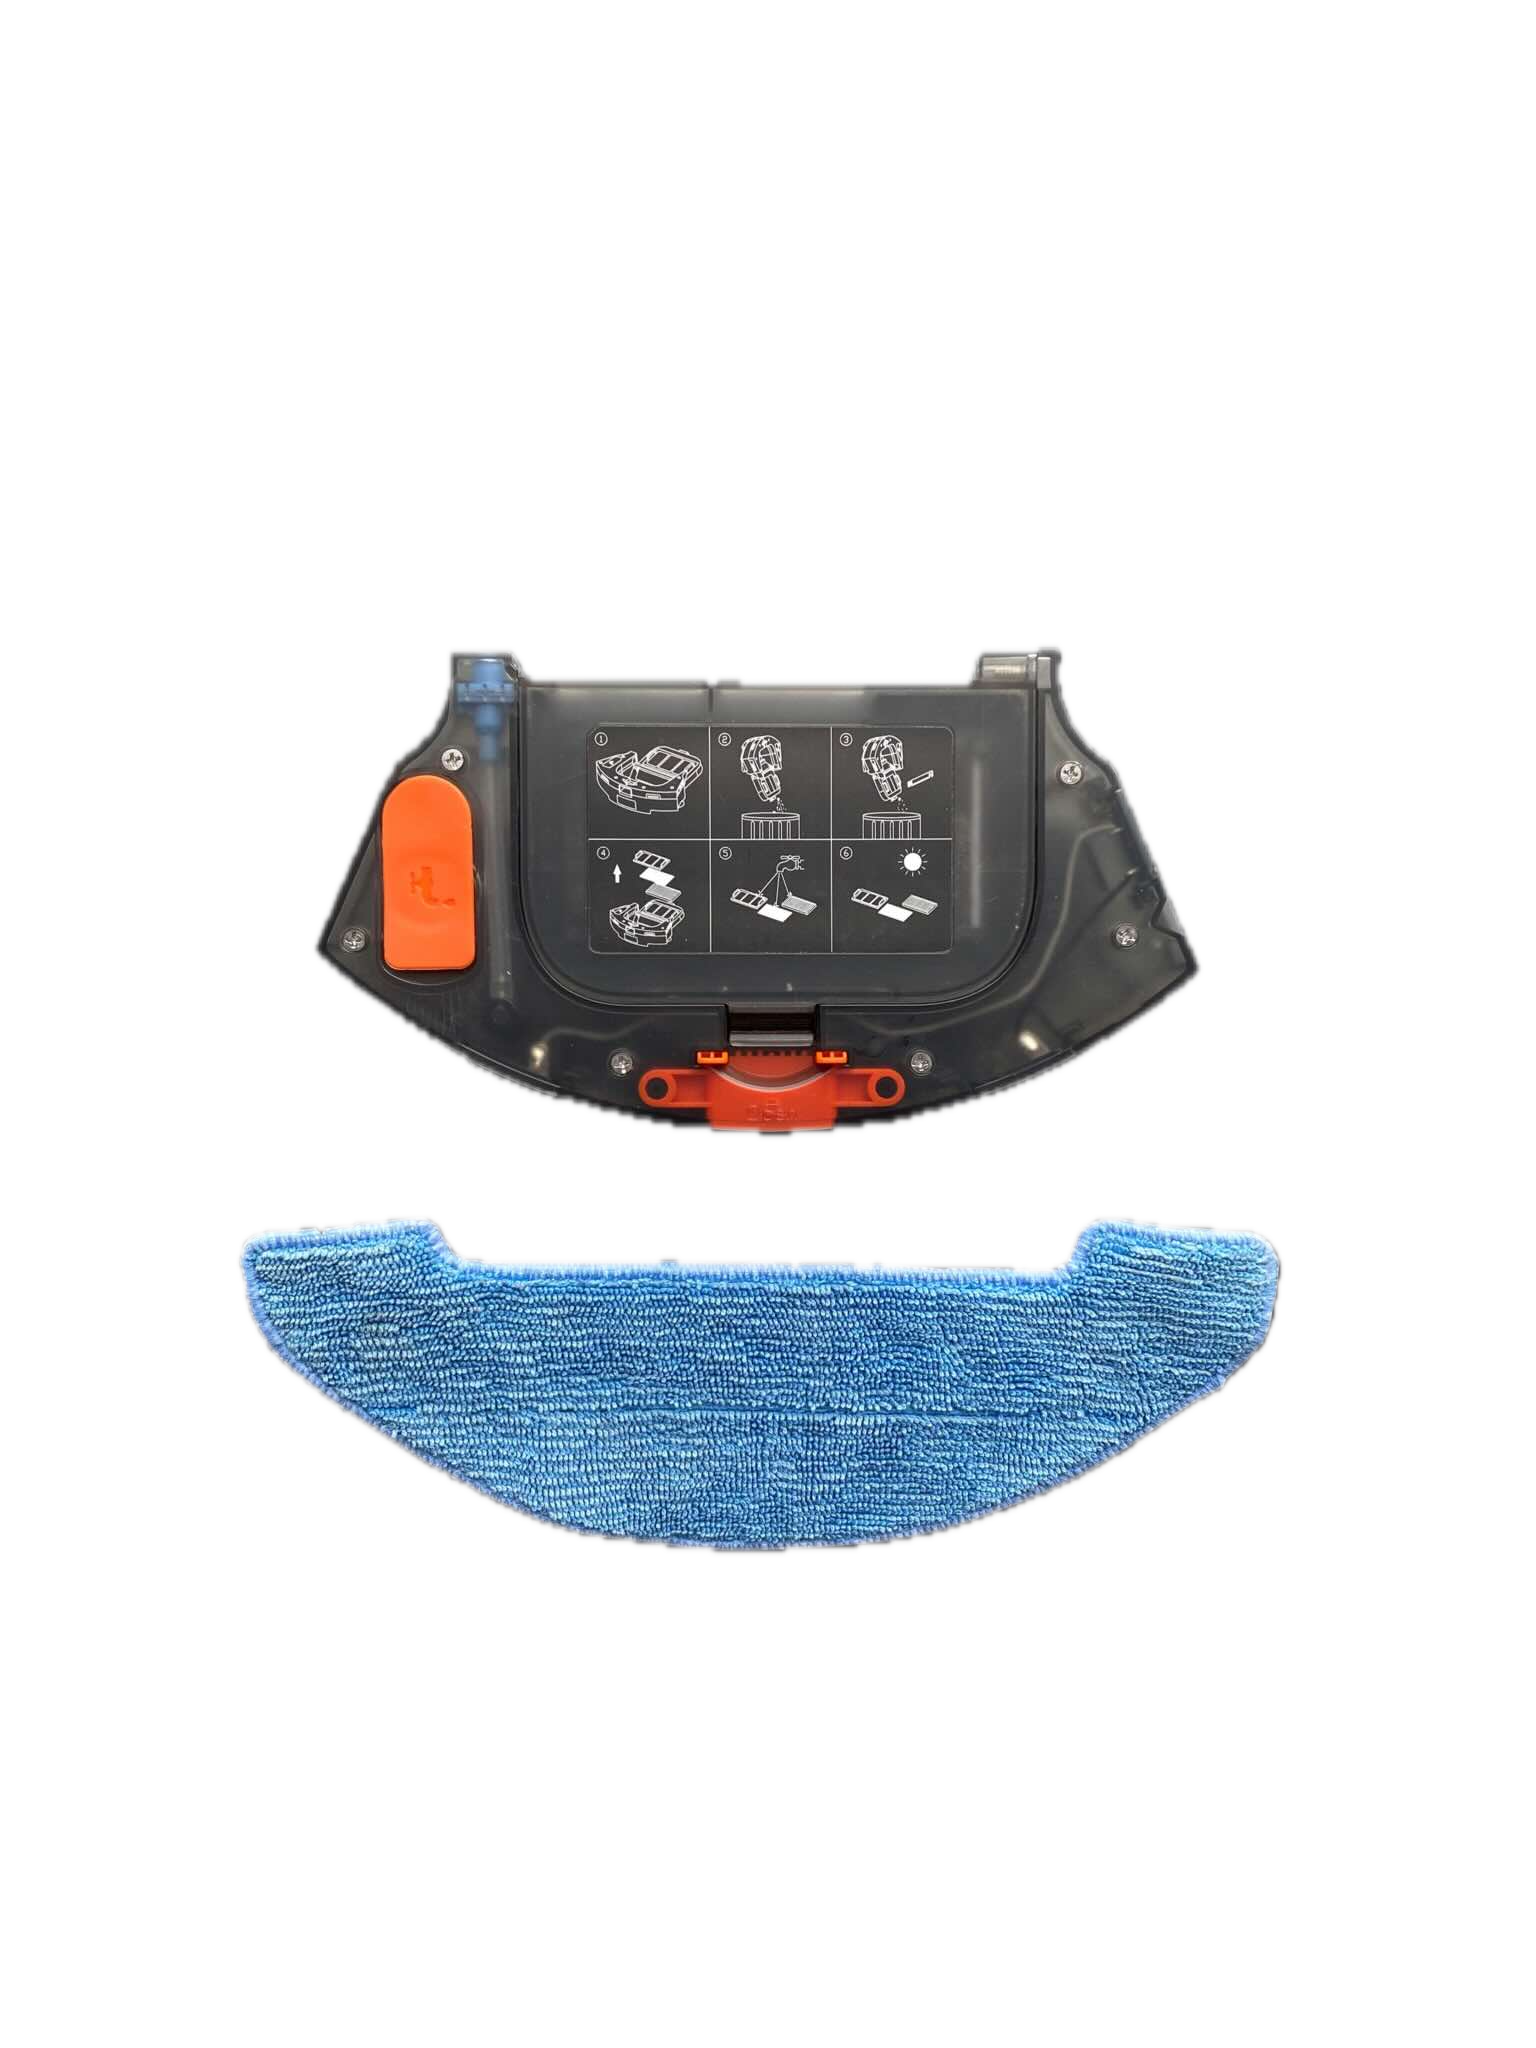
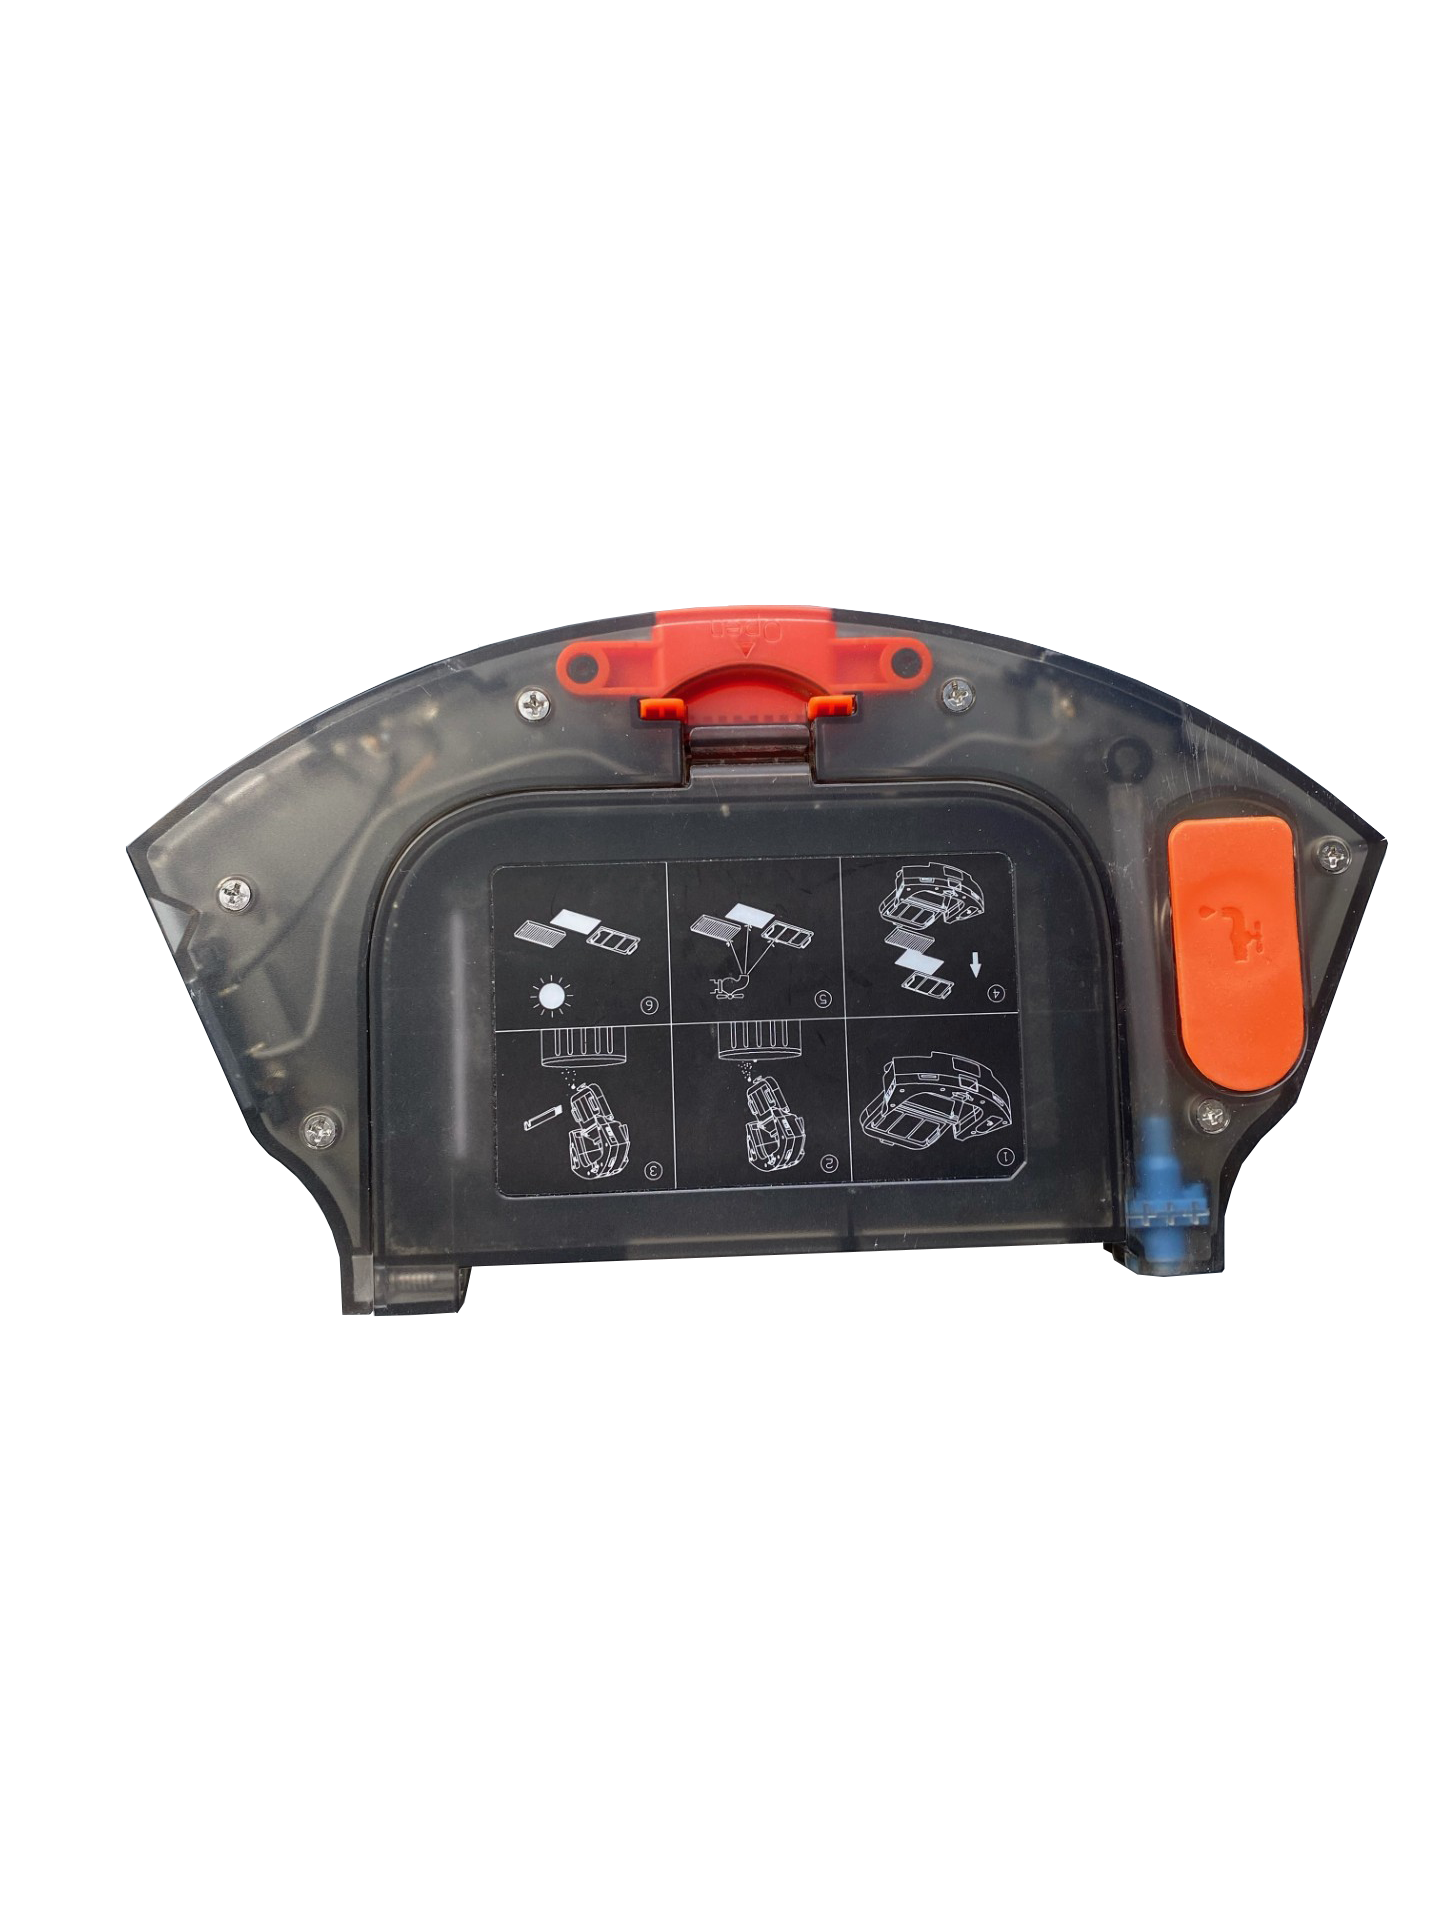
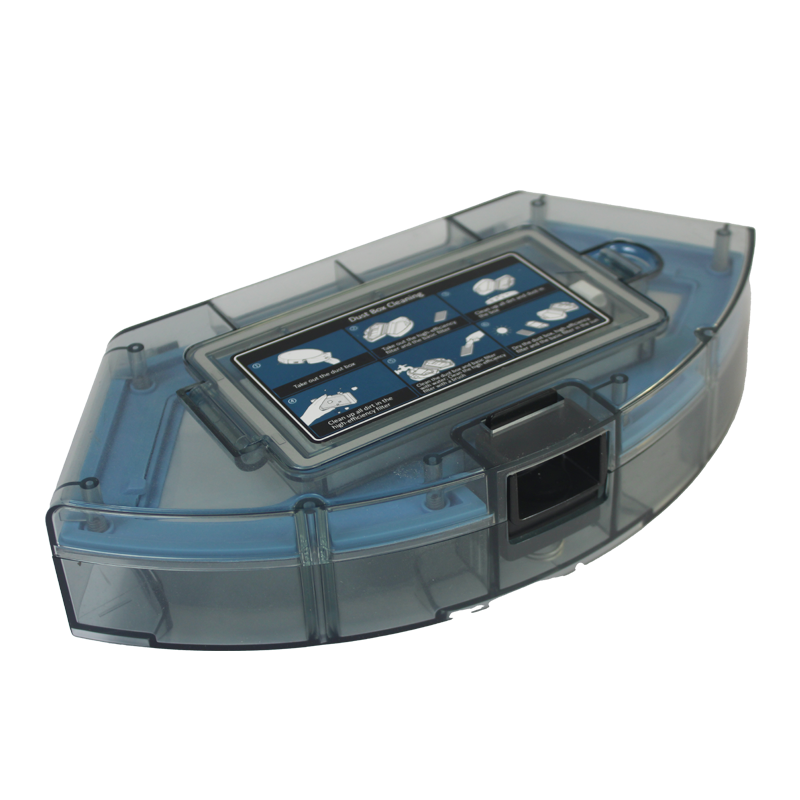
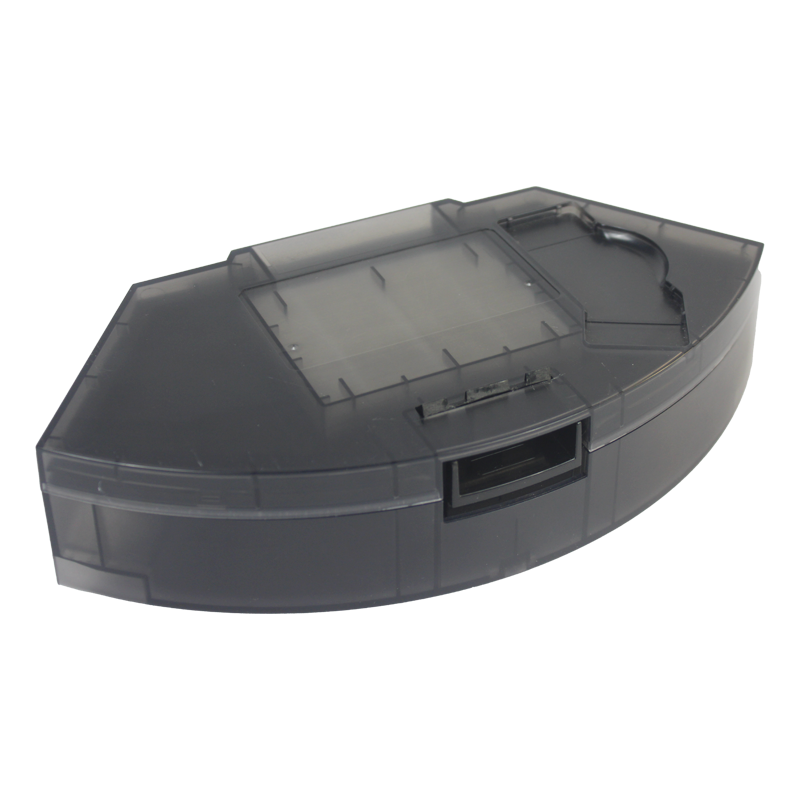
Arie: Empty and clean dustbin
After vacuuming, the robot will naturally have some dust in the dustbin, which you will want to empty and clean regularly so that there is enough storage for the next cleaning. You also want to keep the dustbin/water tank in one unit clean, so that the water that goes in clean for cleaning also stays clean.

Please note that you remove the water tank/dustbin very carefully so that nothing breaks and you can remove the parts. Once you have removed the parts, you can clean them.

Make sure you clean it regularly to keep the robot's performance at its best and the robot's cleaning always top-notch.
Arie: precautions
If you want Arie to do his job, it is important that Arie's workspace is good and that there are no obstacles that the robot cannot handle. It is also important that you follow these things carefully, so that the robot vacuum cleaner does not get stuck or stop working.

Before you let the robot vacuum cleaner do its job, it is important that the room it has to work in is tidy and that any obstacles that could get the robot stuck are removed or tidied up. Make sure that cables lying around the room are gathered somewhere where the robot cannot reach them, so that the robot does not pick up a cable and the robot cannot get stuck or pull the cables.

Do you have a carpet? A high-pile carpet can get the robot stuck or hinder its performance. This can cause the robot not to get dirt out of the carpet because it is too deep for the robot or because the hairs of the carpet are too high to drive over.

Do you have a room with furniture? Check if the furniture is high enough for the robot to go under or clean under. The opening under the furniture must be larger than 10cm, so that the robot cannot get stuck underneath. This prevents the robot from getting stuck and therefore not being able to clean your house when, for example, you had planned for it to clean.
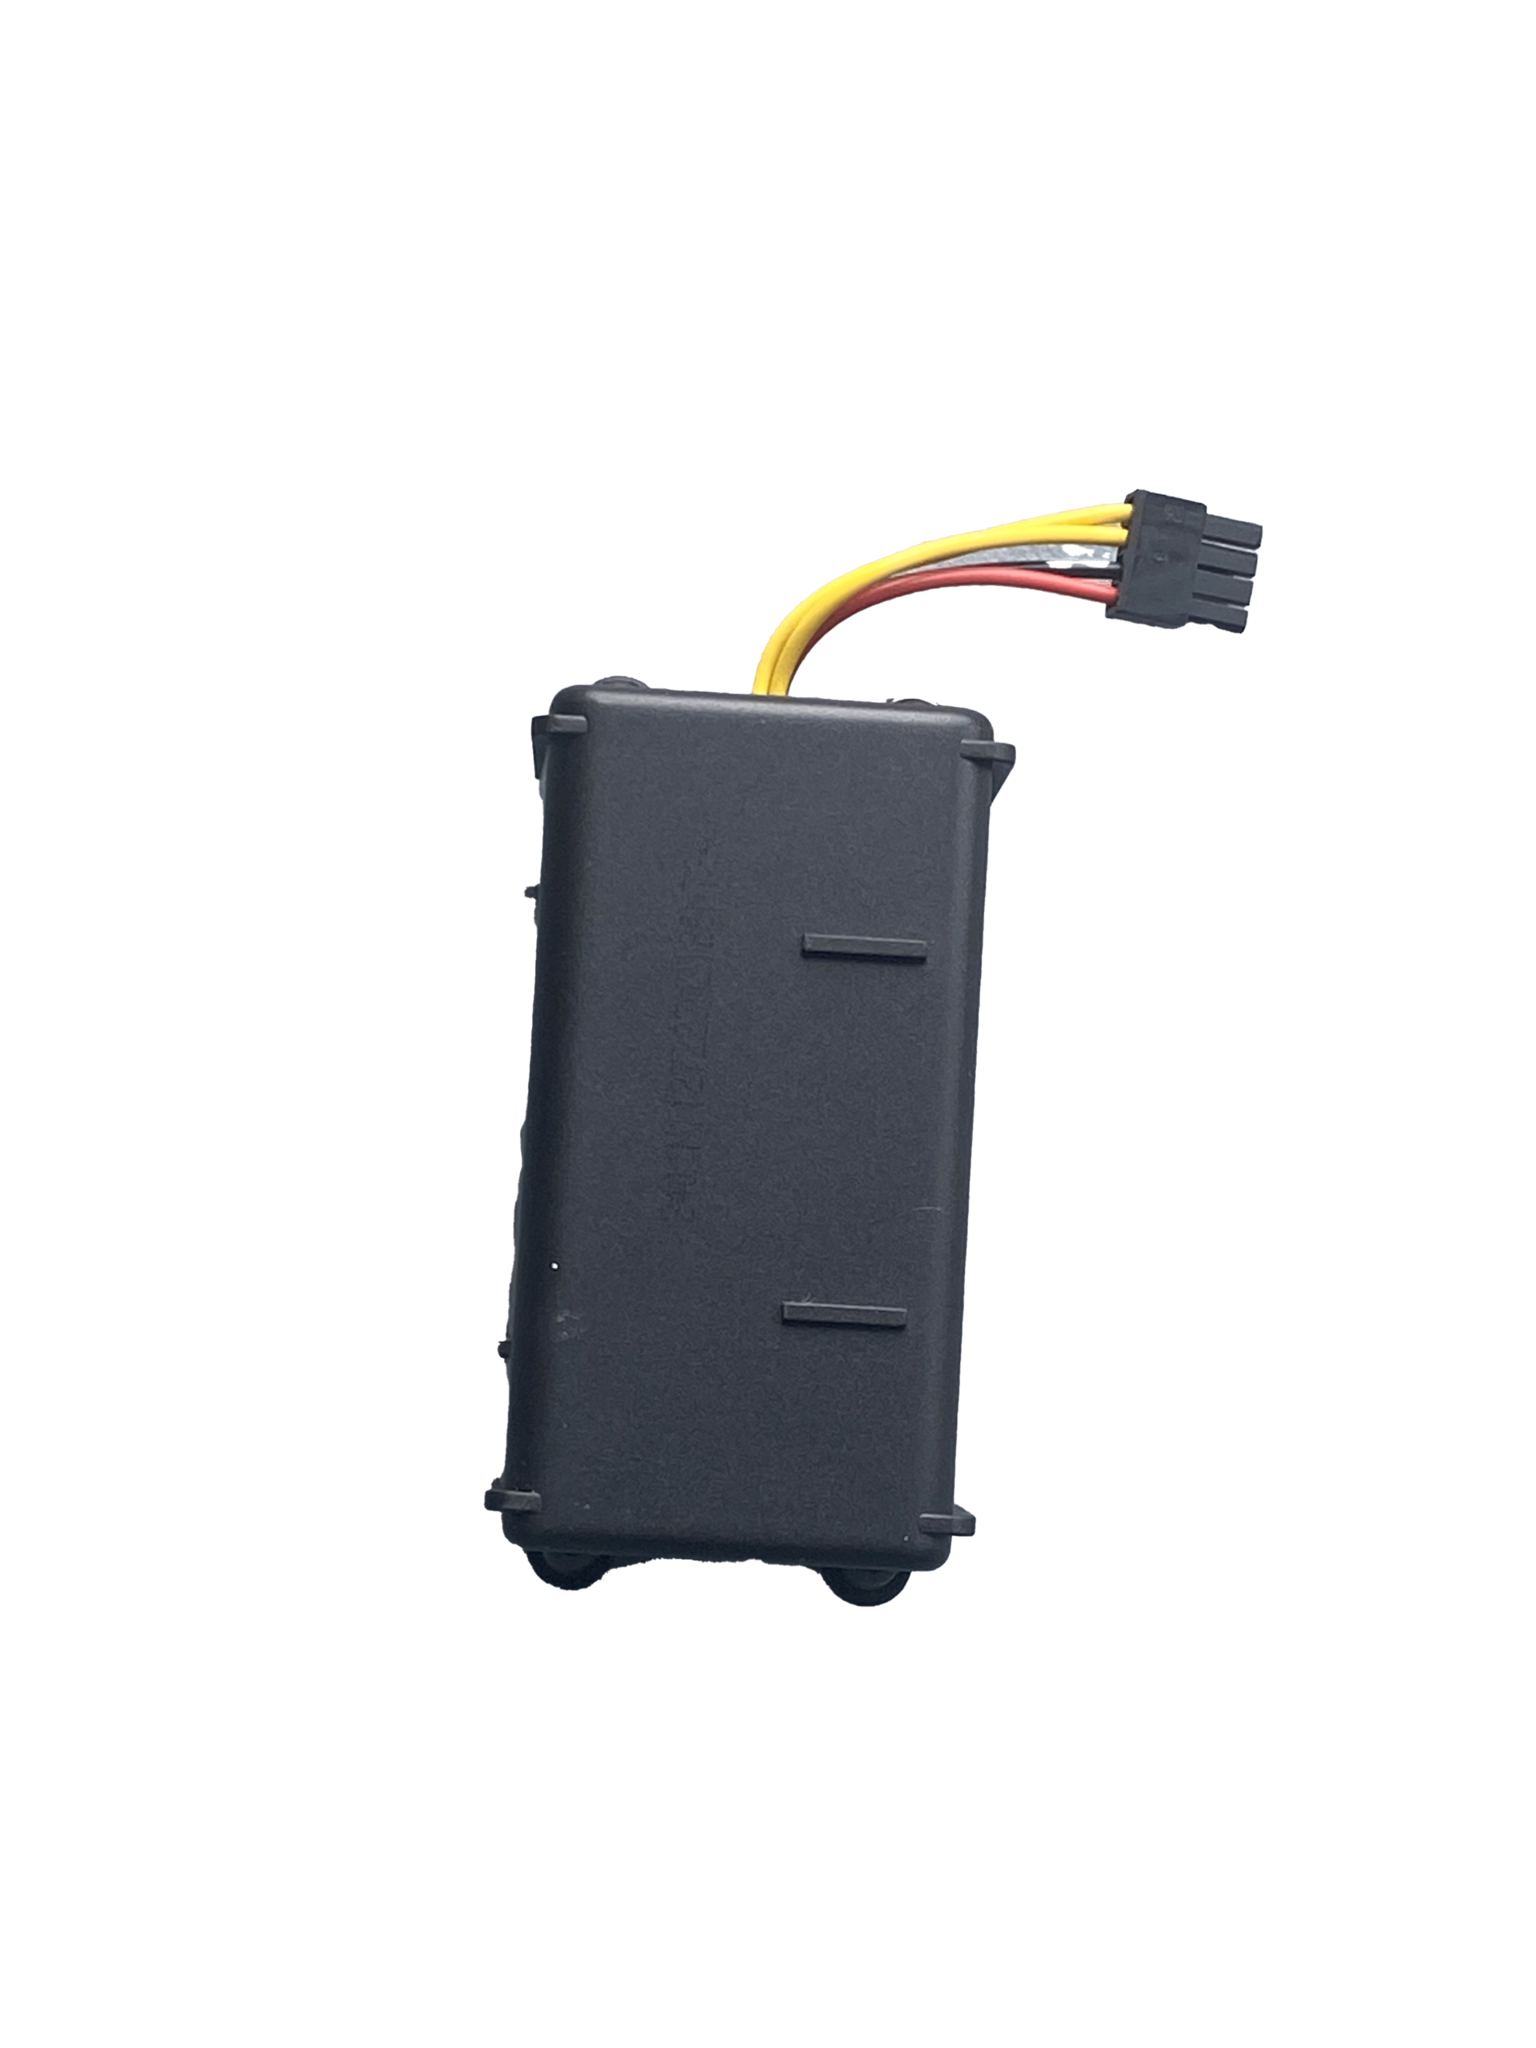
Arie: Reset child lock
Does your Arie robot vacuum indicate that it is on 'child lock'? Then reset the robot on the side via this button in the image. Hold it down until the robot is reset. Arie should then work again.

If you still experience problems with your robot vacuum cleaner or have other questions? Feel free to email service@zoefrobot.nl
Arie: Instruction video for use
Have you received your Arie? Then you are only a few steps away from a carefree cleaning in the future. In the video below, we explain step by step how Arie can be made ready for use.
Among other things, we show the following in our video:
- Unpacking
- The components
- Placing the charging station
- The remote control
- Turning on the robot
- Having the robot return to the charging station
In short, a few useful images to get your robot working for the first time.
Arie: Does not charge properly
To make good use of Arie, it is important that you charge him correctly. Follow the steps below to ensure Arie connects properly to the charging station.
Step 1: Check if the charging station is connected
Before placing Arie on the charging station, make sure the station is correctly connected to the power. The light on the charging station will illuminate when the station is receiving power.
Step 2: Place Arie on the charging station.
1. Make sure Arie is not completely against the edge of the charging station.
2. The two metal plates on the bottom of Arie must make precise contact with the two metal plates on the charging station. (See added image for clarification)
3. If Arie is correctly placed on the charging station, he will automatically start charging.
Step 3: Check if Arie is charging
If Arie is correctly placed on the charging station, you will see the following signals:
- The on-off button on Arie will flash first
- Then the charging icon on Arie will start flashing red.
- The light on the charging station will turn off. This means Arie is successfully charging.
Problems with charging?
- Check if the charging station is properly connected to the power.
- Check if the metal plates of Arie and the charging station are clean and free of dust or dirt.
- Make sure Arie is properly placed on the station.
If you have any further questions, please feel free to email us at service@zoefrobot.nl and we will be happy to help you.

Can Arie mop and vacuum at the same time?
Our robot vacuum cleaner Arie has special functions. For example, it can vacuum and mop at the same time, without you having to constantly switch between the dustbin and water tank.
As soon as you have the water supply turned on to any amount and not set to 'closed', the mopping function should work if you have the mop attached. You can do this by clicking the 3 dots with 'set up' and then going to 'water level'. You can choose the amount there. If you then let the robot do its work, it will vacuum and mop at the same time.

Watch the video on our YouTube channel to take a good look at the mopping function:
Extra function: Arie also has a UV-C light on the bottom, which means that while vacuuming and mopping, it also kills invisible bacteria for an extra clean and fresh home.
Don't want to use the mop and only vacuum? Then you can, of course, set in the App for the mop ('water level') that it is set to 'closed', so that there will be no water regulation and the robot will only vacuum. This is, of course, very useful if you want to let it vacuum over a low-pile carpet. Or in a room where you do not need a mopping function.
Arie: Y-mopping
The manual first starts the robot and then activates Y mopping (see below).
Is it also possible to activate Y mopping and then when it starts (for instant on the timer).
Does it then also do Y mopping?
Answer;
1. Yes, you can activate Y-mopping first, then start cleaning and it will do Y-mopping.
2. If you activate Y-mopping while the robot is cleaning, the robot will first finish the current cleaning and then switch to Y-mopping from the next cleaning.
3. Both mopping and vacuuming+mopping can perform Y mopping after you have activated Y mopping.
Arie: gives an error message or error report
If your robot has an error message, it may be easy to identify and resolve.
The manual for the Arie robot vacuum cleaner contains a section on problems the robot may have or error messages it may receive, along with corresponding problems and solutions. Your problem may be listed here. See the complete troubleshooting guide with solutions in our manual on pages 24, 25, and 26.

Arie: connect to the App
Having trouble connecting the robot to the App? Here are some tips and a short explanation of how to connect to the App.
It is useful to read the manual carefully and follow the steps exactly as described. See:
You must first install the App and register to create an account.
Make sure you add your own Wifi network with the correct password so that the robot can connect to the Wifi. (make sure it is a 2.4 Ghz Wifi network).
To ensure your robot can connect in AP mode, you must press and hold the charging button for longer than 6 seconds until you hear 'ding dong' twice in a row. Do not release after hearing it once, but wait until it does it twice. If you do this correctly, you will hear 'start AP mode' when the on/off button is green and flashing, it is correctly in AP mode.

Make sure you set the AP mode to connect.
To connect your mobile phone to the device's Wi-Fi network, choose the Wi-Fi network named "SmartLife" to connect to the network.
Watch the video here to follow the steps to connect your robot to the App:
Accessories


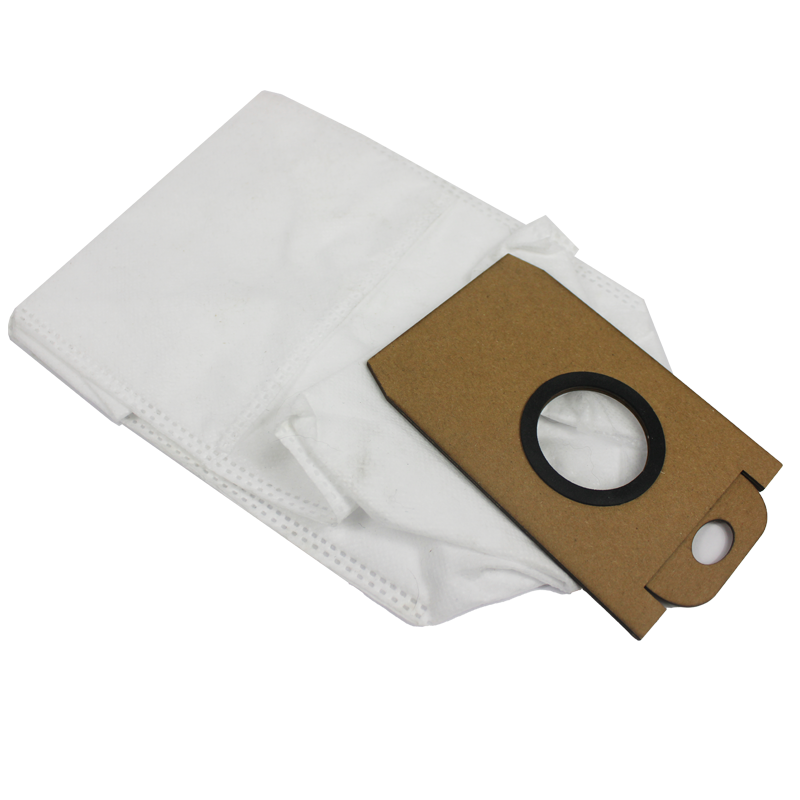
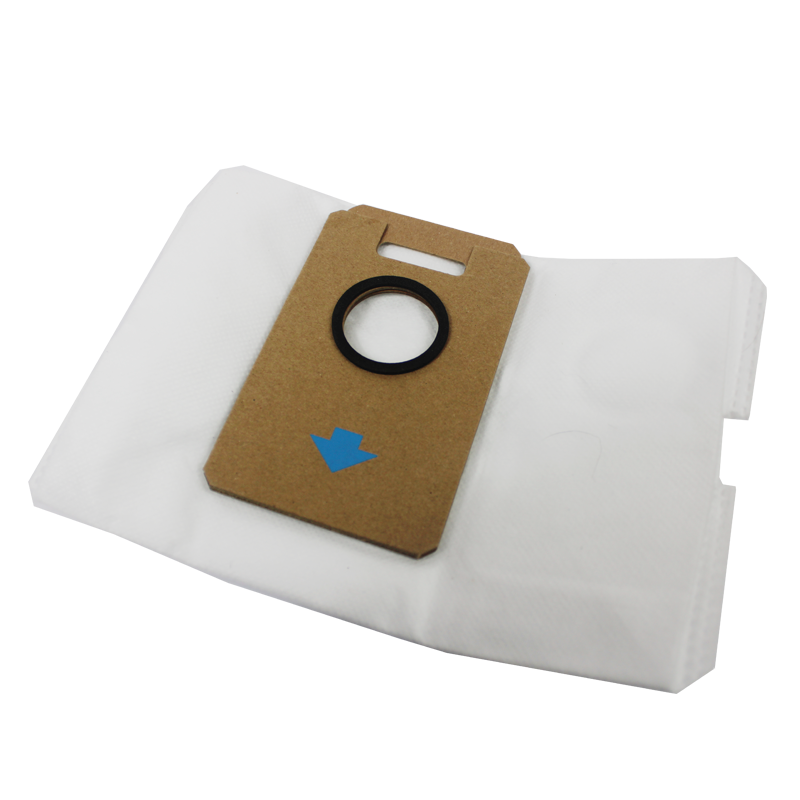
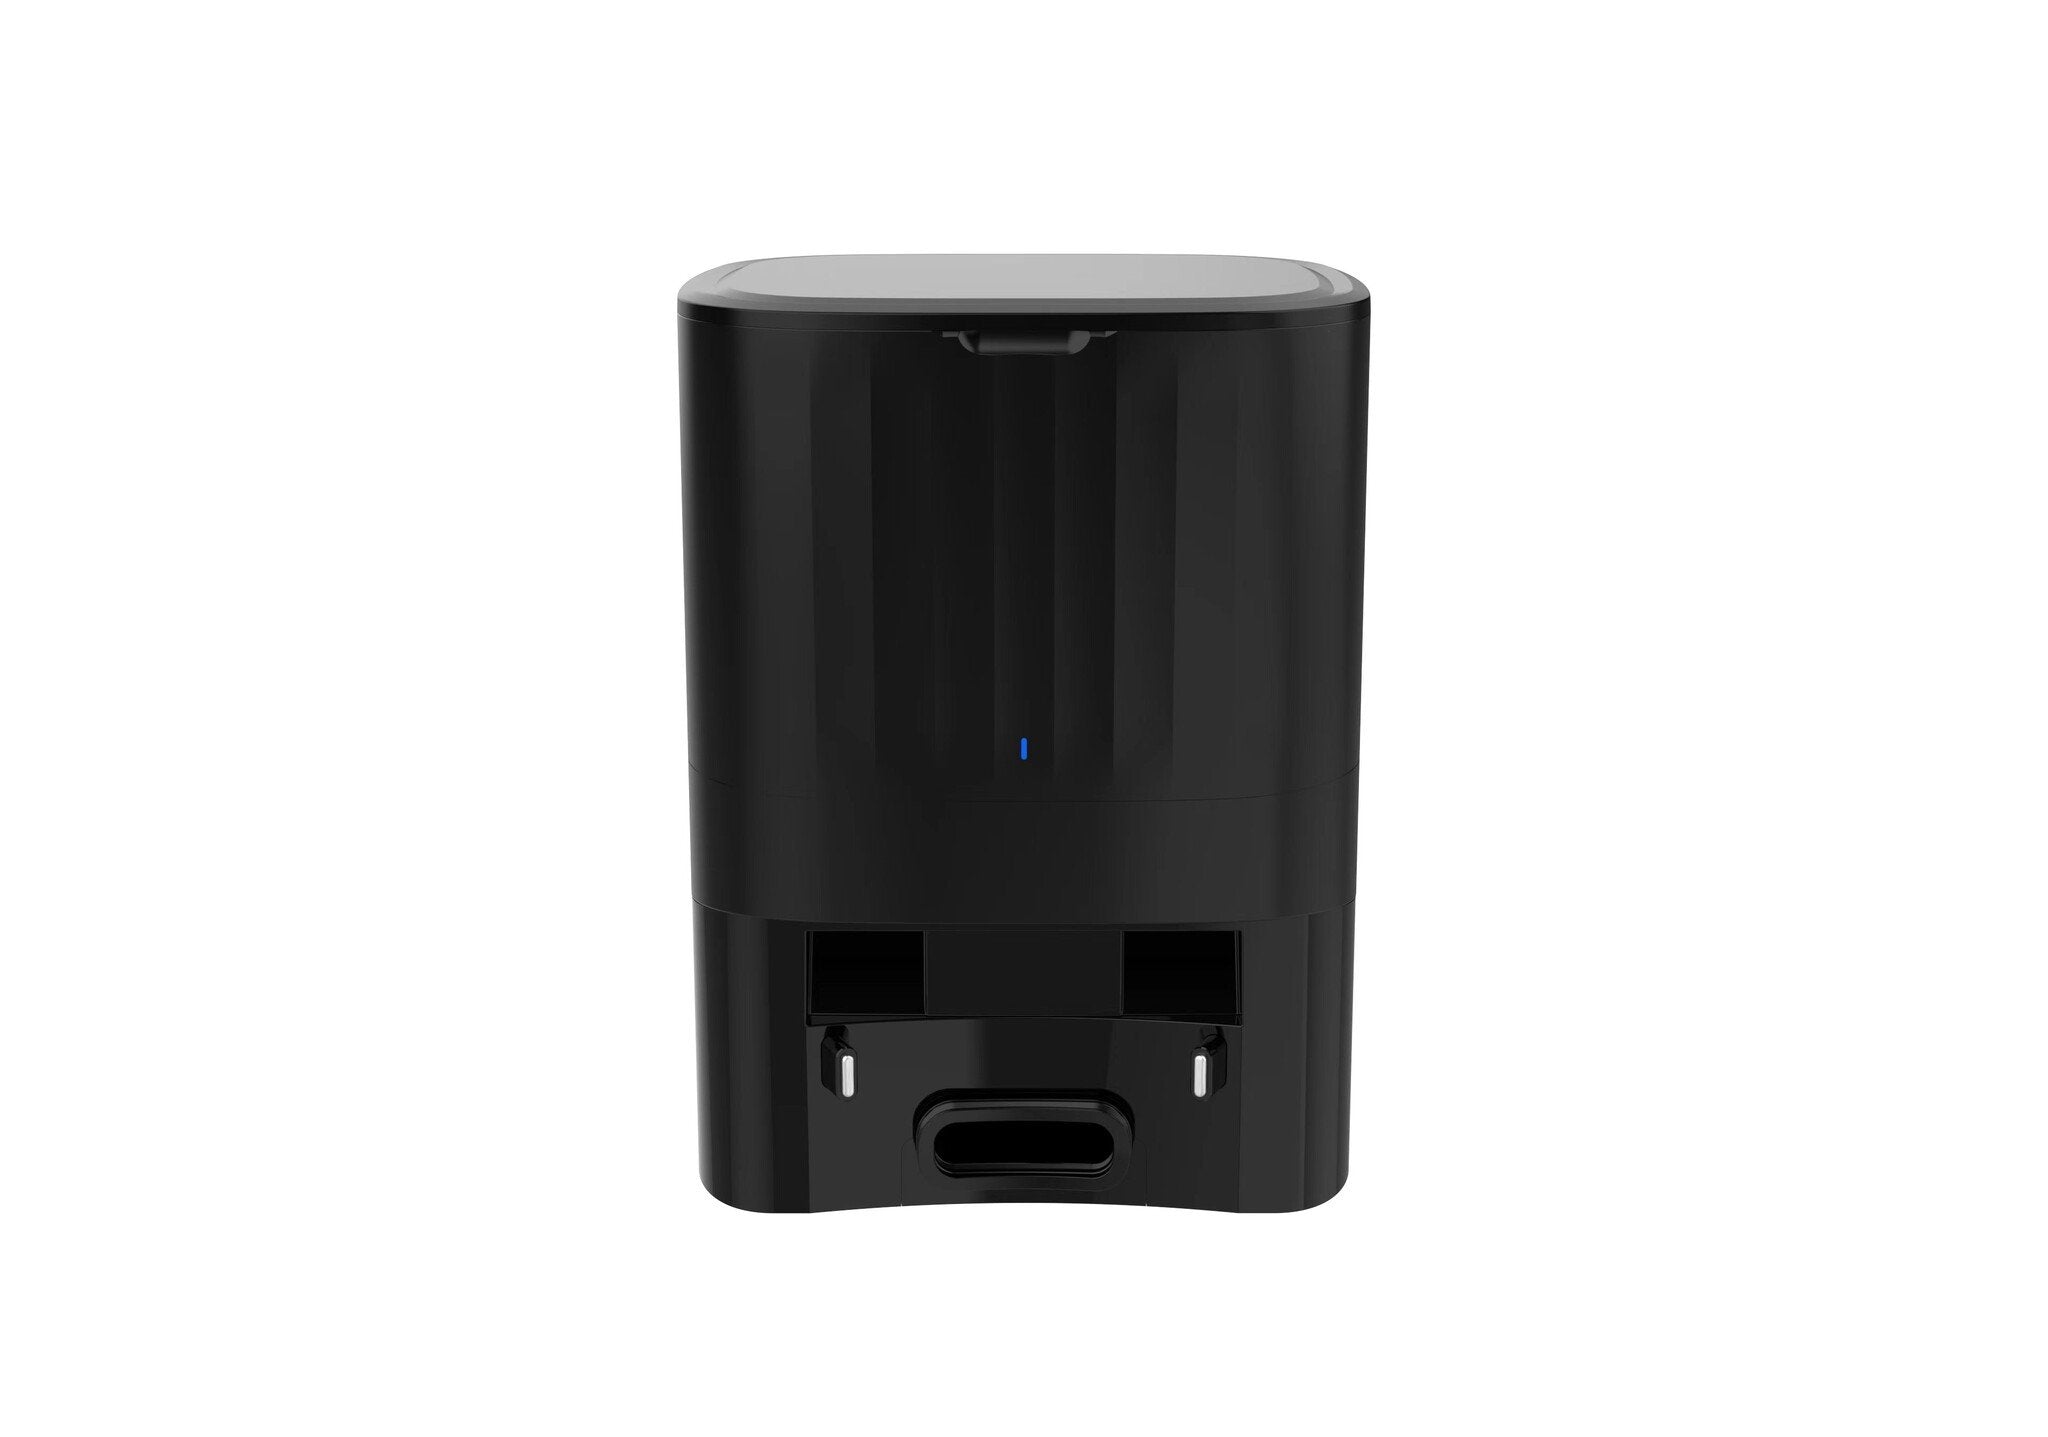
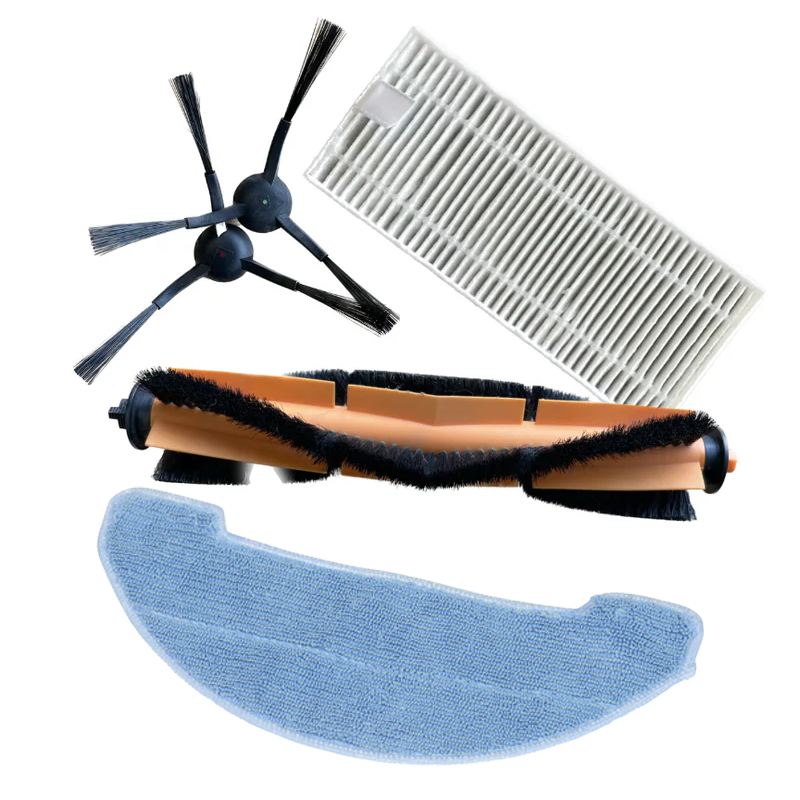
Parts


Have a question? We are here to help you.
View the most frequently asked questions from our customers. Do you still have questions? Please contact our customer service.