Dirk and Betsie
manuals
View the manuals by clicking one of the links.
Frequently asked questions and advice
View the most frequently asked questions from our customers. Do you still have questions? Please contact our customer service.
Dirk & Betsie: Boundary wire fault/interrupted (Loop Error)
If the robotic lawnmower indicates a "Loop error", the LED on the charging station may be;
A. Red LED on; The cable is not connected or is cut.
B. Blue flashing; The robot is charging
C. Blue LED on; The cable is correctly installed and the robot is fully charged.
It is possible that the boundary wire is slightly damaged somewhere (e.g. by animals in the ground or garden work). This ensures that the circuit is closed, but the signal is not strong enough for the mower.
To check if this is the problem, lay a new short cable around the charging station (for example, 4x4 meters). If this no longer gives an error, the boundary wire is damaged. Check the boundary wire for damage, kinks or discolorations (whitish sheath). It is best to run the cable through your fingers. Or use a cable detector for this.
If the new 4x4 cable works normally, it means that the robot and charging station are working normally. Therefore, there is no point in checking the robot or charging station.
If the new 4x4 cable does give a problem, we can check the charging station and mower for you and repair them if necessary.
Dirk & Betsie: Error Codes/Errors
Do you unfortunately have an error code or an error with your robot mower Dirk or Betsie? Then check via Error Codes/Errors what the solution to the problem might be. If you can't figure it out, you can always email us at: Service@zoefrobot.nl
Dirk & Betsie: Replacing rain sensor
Is your rain sensor no longer working as it should? Then you can easily replace it yourself. Watch the video for this. You will need a new rain sensor for this, which you can easily ORDER HERE via our site.
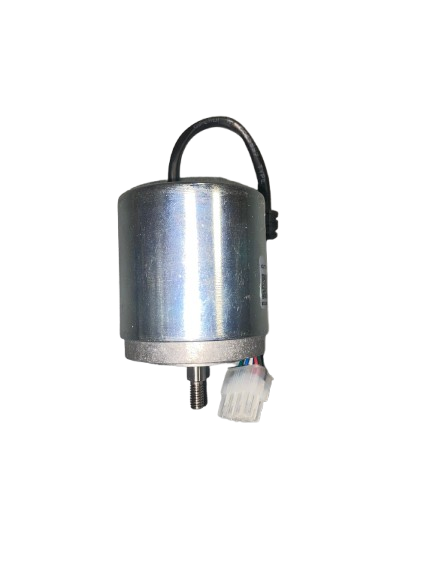
Dirk & Betsie: Replace cutting motor
If your mowing/cutting motor no longer functions properly, you can replace it yourself if possible. See below how you can do this. If you would prefer us to do this for you, please email us at service@zoefrobot.nl
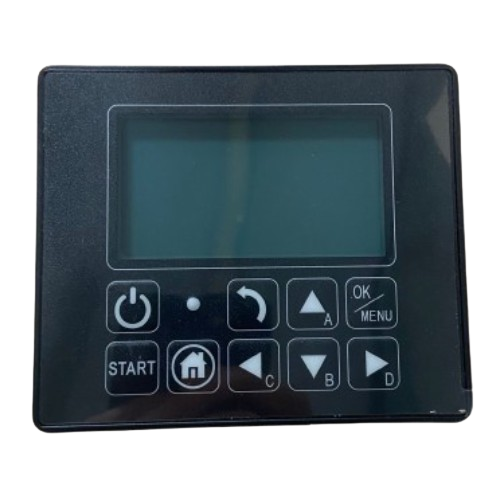
Dirk & Betsie: Replace display
Is your display no longer working as it should? Then you can easily replace it yourself. Watch the video for instructions. If you can't manage it or prefer us to do it for you, feel free to email us at service@zoefrobot.nl
How do I install the robotic lawnmower?
Installing a Robotic Lawnmower
A robotic lawnmower is, of course, a wonderful helper in the garden. It must, of course, be installed correctly for the robotic lawnmower to function properly. We have outlined the steps for a good installation below.
Step 1: Keep this in mind!
- Make sure the robot does not operate on a larger lawn than it is suitable for.
- The robotic lawnmower drives over the boundary wire to return to the charging station.
- The boundary wire must always be laid as one large loop, and the robot will continue to work between the boundary wires.
- Make sure there are no metal objects or other items on the lawn.
- Before using the app (if you have a robotic lawnmower with an app), ensure there is good reception everywhere in the garden.
- Also, ensure there is a power connection within a maximum of 5 meters from the lawn.
View the complete installation page for the robotic lawnmower here.
My robot mower Dirk/Betsie is not charging properly.
If the contact points on Dirk and the contact points on the charging station are clean and the charging station simply shows a Blue LED, it could be that a connection to a contact point in the mower is not making good contact.
To solve this, you can take the steps below. (If you want us to do this for you, please send an email to our service.
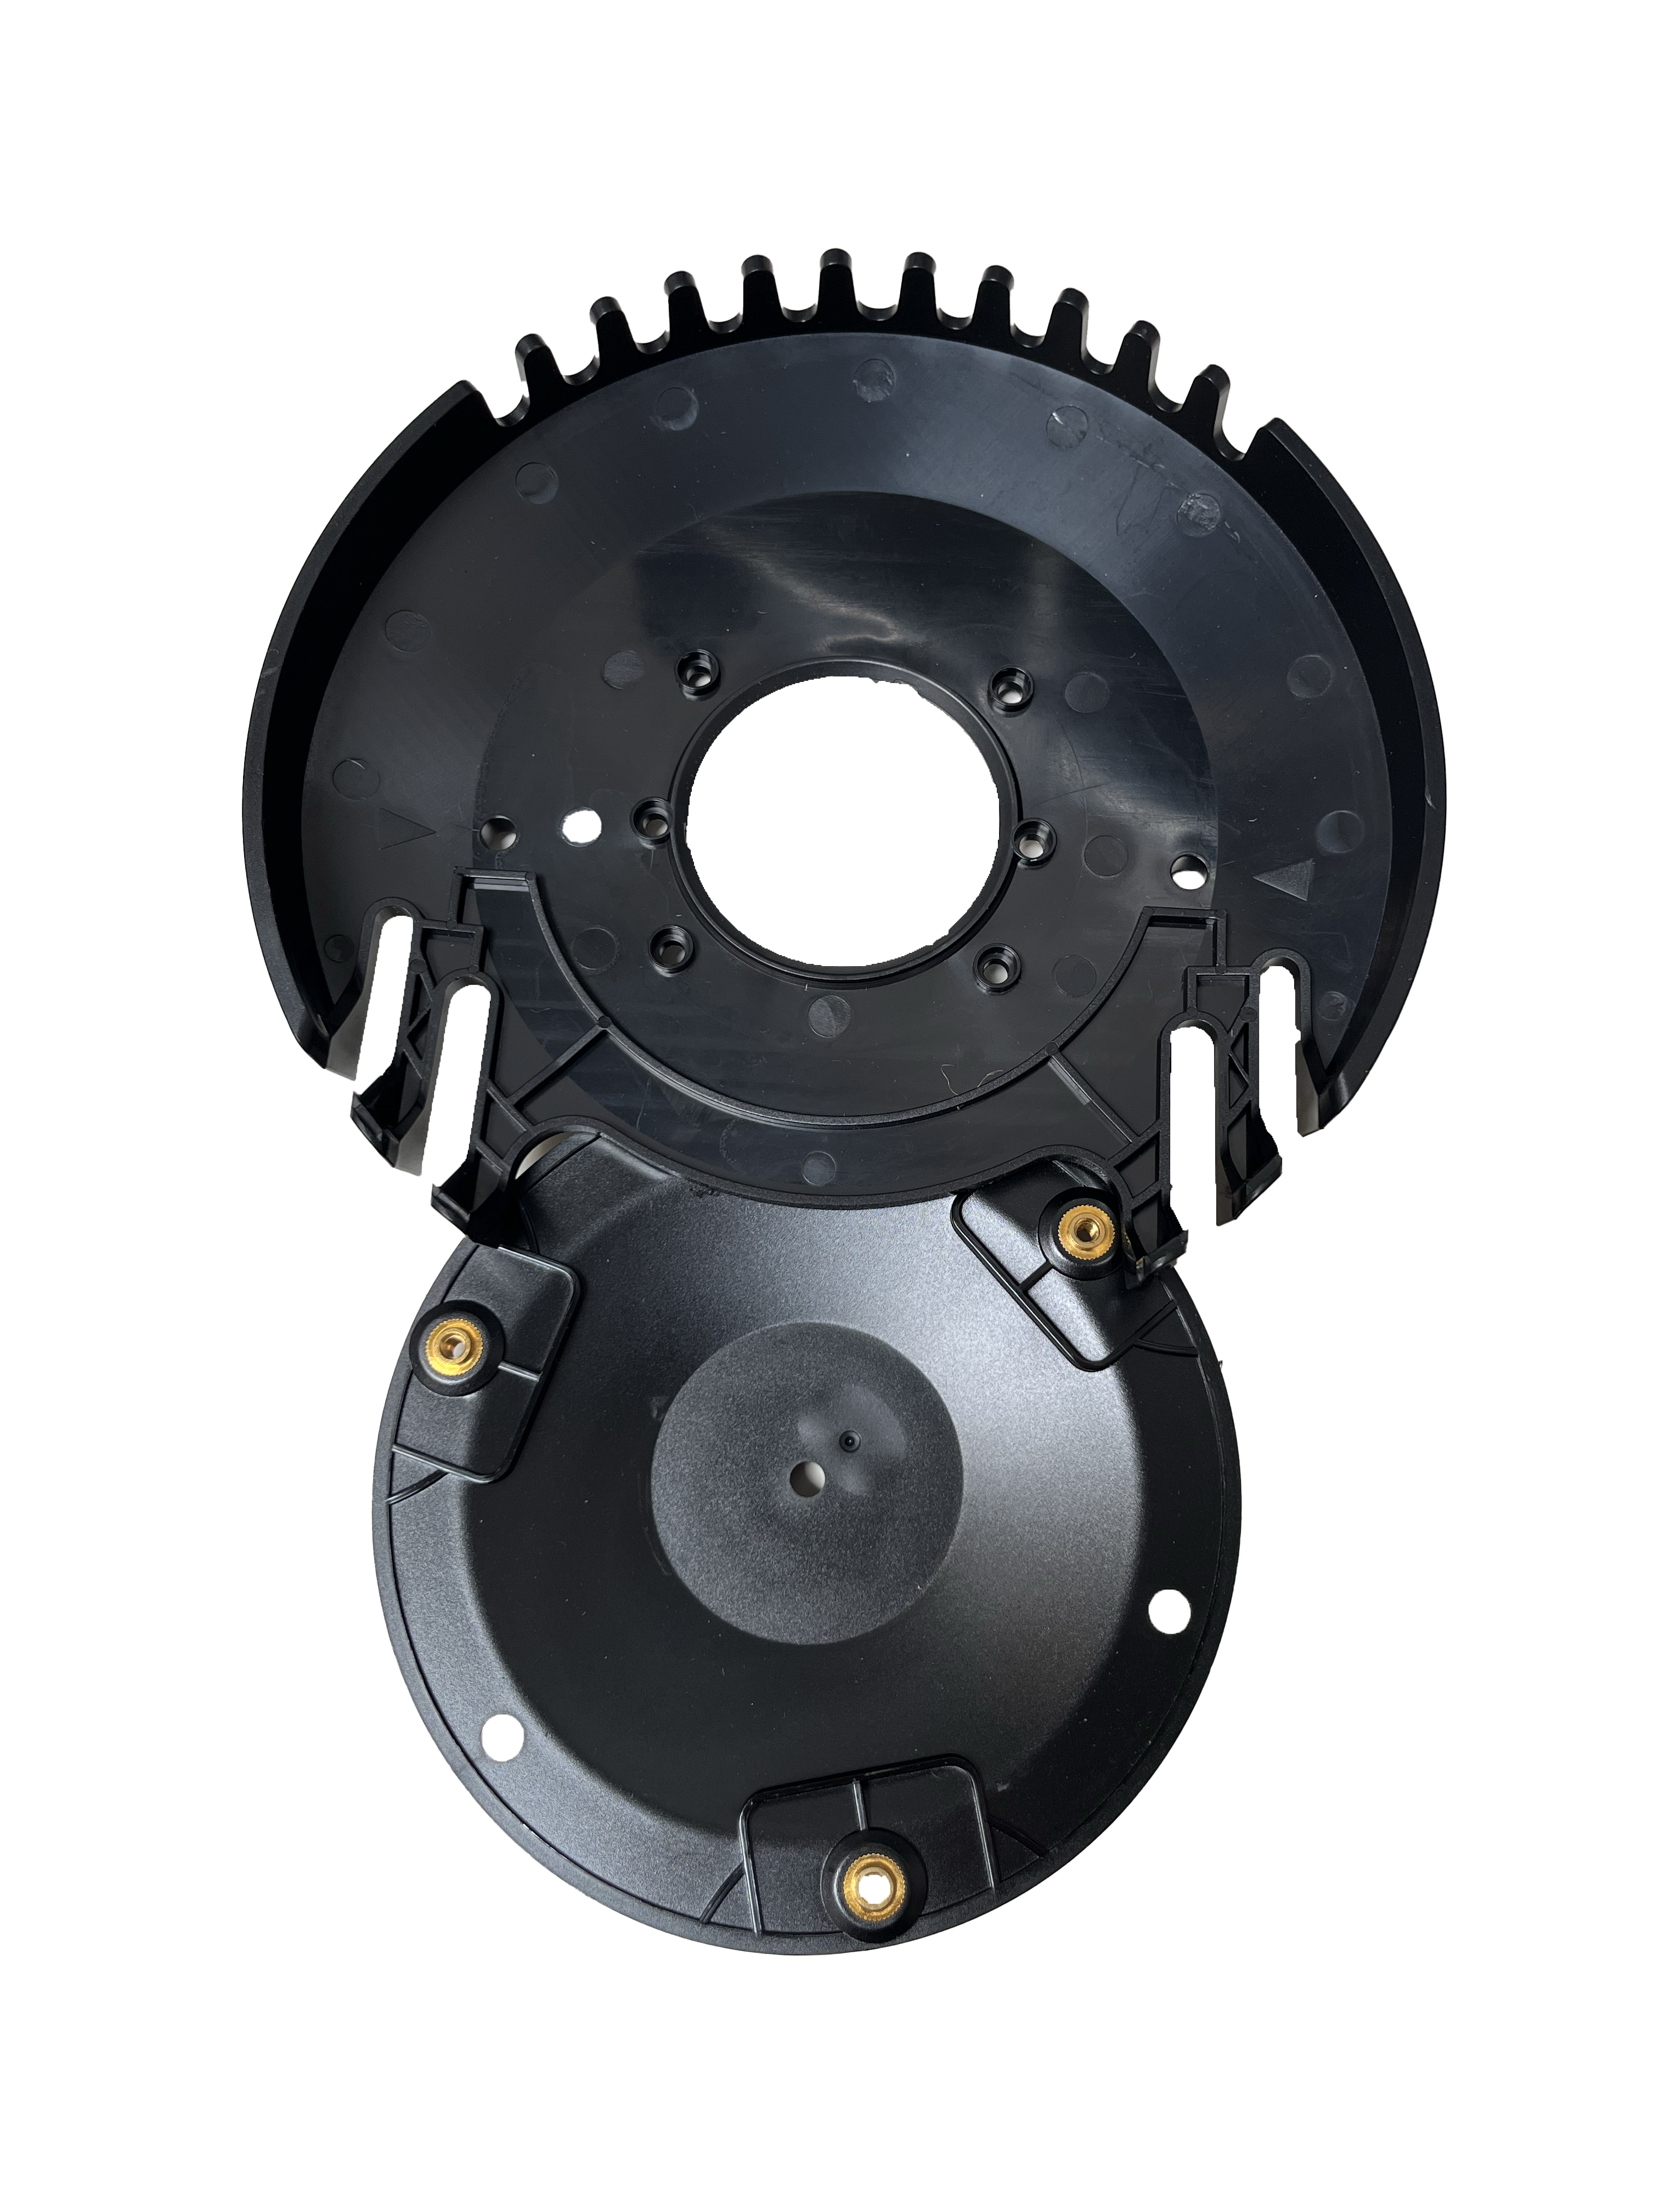
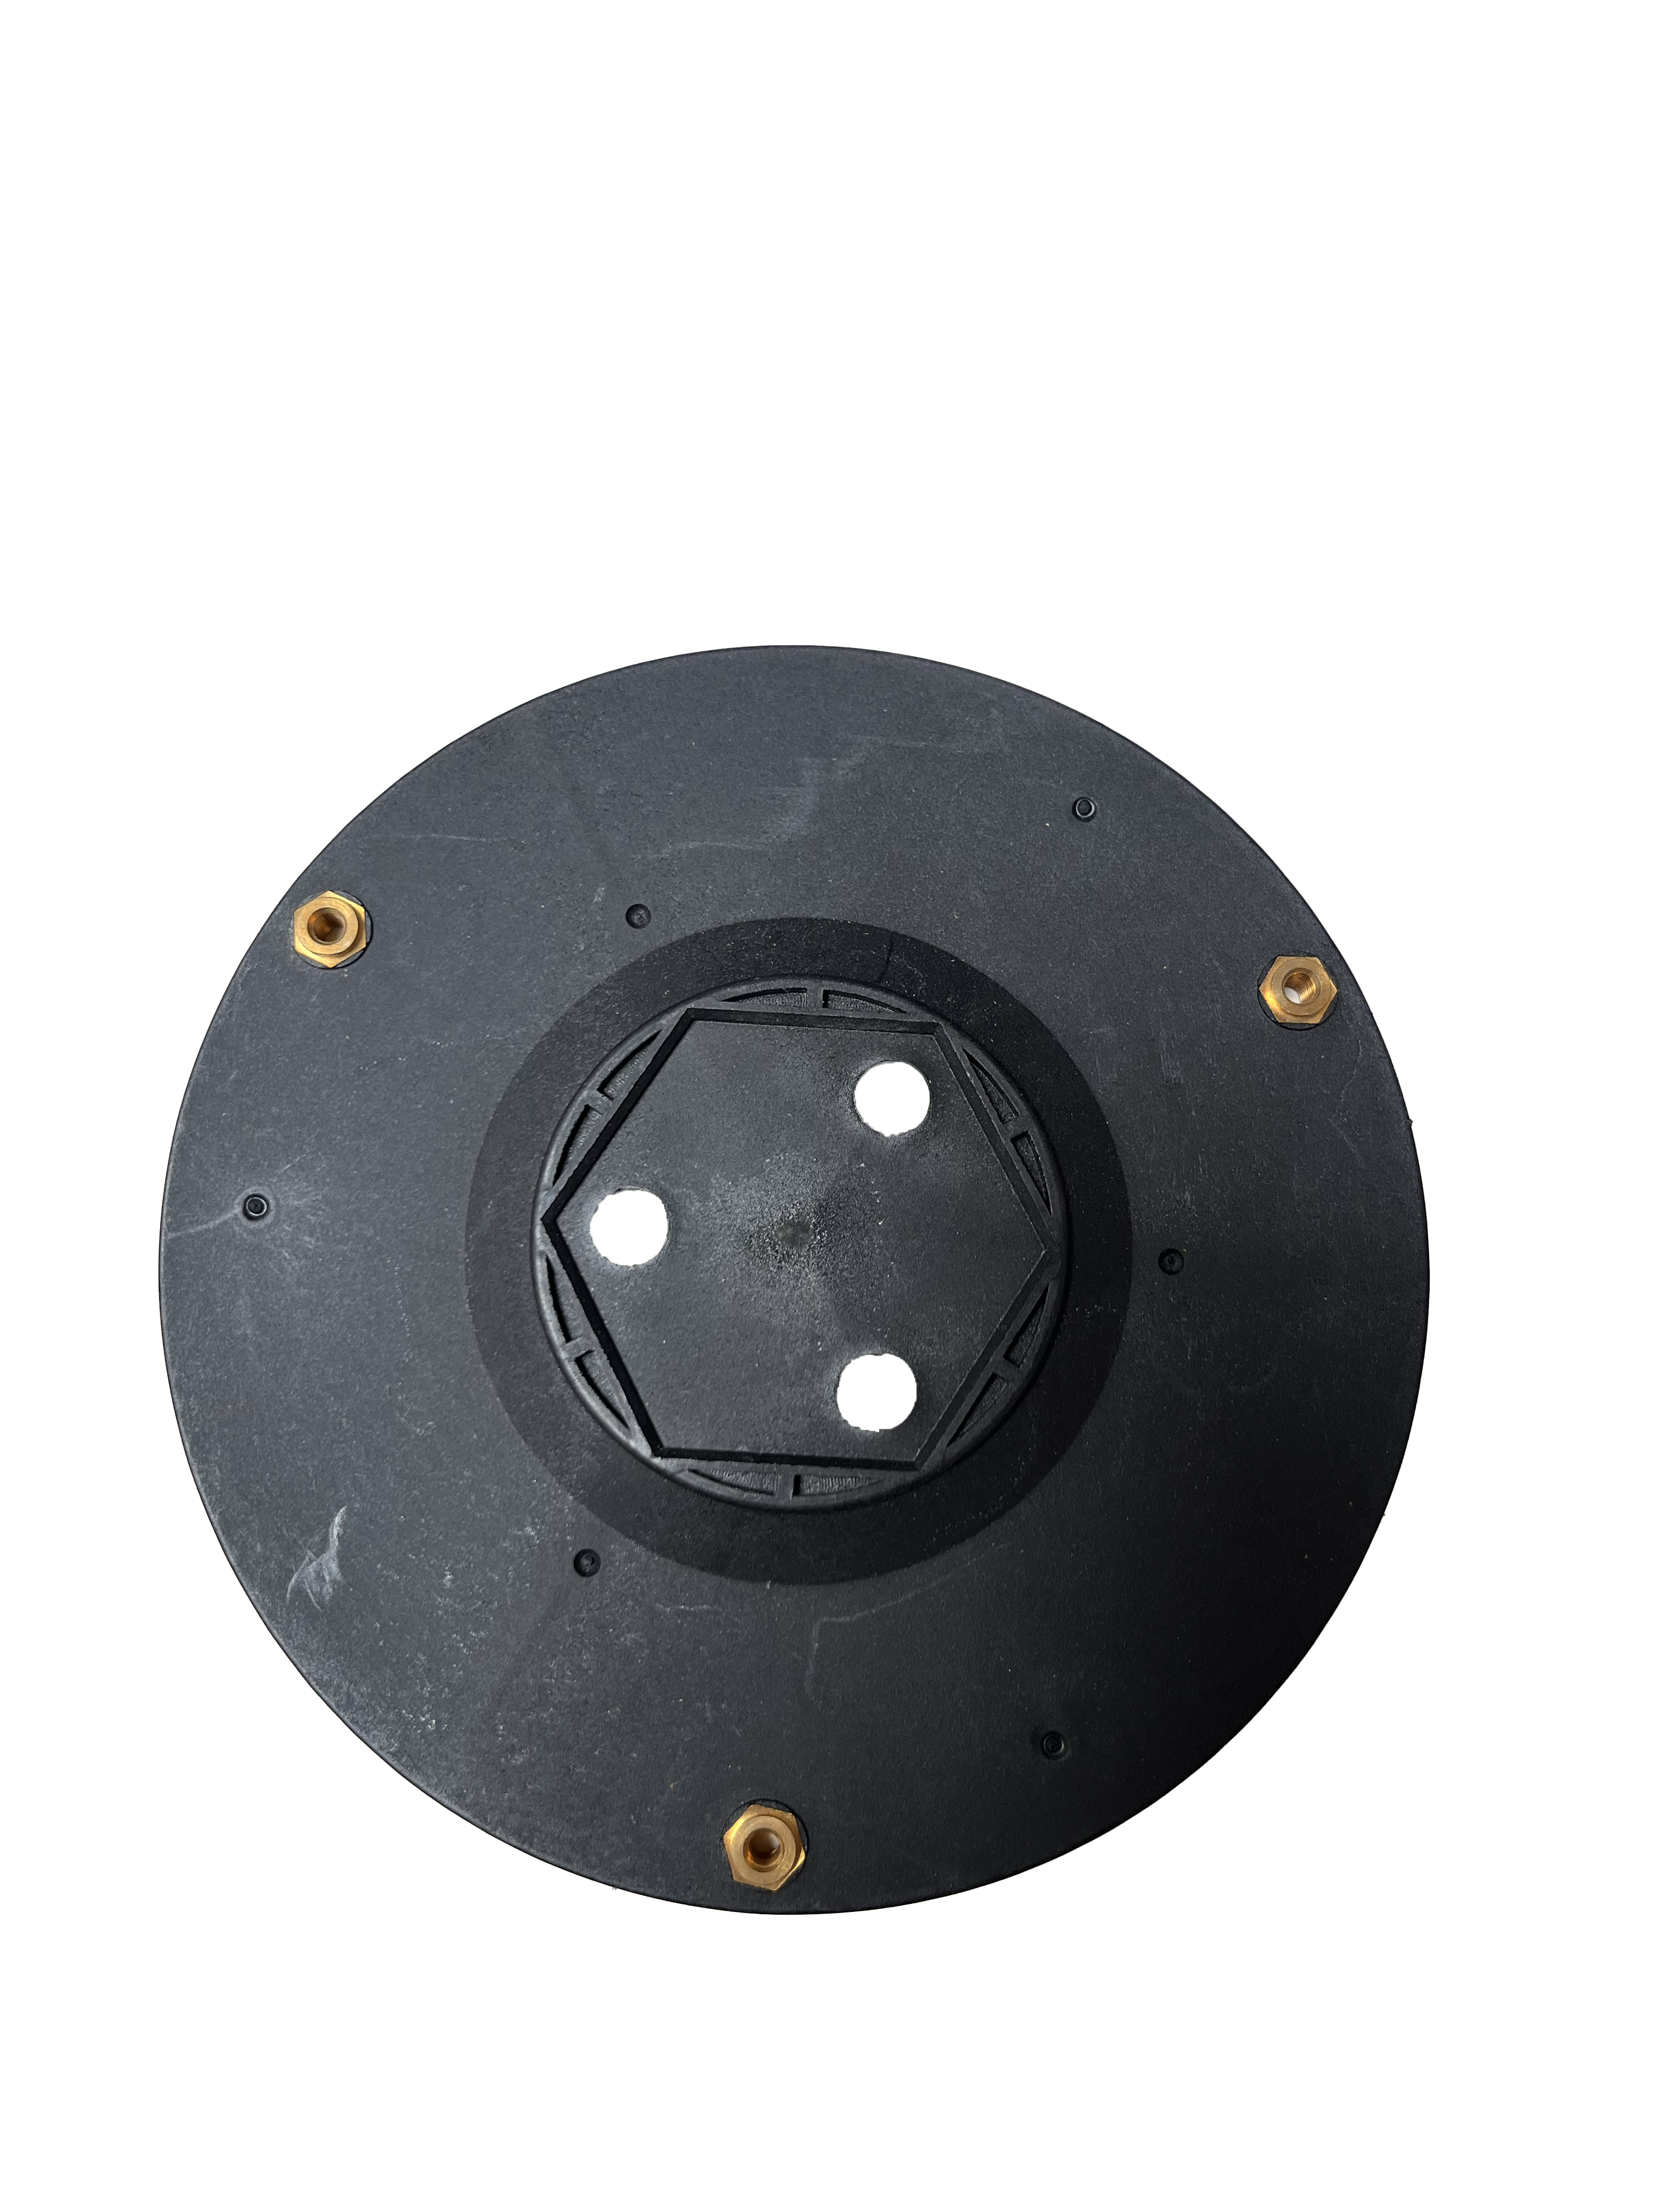
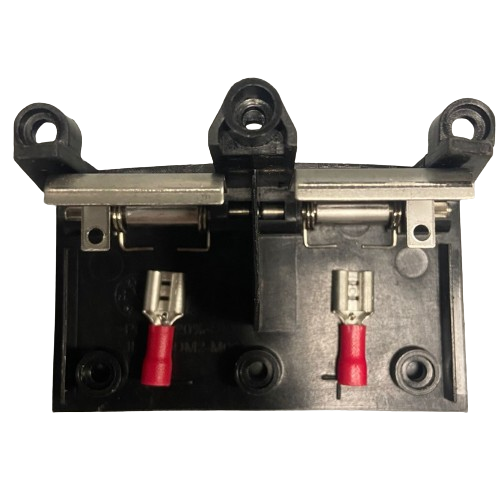
Place the robot on its back with the wheels facing up. At the front, there is a cover plate secured with 6 screws (3 are a bit deeper at the front).
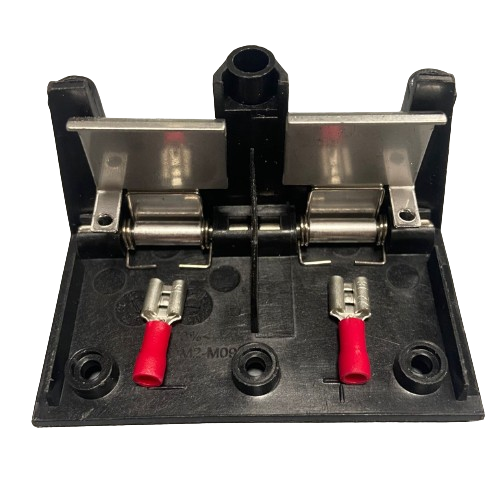
Loosen the screws and lift the cover. The contact points and cables will now be visible. See attached image 1.

Unscrew the cable lugs and pull the cable 5 to 10cm further out of the robot. Cut the cable +/- 4 cm (make sure that if there is a kink in the cable, it is cut off).
Strip the cable.
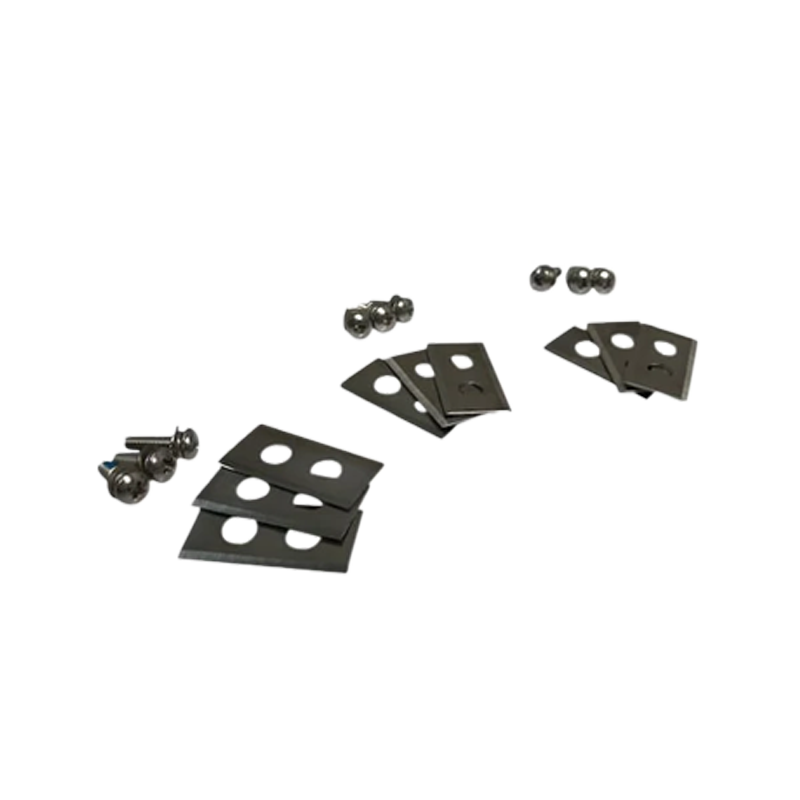
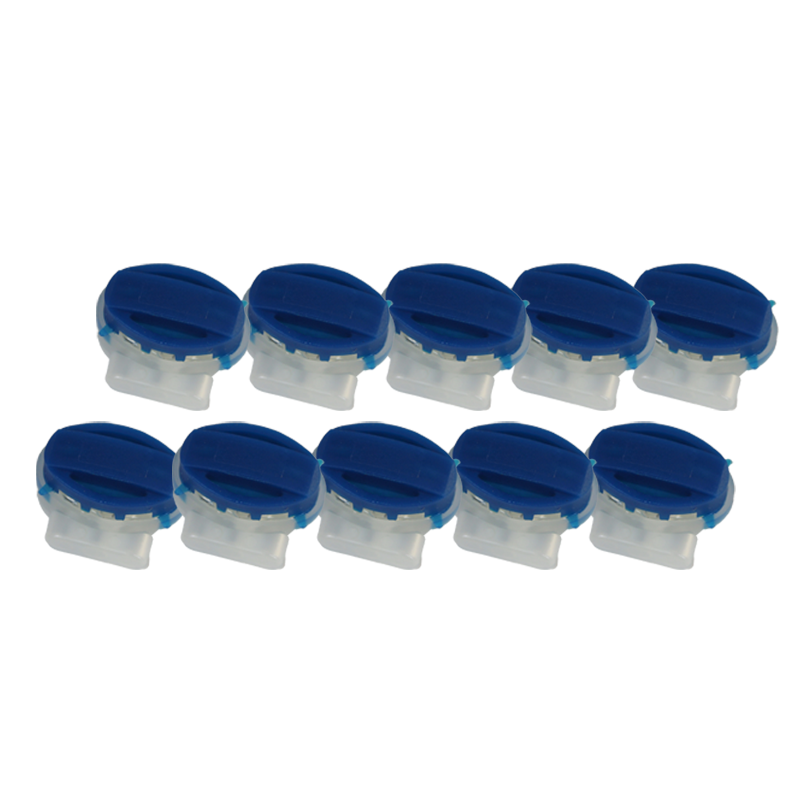
Check if you have the correct size and type of cable lug. (see below).

Slide the new cable lug over the stripped cable and press it firmly together with pliers.
Do this with both cables and reassemble the parts. (Make sure the cable does not get pinched under the plastic cover).
Does Dirk/Betsie mow the edges?

Walls and Fences (vertical objects)
The boundary wire must have a distance of 30-35cm in places where there is a wall or vertical obstacle.
This also applies if the terrace is higher or lower than the grass. In these places, the robot will not mow all the way to the vertical object/wall. The best solution here is to place a row of stones along the wall, so that the robot neatly mows everything.

Should the boundary wire go around trees or trampolines
- If the tree is strong enough, it is not necessary to lay a boundary wire around it.
- If you still want to protect the tree from the robot mower colliding with it, we advise you to place a few (3 to 4) posts around it so that the robot does not drive against the tree but against the posts.
- In most cases, it is better to lay a boundary wire around the trampoline. If the trampoline protrudes +/- 10-15cm above the grass, the robot will bump against the edge and turn around. Then it will not be necessary. If the edge is higher or lower, the robot may climb on it or get stuck underneath. If you have another hard enclosure around the trampoline that the robot can/may bump against, outlining is also not necessary.
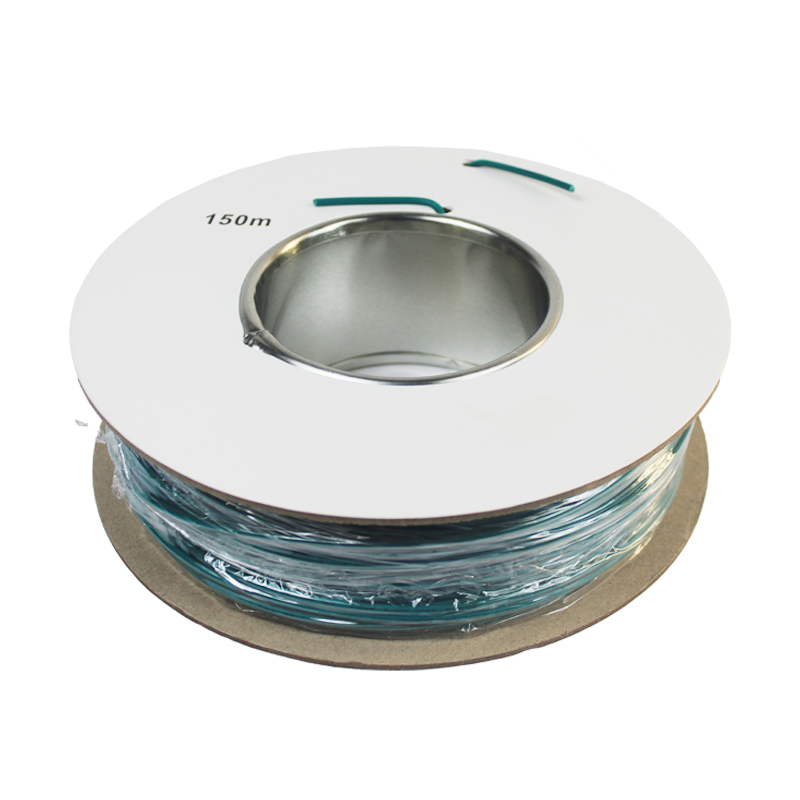
The maximum length of the boundary wire is 185 meters and the robot can detect the boundary wire up to +/- 15 meters (max 18m).
This means that the distance from cable to cable should therefore nowhere be greater than 30 meters.
Dirk & Betsie Setup on first use
For setting up Betsie and Dirk, we always recommend consulting the manual. For the first use of Betsie & Dirk, we have made a short instruction video. For setting up a work schedule, you can consult our other video.
Dirk & Betsie: Reset via factory settings
Are you experiencing an issue with Betsie or Dirk and would you like to restore the factory settings? You can do this by following the steps explained in the video below. After restoring the factory settings, you can set up Betsie or Dirk again.
Dirk & Betsie: Set work schedule
Betsie & Dirk can mow wherever and whenever suits you. In the video below, we explain how to set up a schedule for your desired days and times. Please note that the standard working time is 8 hours, including charging. The robot starts working at a minimum of 70% battery capacity and recharges itself in between if necessary.
Dirk & Betsie: Installation and connection of charging station
It is important that you place the charging station in the correct direction. Place it the right way, with the opening of the charging station counter-clockwise, so that the mower drives backward counter-clockwise away from the charging station.
See the image below for this;
The boom on the charging station must be on the grass side

Connect the boundary wire to the correct connector.
The cable under the charging station must be connected to the red connector.

Once the boundary wire has been laid around the field. The boundary wire arriving at the back can be connected to the black connector .

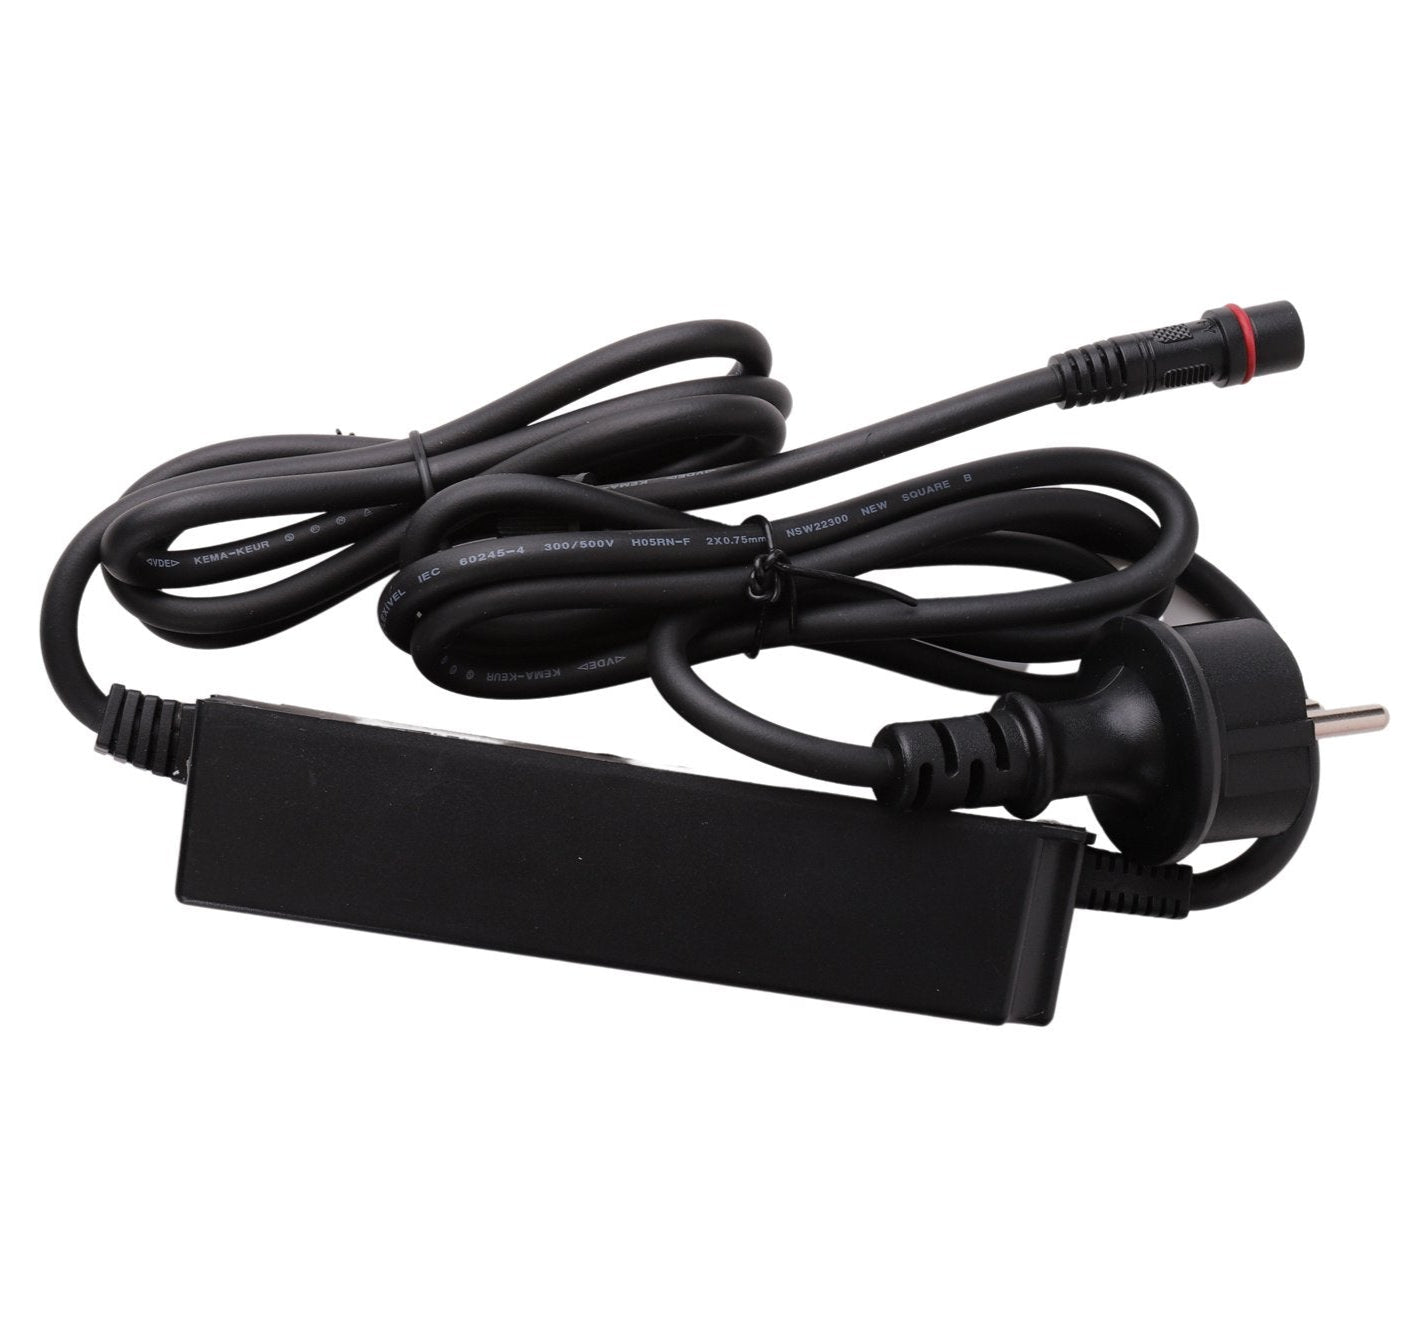
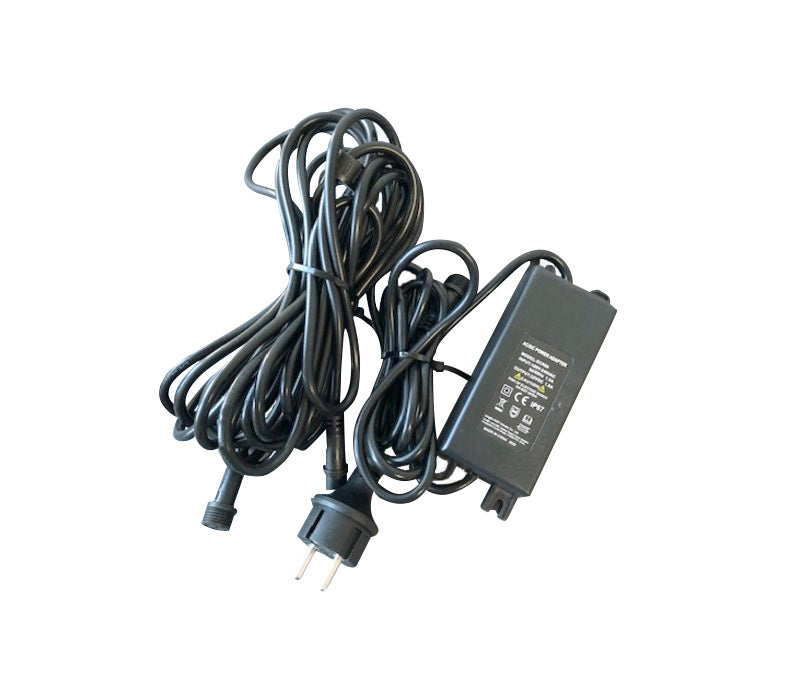
Accessories
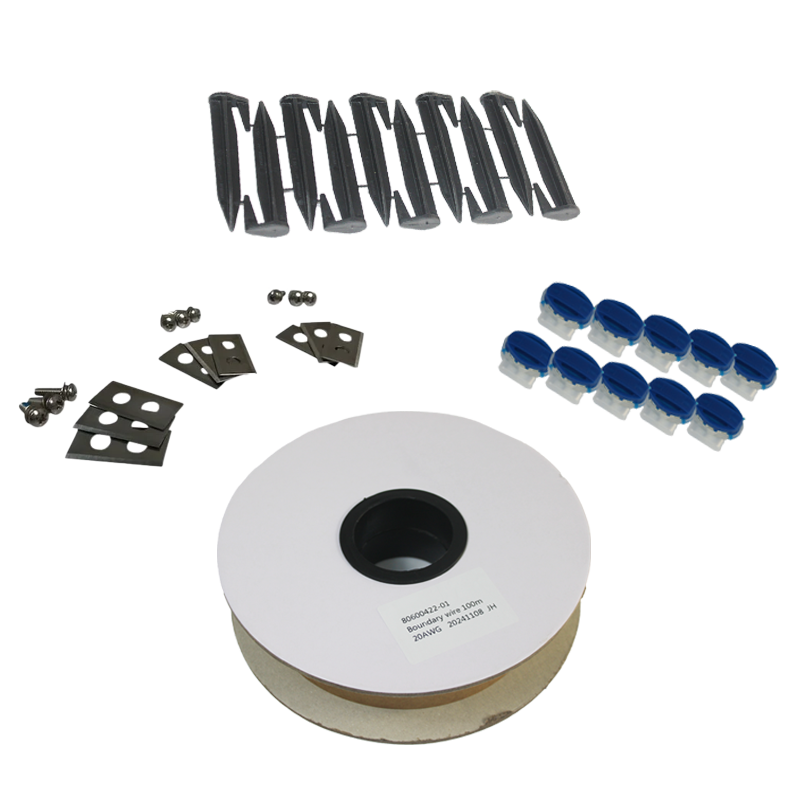
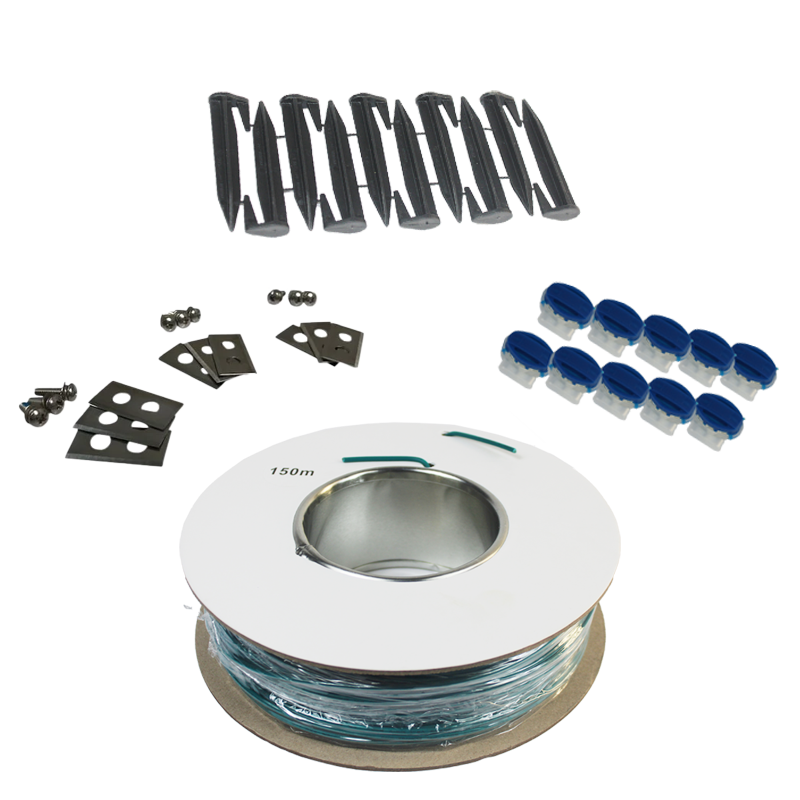

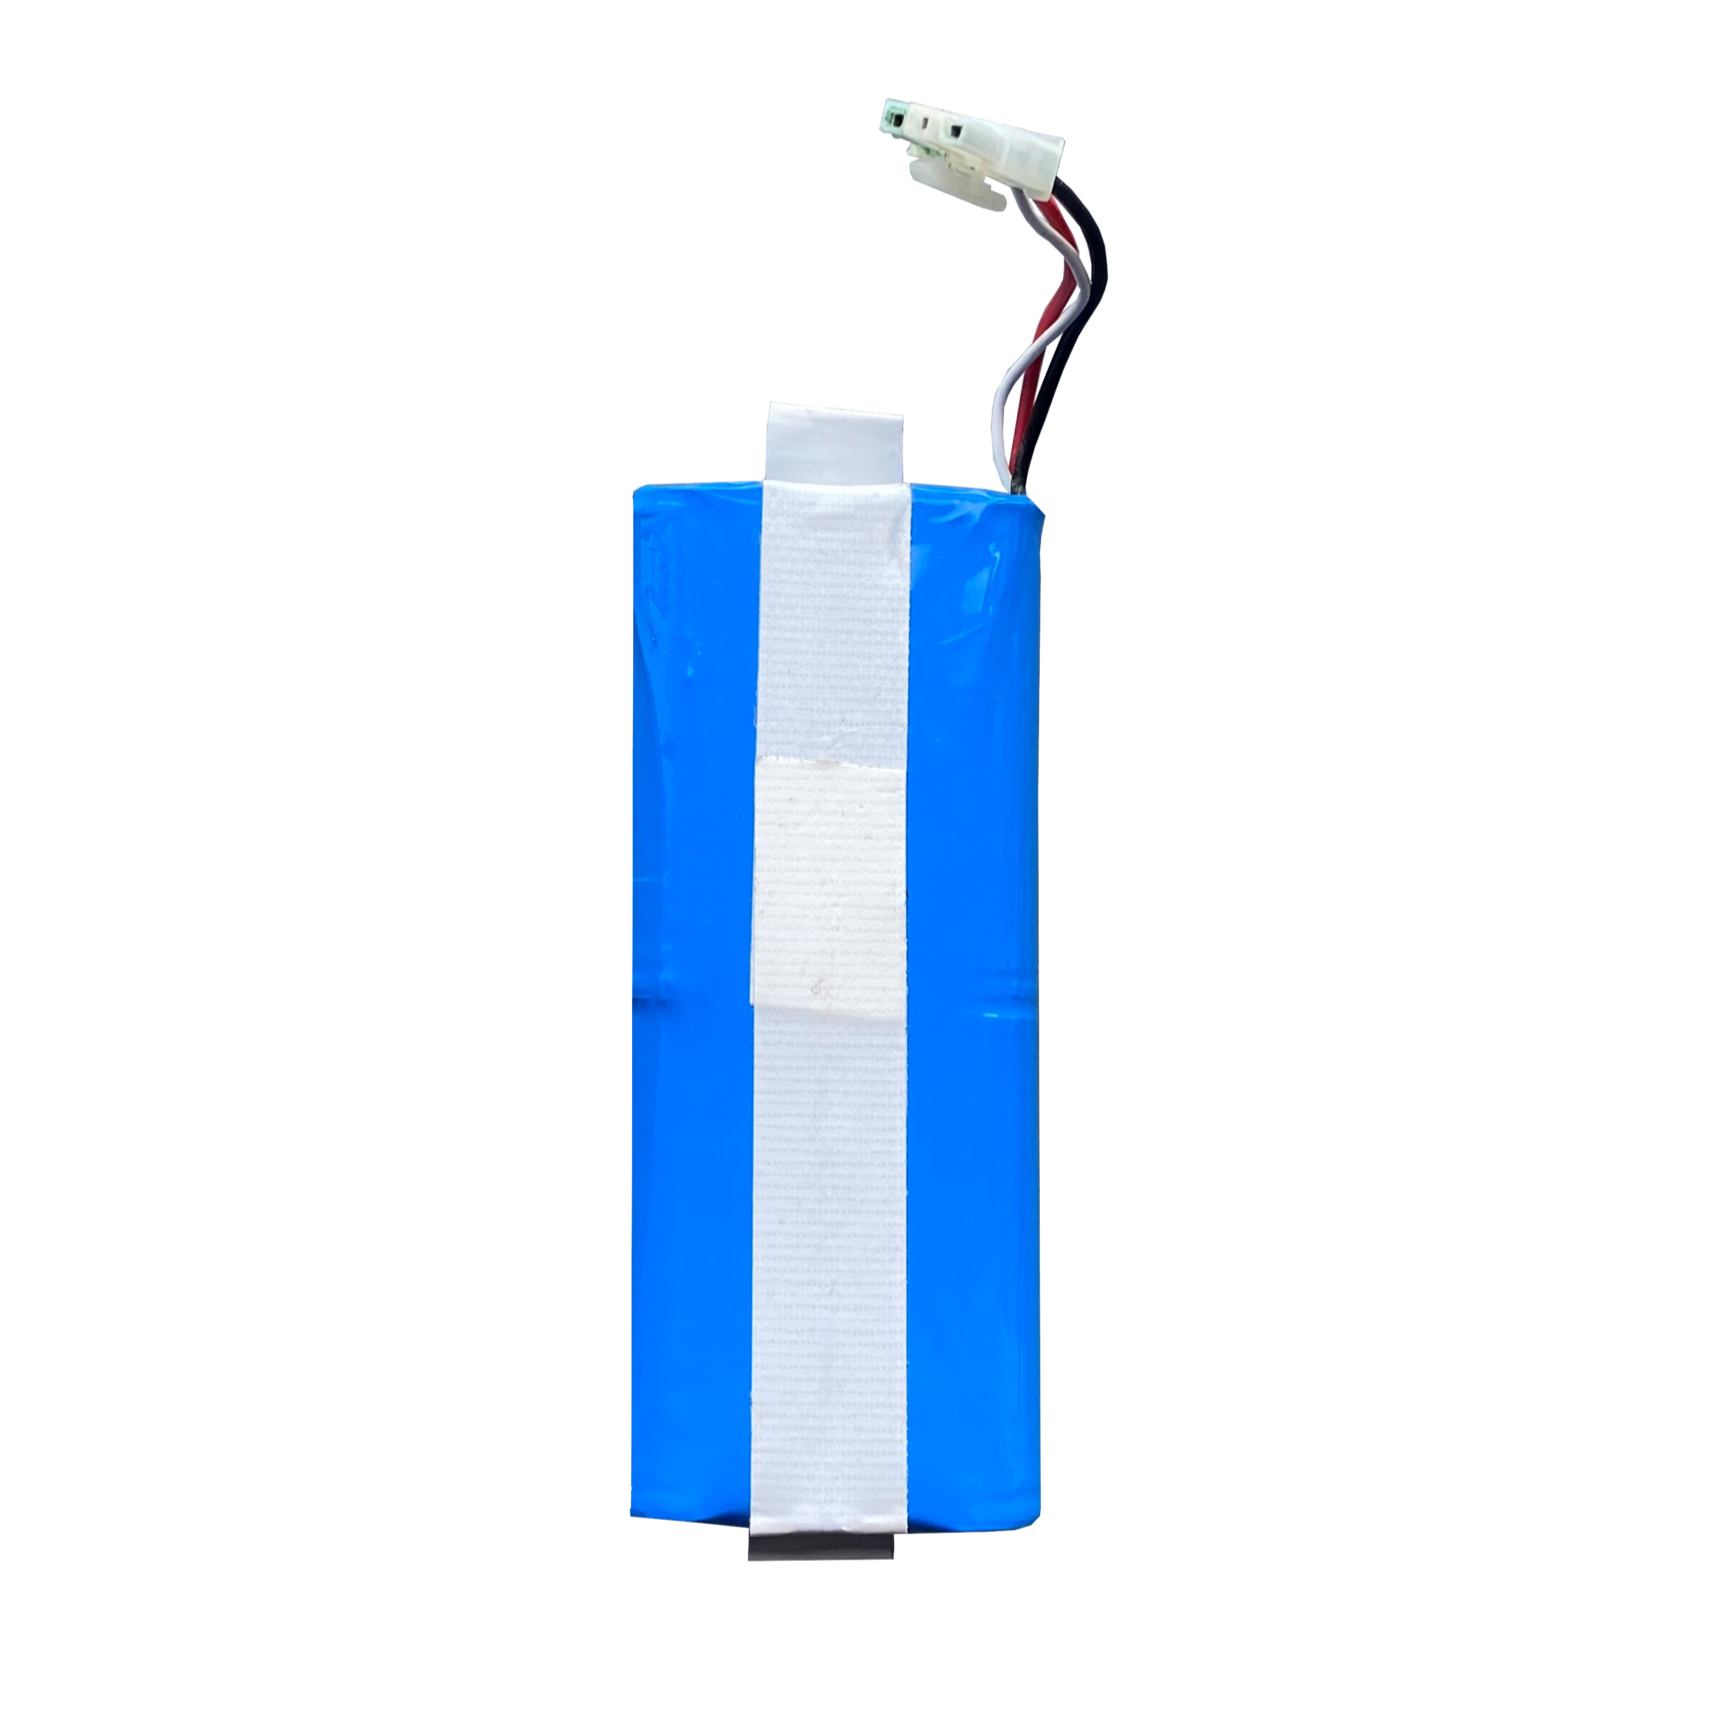
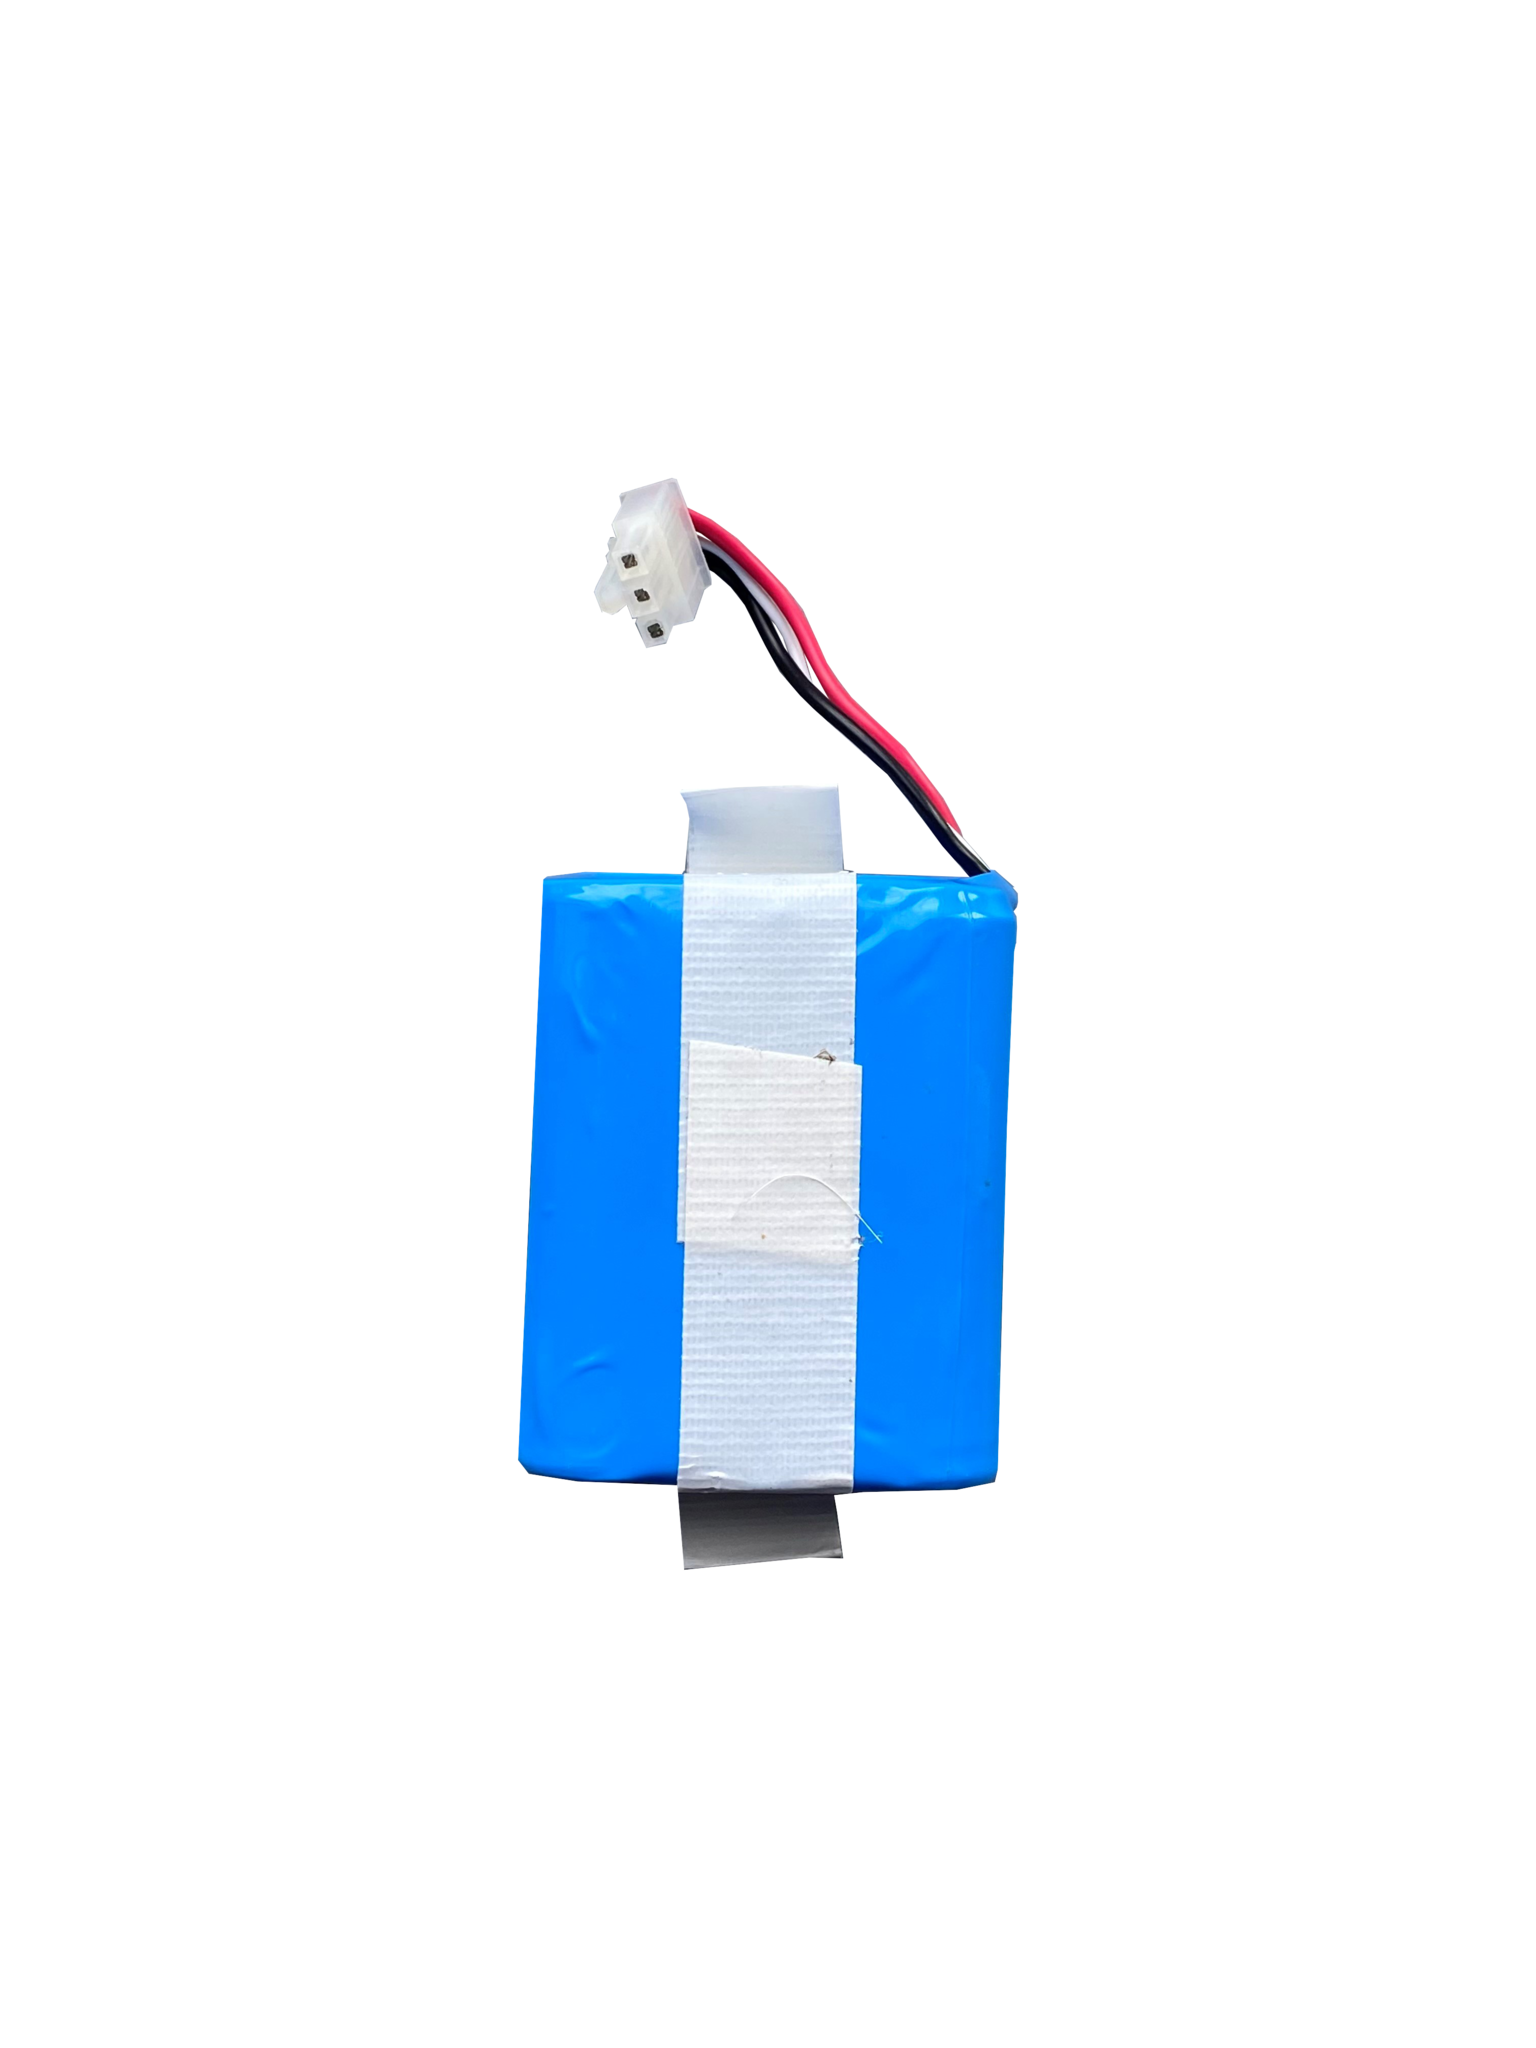
Parts
Have a question? We are here to help you.
View the most frequently asked questions from our customers. Do you still have questions? Please contact our customer service.