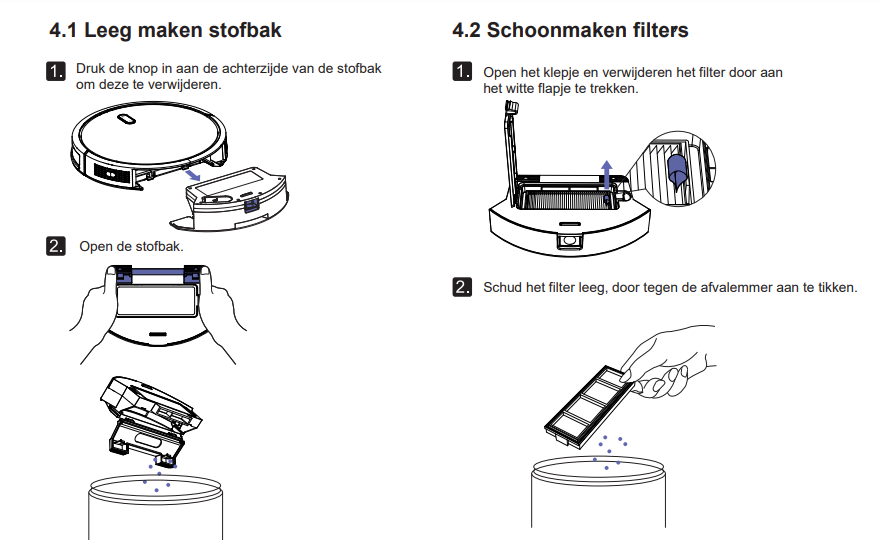
See below how to remove, empty, and clean Jannie's dustbin.
Or watch the video below.
Jannie and Jannie 2.0
View the manuals by clicking one of the links.
View the most frequently asked questions from our customers. Do you still have questions? Please contact our customer service.
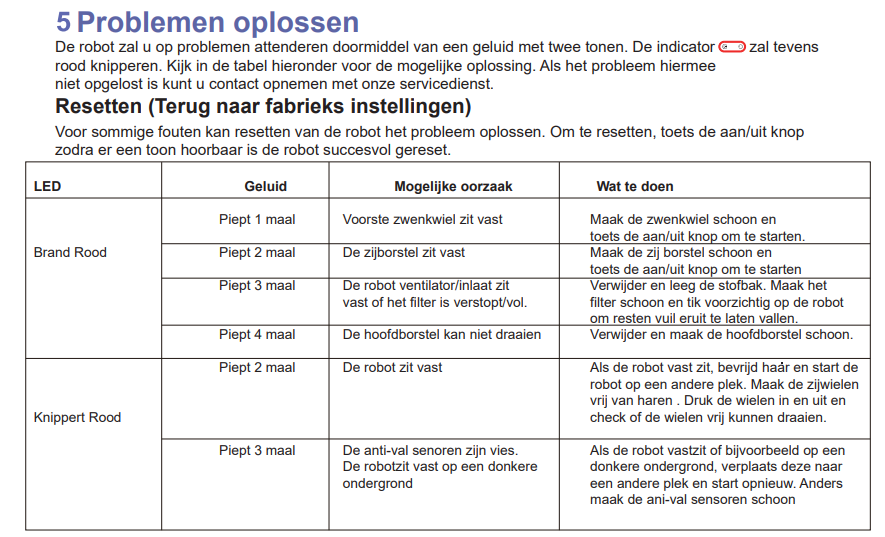
Possible causes;
The robot's bumper sensors cannot see properly.
Everything about the installation, maintenance and operation of Jannie.
Do you want to know how to operate Jannie on the App? Watch the video below.
This is how you can connect Jannie to the Zoef Robot App.
Still can't connect Jannie after this? The last thing you can try to connect Jannie to the WiFi/app is the following. If Jannie is still in this app, please remove it.
1. Place Jannie about one meter away from the charging station
2. Reset Jannie by turning off the on/off button underneath. Wait 10 seconds and turn it to 'on.'
3. Within 10 seconds, press both buttons on top of Jannie and hold them until you hear two beeps.
4. Then press both buttons on top of Jannie again and hold them until you hear two beeps again.
5. Press the plus sign in the app to add Jannie. Select robot D300.
6. Press 'EZ Mode' in the top right and then select 'AP Mode.'
7. Follow the instructions. Choose 'connect now' and then select the available WiFi network that starts with 'SmartLife-'
8. Follow the instructions and Jannie will connect automatically.
The robot needs an update to fix this.
Send an email to service@zoefrobot.nl stating that the robot beeps when it is on the charging station.
See below how to remove, empty, and clean Jannie's dustbin.
Or watch the video below.
Jannie is equipped with a gyroscope. With it, she creates a map of the room. As soon as she has cleaned the entire room, she will return to the charging station. This can therefore be shorter than the battery's lifespan. It can also be that Jannie thinks the rooms are finished and therefore stops earlier.
Battery degradation;
A battery's operating time will decrease over time. There are various causes for this, and it is not always predictable. What certainly helps is to always leave the robot ON on the charging station. This keeps it in the best condition.
The battery's lifespan is influenced by the following factors: Is the robot always ON on the charging station? Surfaces the robot drives on, environment (does the robot have to turn and maneuver a lot, suction power strength (lower suction power means longer operation and vice versa), temperature (in very hot or cold environments the battery will perform less). Also, the spread between batteries can be large.
Therefore, the operating time is always an indication and it is not predictable how quickly it will decrease.
Have you received your Jannie 2.0? Then you are only a few steps away from a carefree cleaning in the future. In the video below, we explain step by step how Jannie can be made ready for use.
What will be covered?
1. From 0:00 min: Unboxing: What's in the box? - (from 00:00 min)
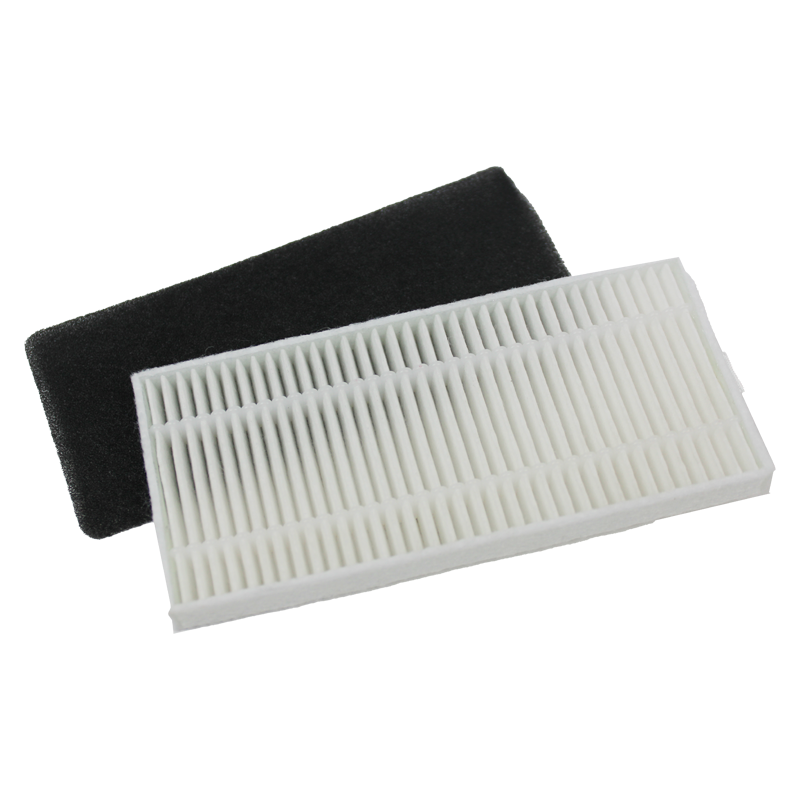
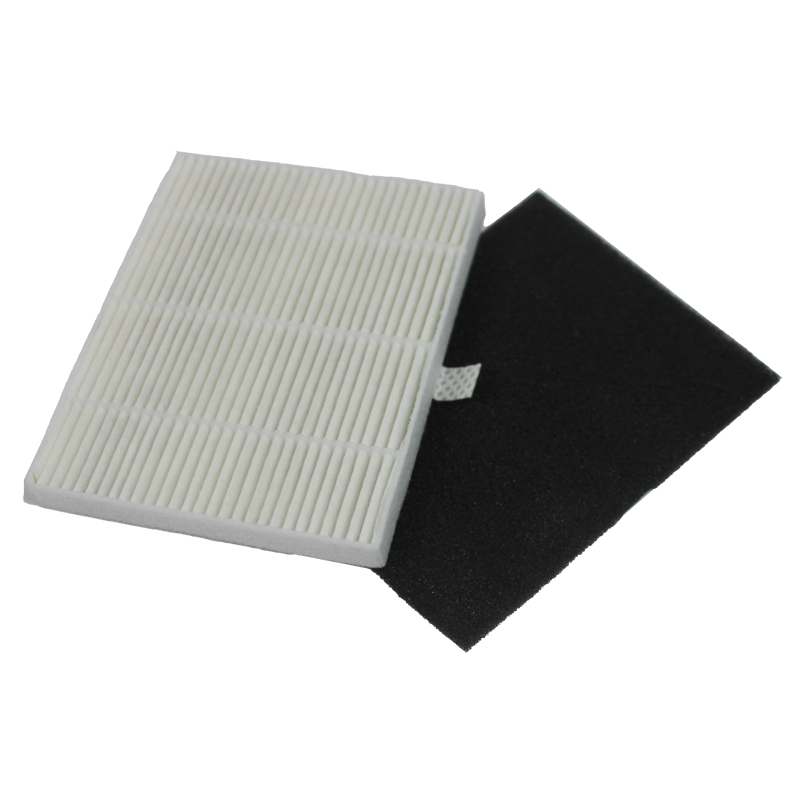
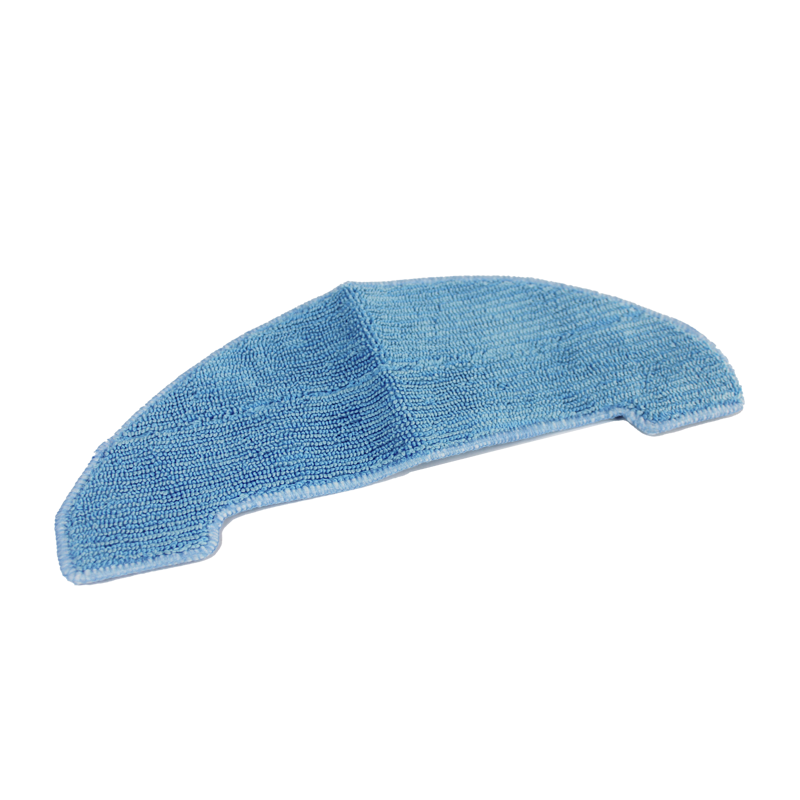
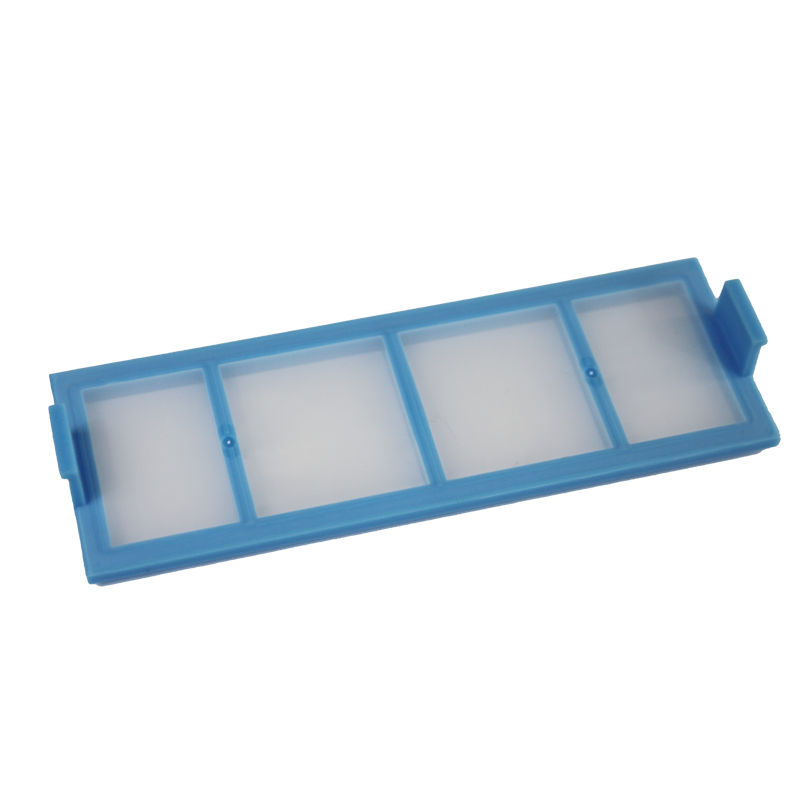
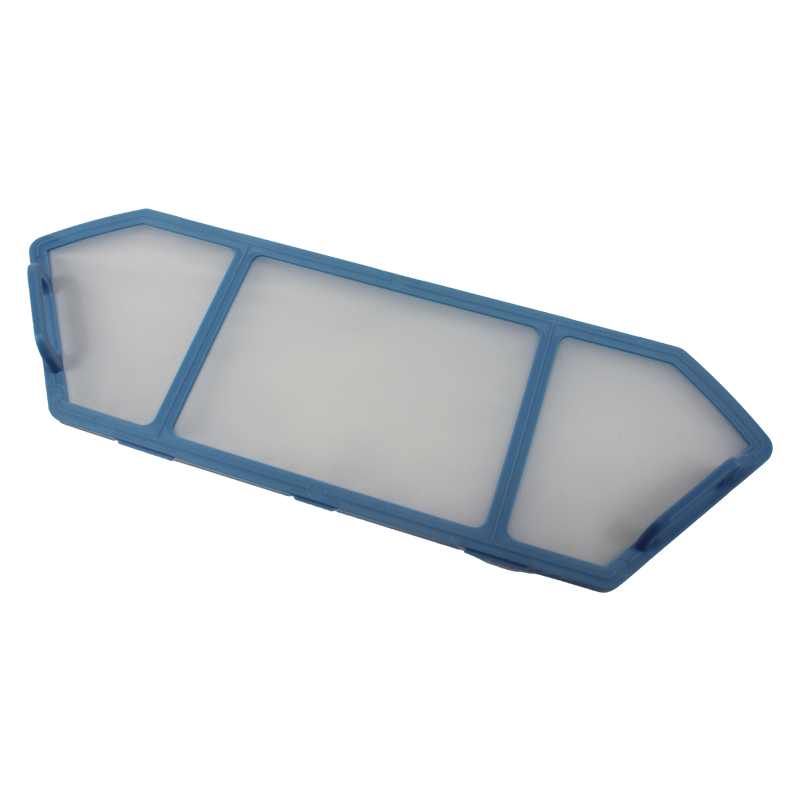
2. Maintenance: Cleaning & replacing wear parts - (from 00:04 min)
3. Mopping: Installing the water reservoir - (from 2:05 min)
4. Connecting (manually) to the Zoef Robot Smart App - (from 2:22 min)
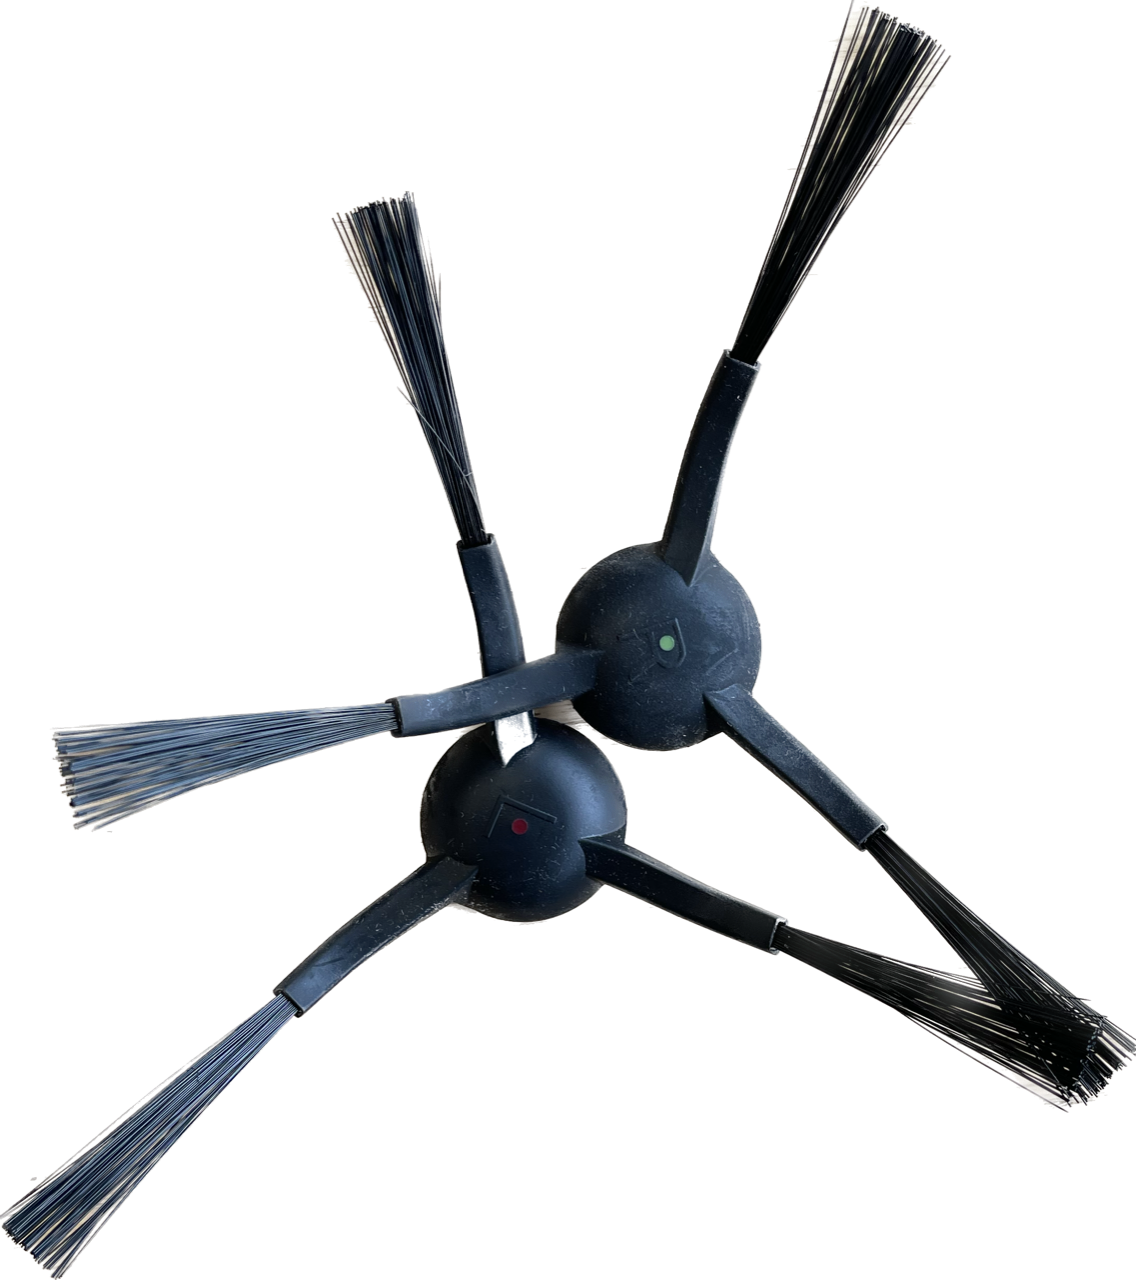
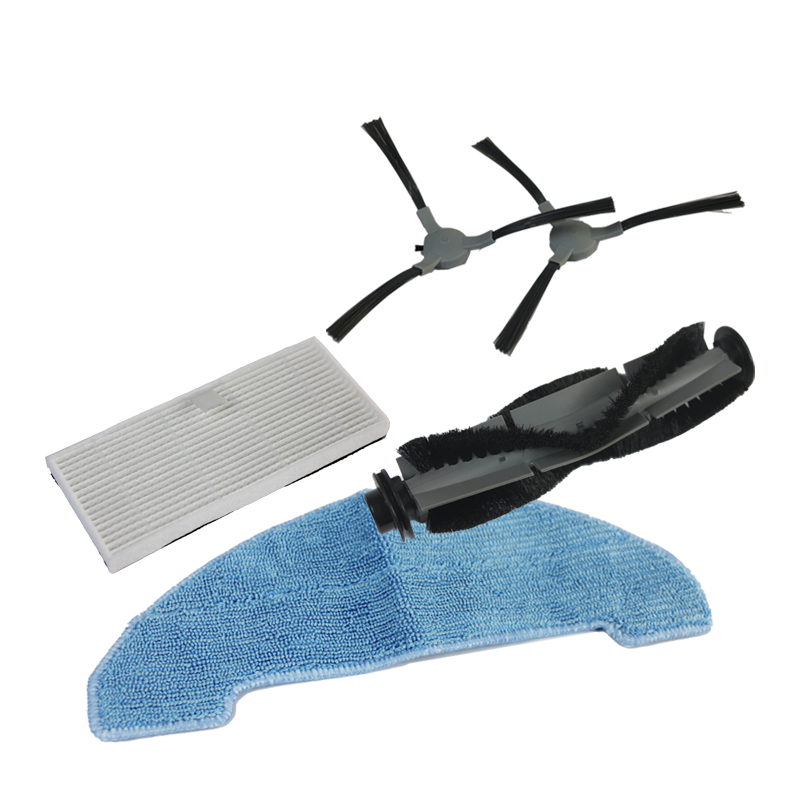
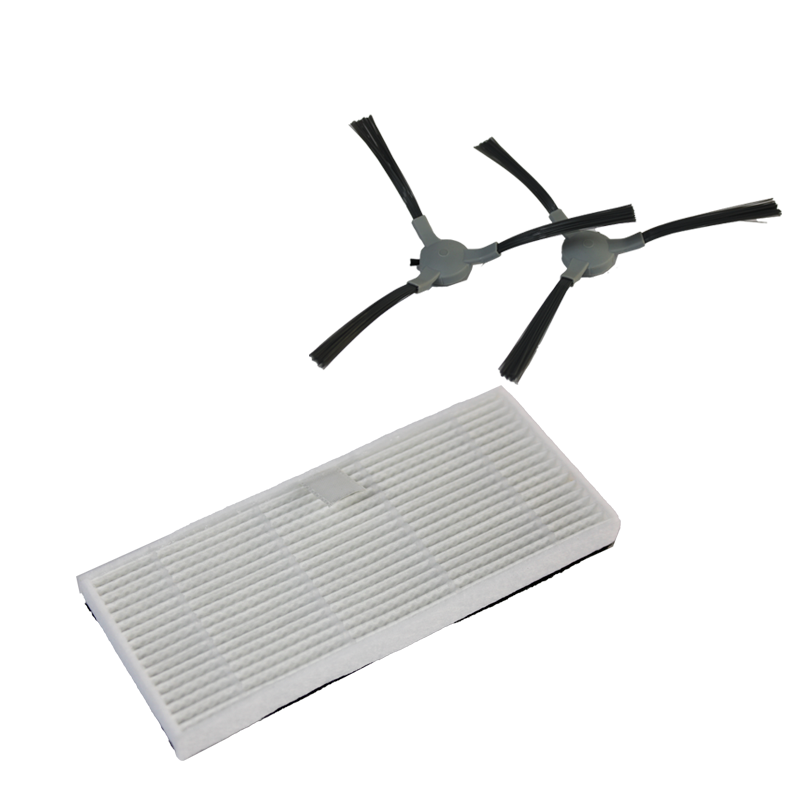
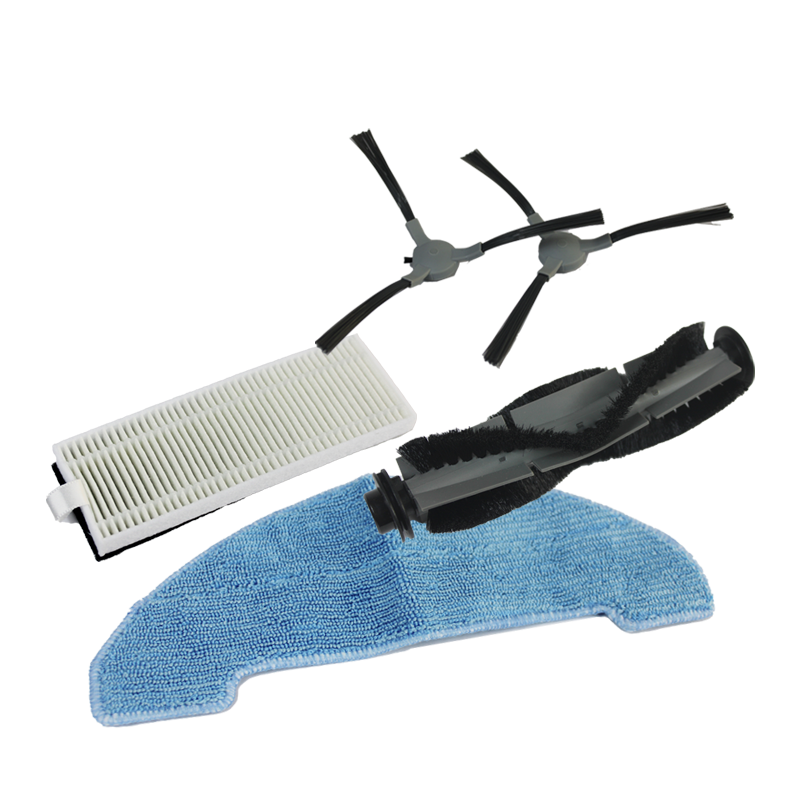
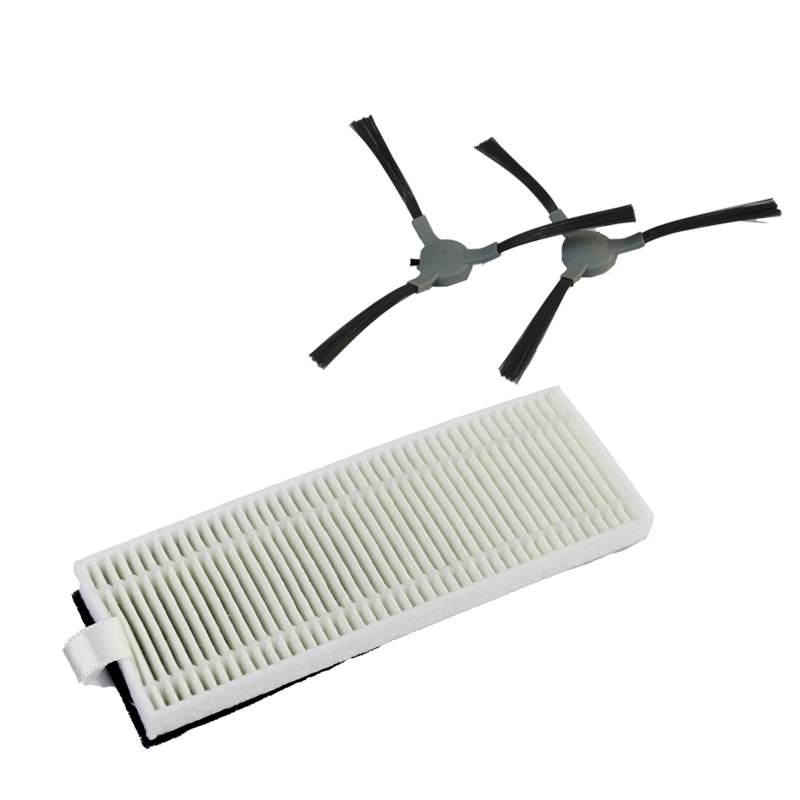
Cleaning Jannie's main brush?
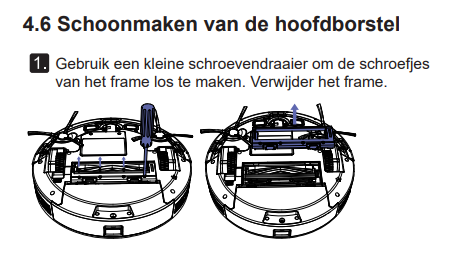
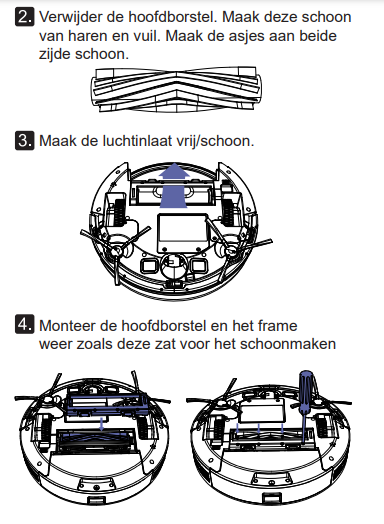
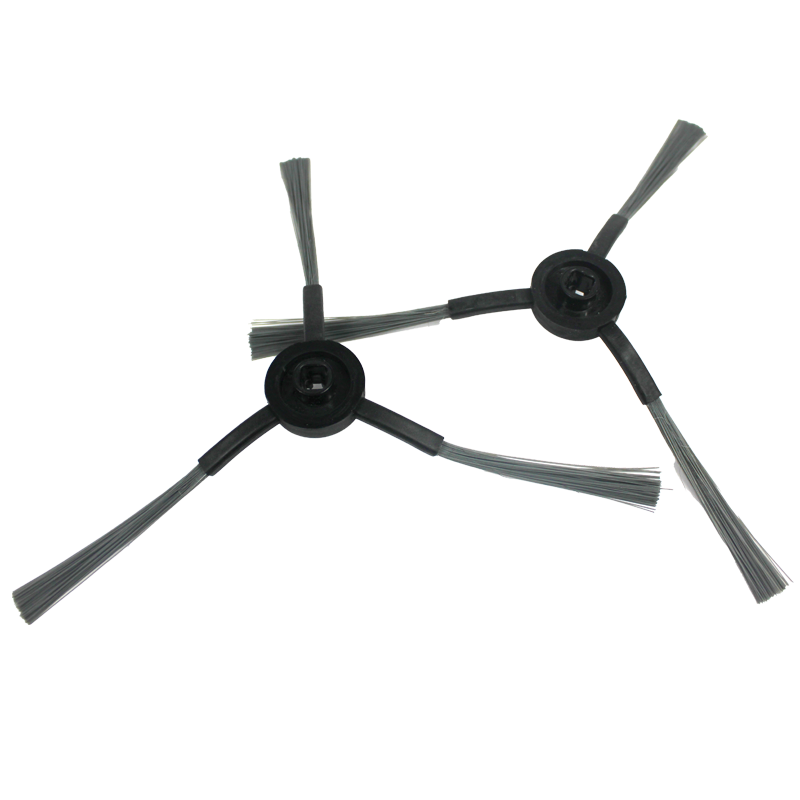
The cleaning and replacement of parts is highly dependent on the environment and the intention in which the robot functions. Below is a guideline that you can follow.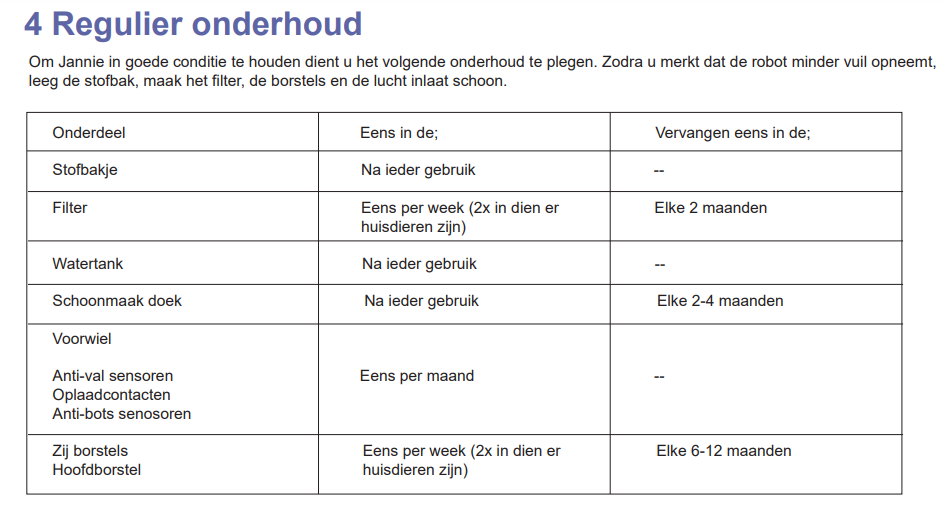
Tip; If the brush hairs are pointing in all directions but are not yet worn, you can place them in warm water. The hairs will then return to their original position.
Should you experience problems connecting the app, the tips below can help you further.
1. Place Jannie 2.0 approximately one meter away from the charging station
2. Reset Jannie 2.0 by switching off the on/off button at the bottom. Wait 10 seconds and switch it to 'on.'
3. Within 10 seconds, press both buttons on top of Jannie 2.0 and hold them down until you hear two beeps.
4. Then press both buttons on top of Jannie 2.0 again, and hold them down again until you hear two beeps.
5. Open the Zoef Robot App and click the orange '+' in the top right. Choose 'Jannie with Gyroscope,' and confirm the WiFi network.
6. Press 'EZ Mode' in the top right and then select 'AP Mode.'
7. Follow the instructions. Choose 'connect now' and then select the available WiFi network that starts with 'SmartLife-'
8. Follow the instructions and Jannie 2.0 will connect automatically.
Jannie only works with 2.4GHz. Some modems transmit both simultaneously (concurrent dual band) and with some models you have to choose which one you want to use (non-concurrent dual band). For more information on how to set this up if you have a non-current dual band modem, you can find it at;
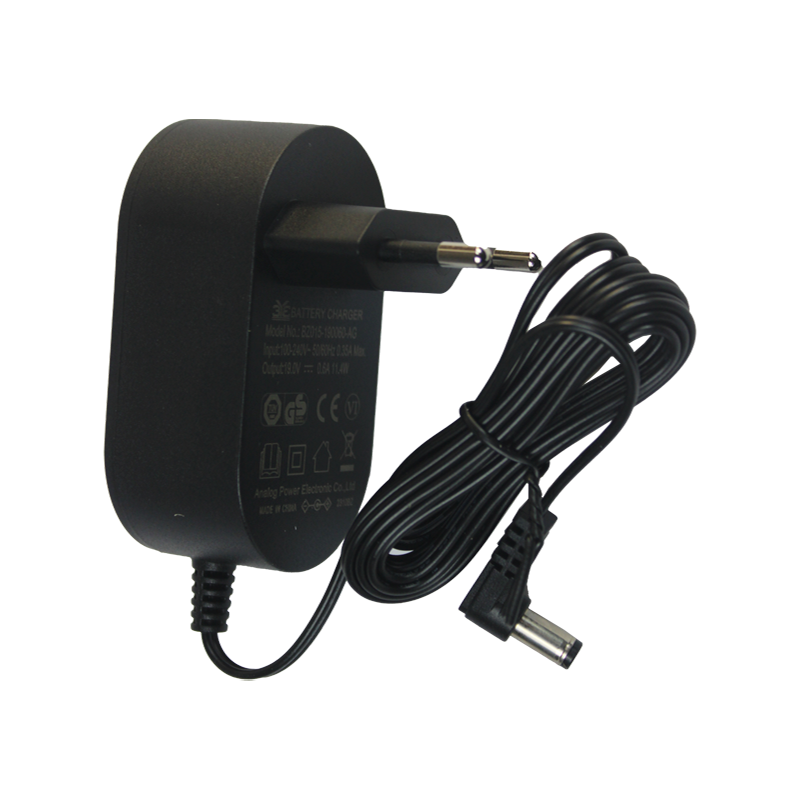
1. Check if the ON/OFF button on the side/bottom is ON.
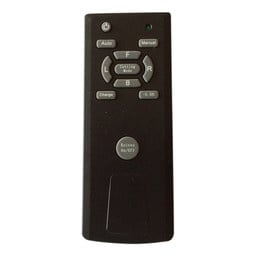
1.1 Does the robot turn on manually but not with the remote control? Check if the remote control batteries are dead, then:
1.2 Does the robot respond, but immediately start looking for the charging station?
1.3 The robot does not respond and the light only illuminates on the charging station?
1.4 The robot does not start and beeps once. The dustbin is missing or not properly attached.
2. Check the status of the robot by looking at page 6 of the manual.

For more explanation about the different functions and operation of the remote control, please refer to the manual on page 11 and further.
The clock on the remote control may be correct, but this does not mean that it is also in the robot.


View the most frequently asked questions from our customers. Do you still have questions? Please contact our customer service.