Teun & Katrien
manuals
View the manuals by clicking one of the links.
Frequently asked questions and advice
View the most frequently asked questions from our customers. Do you still have questions? Please contact our customer service.
Teun & Katrien: Mow edges
Our robotic lawnmower models Teun and Katrien can both mow the edges of your lawn.
With the Katrien robotic lawnmower, this can be done more easily by indicating it in the App, for example, but with the Teun robotic lawnmower, it's a bit different.
Our robotic lawnmower Teun will automatically mow the edges of the lawn twice a week if you have scheduled a mowing session on the robot in advance. It will not always mow the edges by default for every round it does, because it is worse for the lawn if the edges are mowed too often. This can cause the edges to become too soft, making them weak.
So it is not immediately visible that the robot is mowing the edges, but it will do so automatically. This robotic lawnmower will not mow the edges when you turn it on manually, but only when it starts mowing from its settings.
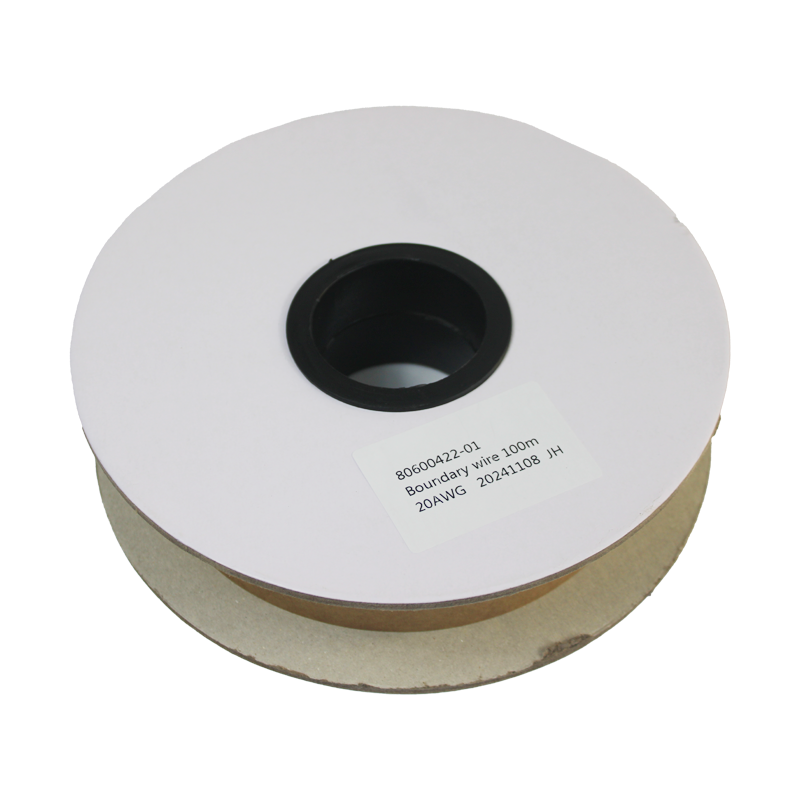
If the Teun or Katrien does not mow the edges at all, it may be that there is too much excess boundary wire behind the charging station.
Due to excess boundary wire, the signals may not reach the robotic lawnmower properly, which could mean that it no longer detects the boundary wire correctly. Or the charging station is not installed according to the instructions. (Not along the field or the boundary wire does not run away properly at the back of the robot.
If the robotic lawnmower does not catch everything while mowing along the edges, you can lay the boundary wire (if possible, so next to the grass the path is the same height) closer to the edge.
For more questions about this topic or other questions, please feel free to send an email to Service@zoefrobot.nl
Teun & Katrien: Bury boundary wire
You can bury the boundary wire slightly, but we advise against this. The boundary cable will naturally become invisible within 1-2 months and will lie progressively deeper. The deeper it lies, the worse the signal from the cable reaches the mower. So after a few years, this could cause problems more quickly. Another reason is that it is useful during installation to first lay out the cable roughly (with few pegs), which makes it easier to adjust so that the edges are properly covered. Make sure the mower blade is at its highest setting to avoid cutting the cable! Once the cable is perfectly positioned, you can secure it further with pegs.
For more questions, please feel free to email us at Service@zoefrobot.nl
Teun & Katrien: Border edges and height next to the grass
Yes, the robotic lawnmower makes a round in the middle over the boundary wire. Whether the mower then takes all the grass edges depends on a number of factors.
Terrace/path/garden
If the terrace/path is level with the height of the grass, the boundary wire can be laid at the edge.
The mower always drives in the middle over the wire. In these places, the mower can therefore take everything with it.
See the drawing below.

Walls and Fences (vertical objects)
The boundary wire must have a distance of 30-35cm in places where there is a wall or vertical obstacle.
This also applies if the terrace is higher or lower than the grass. In these places, the robot will therefore not mow all the way to the vertical object/wall. The best solution here is to place a row of stones along the wall, so that the robot neatly takes everything with it.

If you have any further questions, please feel free to send an email to: Service@zoefrobot.nl
Teun & Katrien: Mowing Grass Path Zones
Teun and Katrien are suitable for mowing multiple zones/areas. Important here is;
There must always be 1 large loop. So front and back garden must be connected with a spacious passage of at least 80 cm between the boundary wires plus 20 cm on both outer sides of the boundary wires. In total, the path must therefore be at least 1.20 m wide.
- With the zone division, you can indicate where on the boundary wire it should enter the field.
- Here you can indicate after how many meters it should enter the field and
- What percentage of the total set mowing time the robot should continue mowing in this section.
- There must be a minimum distance of 0.6 meters between the two fields.
The robot will calculate itself when it will mow which zone. It is not the case that it first does the percentage of the set time for zone 1 and then the percentage of the time in zone 2 (etc.). The robot determines this itself, but will maintain the ratio over a longer period.
Teun & Katrien: Paved path to different zone
1) The robotic lawnmower can travel through a passage up to 20m long to go to another zone. This must be easily accessible for the robot to pass through.
2) We recommend installing the boundary wire in 0.4+0.4+0.4 m, then the mower will drive on the middle of the boundary wire to enter and exit the alley area. So there must be a minimum width of 1.2m in the passage to be able to do this, otherwise it will not work. Make sure there are starting points from the other side of the lawn, then the mower will go through these two areas. This only works for a paved path. Because the mower does not start mowing this way.

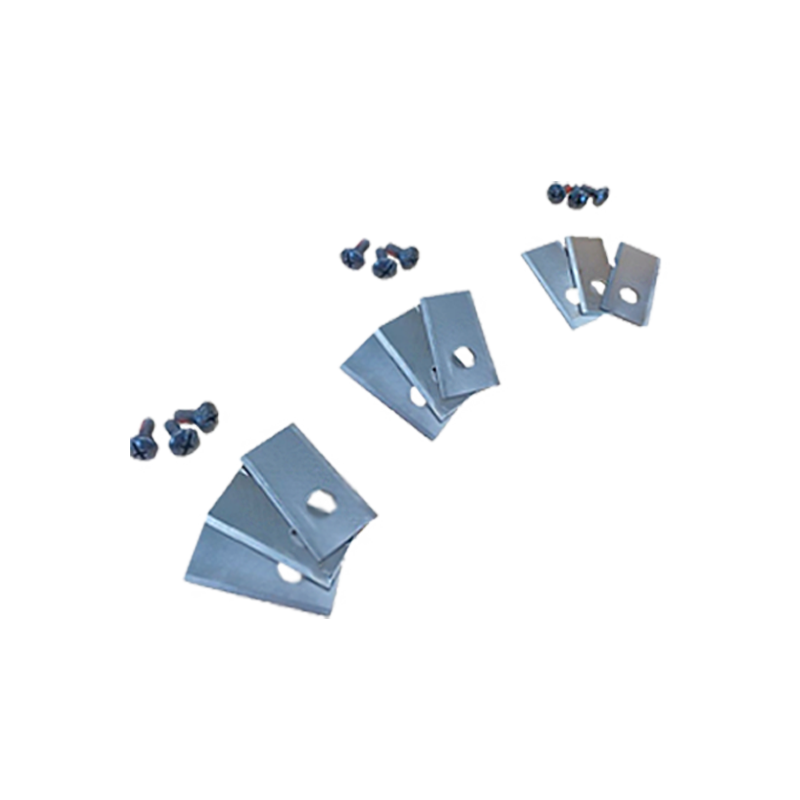
Teun & Katrien: Rain sensor
Teun & Katrien both have a rain sensor. These are 2 metal plates. As soon as it starts to rain, water gets between the plates, causing them to conduct. When that happens, the robot knows it's raining and returns to the charging station. It then waits until the rain on the metal plates has dried and then continues mowing. If you have set a working time for the robot, that time pauses and the schedule resumes when the rain has stopped. So it is possible that the robot finishes later if it rains.
The robot does not react to wet grass. But even with drizzle, the robot may not react. Only when water gets between the metal plates does the robot stop mowing and return to the charging station.
Doesn't it continue? Then check what is on the robot. When it rains, you will get this message:
This means that the robot is delayed by 70 minutes because it is raining, this is so that the robot is not damaged while mowing in the rain. The robot resumes its route as soon as the rain has dried from the rain sensor. This can take up to 3 hours.
If you want to turn the rain sensor on/off, you can do so in the following way:
Do you need help or have other questions? Please let us know via service@zoefrobot.nl
Teun & Katrien: Error codes
Unfortunately, do you have an error message indicated by the robotic lawnmower? Then see below what the error message means. If you do not know what is meant or you do not have a solution for it, please contact us at service@zoefrobot.nl

Will a power cable under the lawn cause problems?
If an AC power cable is under the lawn, this will not cause problems.
A DC power cable will cause problems. This is because it prevents the boundary wire from being properly detected by the robotic lawnmower.
Tip: We recommend not burying the boundary wire if it is not necessary. The boundary wire will already sink a little over time due to the mulching of the robotic lawnmower. If it is buried deeply, it can become even deeper and the cable may be less well detected.
Teun& Katrien: Hoe reset ik robotmaaier?
Toets de "Start", "Home" en "Ok" toets tergelijkertijd in voor minstens 3 seconden
Teun & Katrien: Does the robot mower also work on a small field?
Certainly, this is not a problem.
As long as the passages are large enough, the surface area does not matter.
You can simply set the robot for a shorter duration for 50 or 100m2.
Can Teun/Katrien mow multiple fields/zones?
Teun, Katrien and Hans are suitable for mowing multiple zones/areas.
Important here is;
- There must always be 1 large loop. So front and back garden must be connected with a spacious passage of at least 50 cm between the boundary wires plus 30 cm on both outer sides of the boundary wires.
- With the zone division you can indicate where on the boundary wire it should enter the field.
- Here you can indicate after how many meters it should enter the field and
- What percentage of the total set mowing time the robot should continue mowing in this section.
- The robot can drive over a path provided it is at the same height as the grass and is paved (no gravel, etc.)
The robot will calculate itself when it will mow which zone. It is not the case that it first does the percentage of the set time for zone 1 and then the percentage of the time in zone 2 (etc.). The robot determines this itself, but will maintain the ratio over a longer period.
Teun & Katrien: Does the APP always work everywhere?"
Teun, Katrien and Hans
- The robot only connects to the APP when it is within range of your Wifi network. The mower will continue to mow if it is outside the Wifi range.
- As soon as the mower is back within Wifi range or your phone is within Bluetooth range of the mower, it will be operable again.
- Robot mowers Teun, Katrien and Hans have an APP but are also easy to use without an APP.
- The mowers do not use a Wifi extender, but your own home Wifi (and any extender).
Teun & Katrien: What is the minimum passage between two fields?
Make sure that the passage width to another lawn is at least 0.8 meters wide. Otherwise, the robot will have difficulty getting to the other lawn.
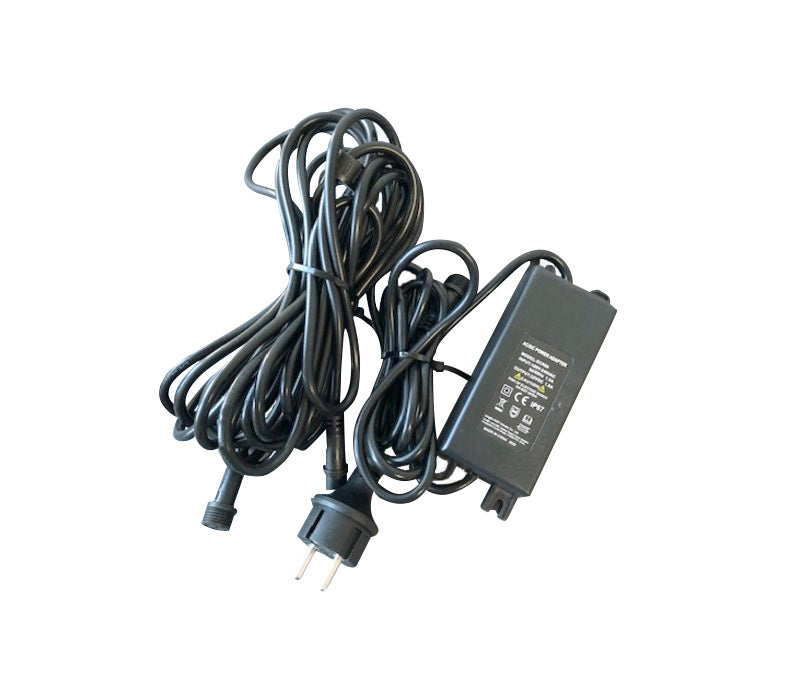
Teun & Katrien: Is there an extension cable included with the charging station?
Since everyone has a different distance between the charging station and the wall socket, no extra extension cable is supplied with the robotic lawnmowers Teun, Katrien and Hans.
If your wall socket is further away from the mower, you can use an outdoor extension cord for this.
Teun & Katrien: Boundary wire fault/interrupted (E11).
If the robotic lawnmower indicates an "E11" error, the LED on the charging station may be:
A. Flashing red: The cable is not connected or is cut.
B. Flashing green: The robot is charging.
C. Solid green LED: The cable is correctly installed and the robot is fully charged.
It is possible that the boundary wire is slightly damaged somewhere (e.g., by animals in the ground or garden work). This causes the circuit to be closed, but the signal is not strong enough for the mower.
To check if this is the problem, lay a new short cable around the charging station (for example, 4x4 meters). If this no longer gives an error, the boundary wire is damaged. Check the boundary wire for damage, kinks, or discoloration (whitened sheath). The best way is to run the cable through your fingers. Or use a cable detector for this.
If the new 4x4 cable works normally, it means that the robot and charging station are working normally. Therefore, there is no point in checking the robot or charging station.
If the new 4x4 cable does show a problem, we can check your charging station and mower and repair them if necessary.
Teun & Katrien: Installation of a robot mower with a ditch/pond
Since a ditch/pond often has a slope / sloping piece of land, it is wise to fence it off with, for example, an edging. See as an example; https://www.kunststofreus.nl/borderrand.html
The robotic lawnmower will stay within the boundary wire, but can slip in wet weather and end up in the water.
How do I install the robotic lawnmower?
Installing a Robotic Lawnmower
A robotic lawnmower is, of course, a wonderful helper in the garden. It must, of course, be installed correctly for the robotic lawnmower to function properly. We have outlined the steps for a good installation below.
Step 1: Keep this in mind!
- Make sure the robot does not operate on a larger lawn than it is suitable for.
- The robotic lawnmower drives over the boundary wire to return to the charging station.
- The boundary wire must always be laid as one large loop, and the robot will continue to work between the boundary wires.
- Make sure there are no metal objects or other items on the lawn.
- Before using the app (if you have a robotic lawnmower with an app), ensure there is good reception everywhere in the garden.
- Also, ensure there is a power connection within a maximum of 5 meters from the lawn.
View the complete installation page for the robotic lawnmower here.
Teun & Katrien: How do the zone regulation/starting points work?

The slider at the top in blue indicates that zone control is enabled. If it is on, you can use multiple starting points.
Starting points are the points where the robotic lawnmower can start its work. Each starting point has 2 settings:
-
Starting point (%)
- This determines where on the boundary wire the robot should start and thus enter the field.
- For example:
- 0% = start at the charging station.
- 50% = halfway along the wire.
- This is based on the total length of the boundary wire.
-
Frequency (%)
- This determines how often the robot should start at this point in relation to other starting points.
- For example:
- If Starting Point 1 is at 0% with 50% frequency, it will start there in 50% of cases.
- Starting Point 2 at 50% with also 50%, then the chance of it starting at that point is equally high.
The total frequency must always be 100%. For example, one starting point 70% and the second starting point 30%.
Teun does not have App control, so you cannot set starting points yourself.
For example: if you use 130m of boundary wire, the second starting point would be at 65m.
If you have a second zone, it is therefore useful to place the charging station in such a way that half of the total boundary wire roughly ends up in the second zone. This will make the mower visit that zone more often.
If you have any questions about starting points or multiple zones, or need advice? Feel free to email us at: service@zoefrobot.nl
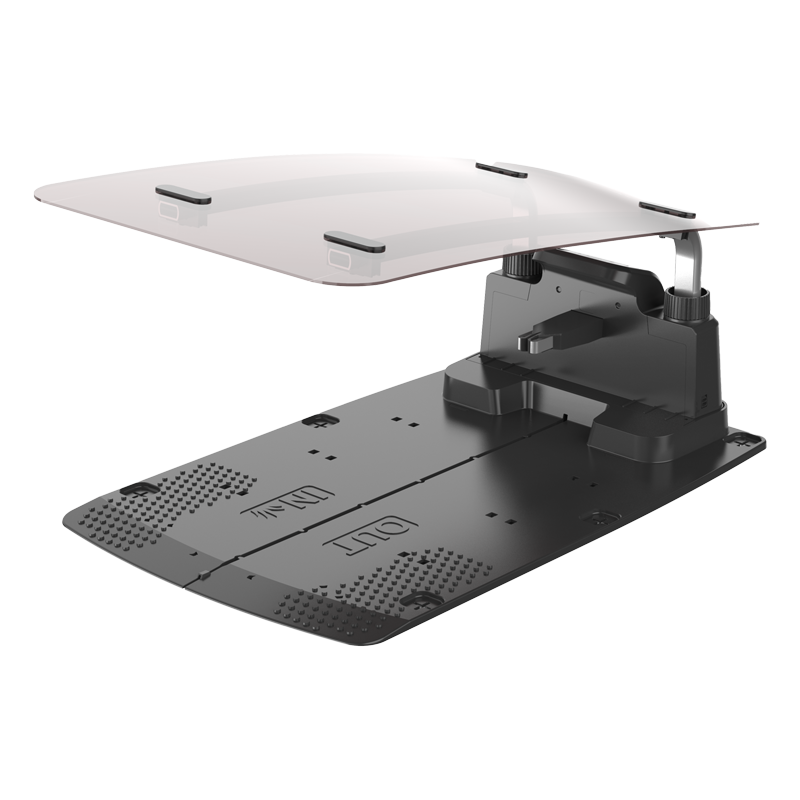
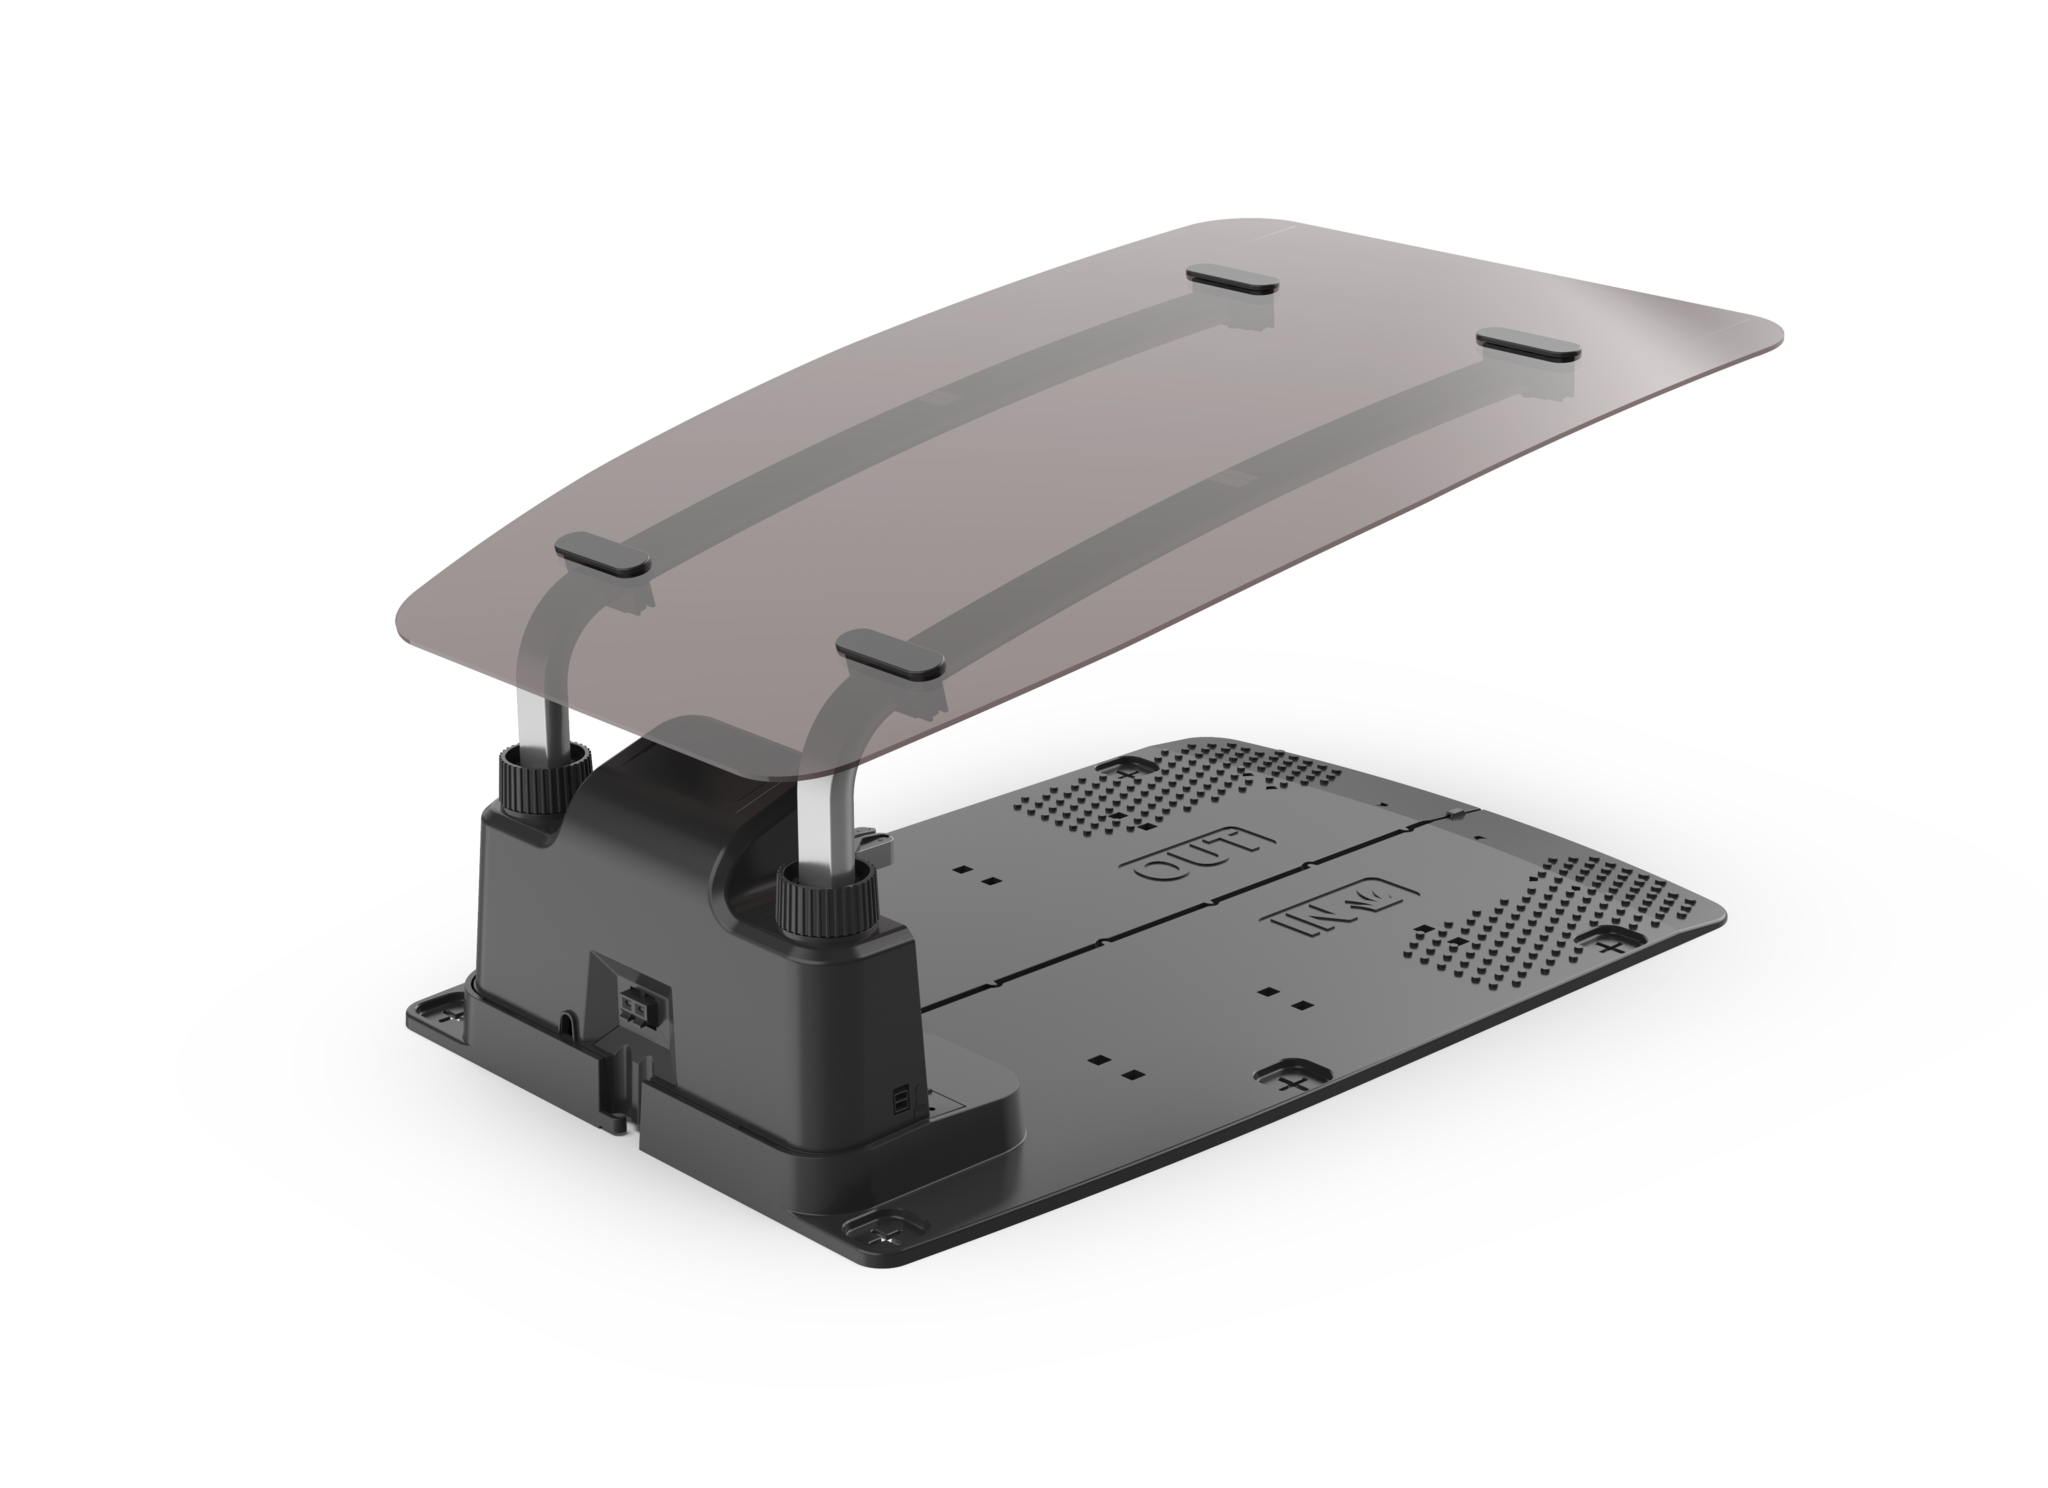
Teun & Katrien: Installation of the charging station
The charging station must be positioned as shown below. So, if you are in the field, the mower must drive away to the right. The charging station must always be parallel to the field, as described in the manual. (Possibly 20cm from a corner at the back).

If the robot is started manually, it will not mow the edges but will go directly into the field.
The operation of the robot is as follows:
The robot starts, turns around, and drives over the cable in the middle until it reaches the back of the charging station. After that, it will enter the field.
Placement in a Veranda/Garden shed:
If the charging station is in the veranda or garden shed, the robot will have to drive through the entire veranda to get to the back. Besides, the cable will then lie over the tiles and can therefore cause a tripping hazard.
The cable at the back must be about one meter between the incoming and outgoing cable. Otherwise, the robot will see both cables and not know where to go. Placement in the veranda/garden shed is therefore actually not possible
We recommend always placing the charging station on the side on the grass.
The power cable can easily be extended with an outdoor extension power cable. For more questions, please feel free to send an email to: Service@zoefrobot.nl
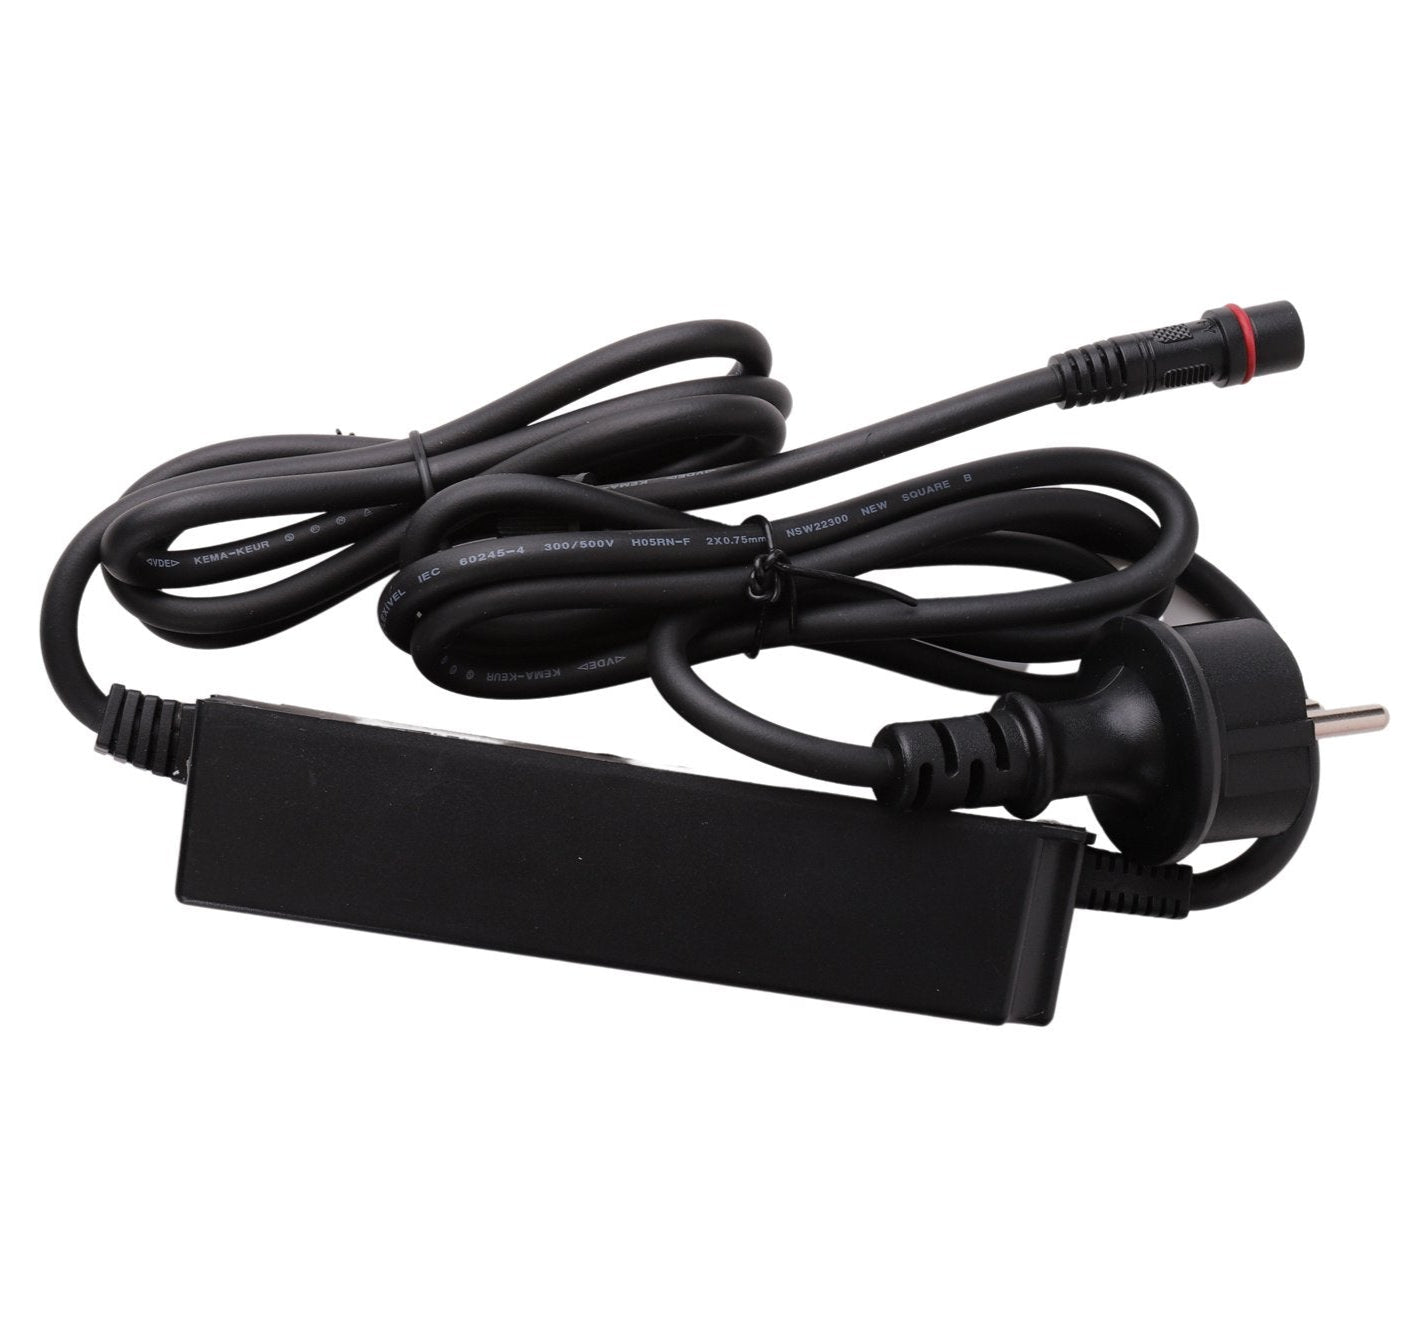
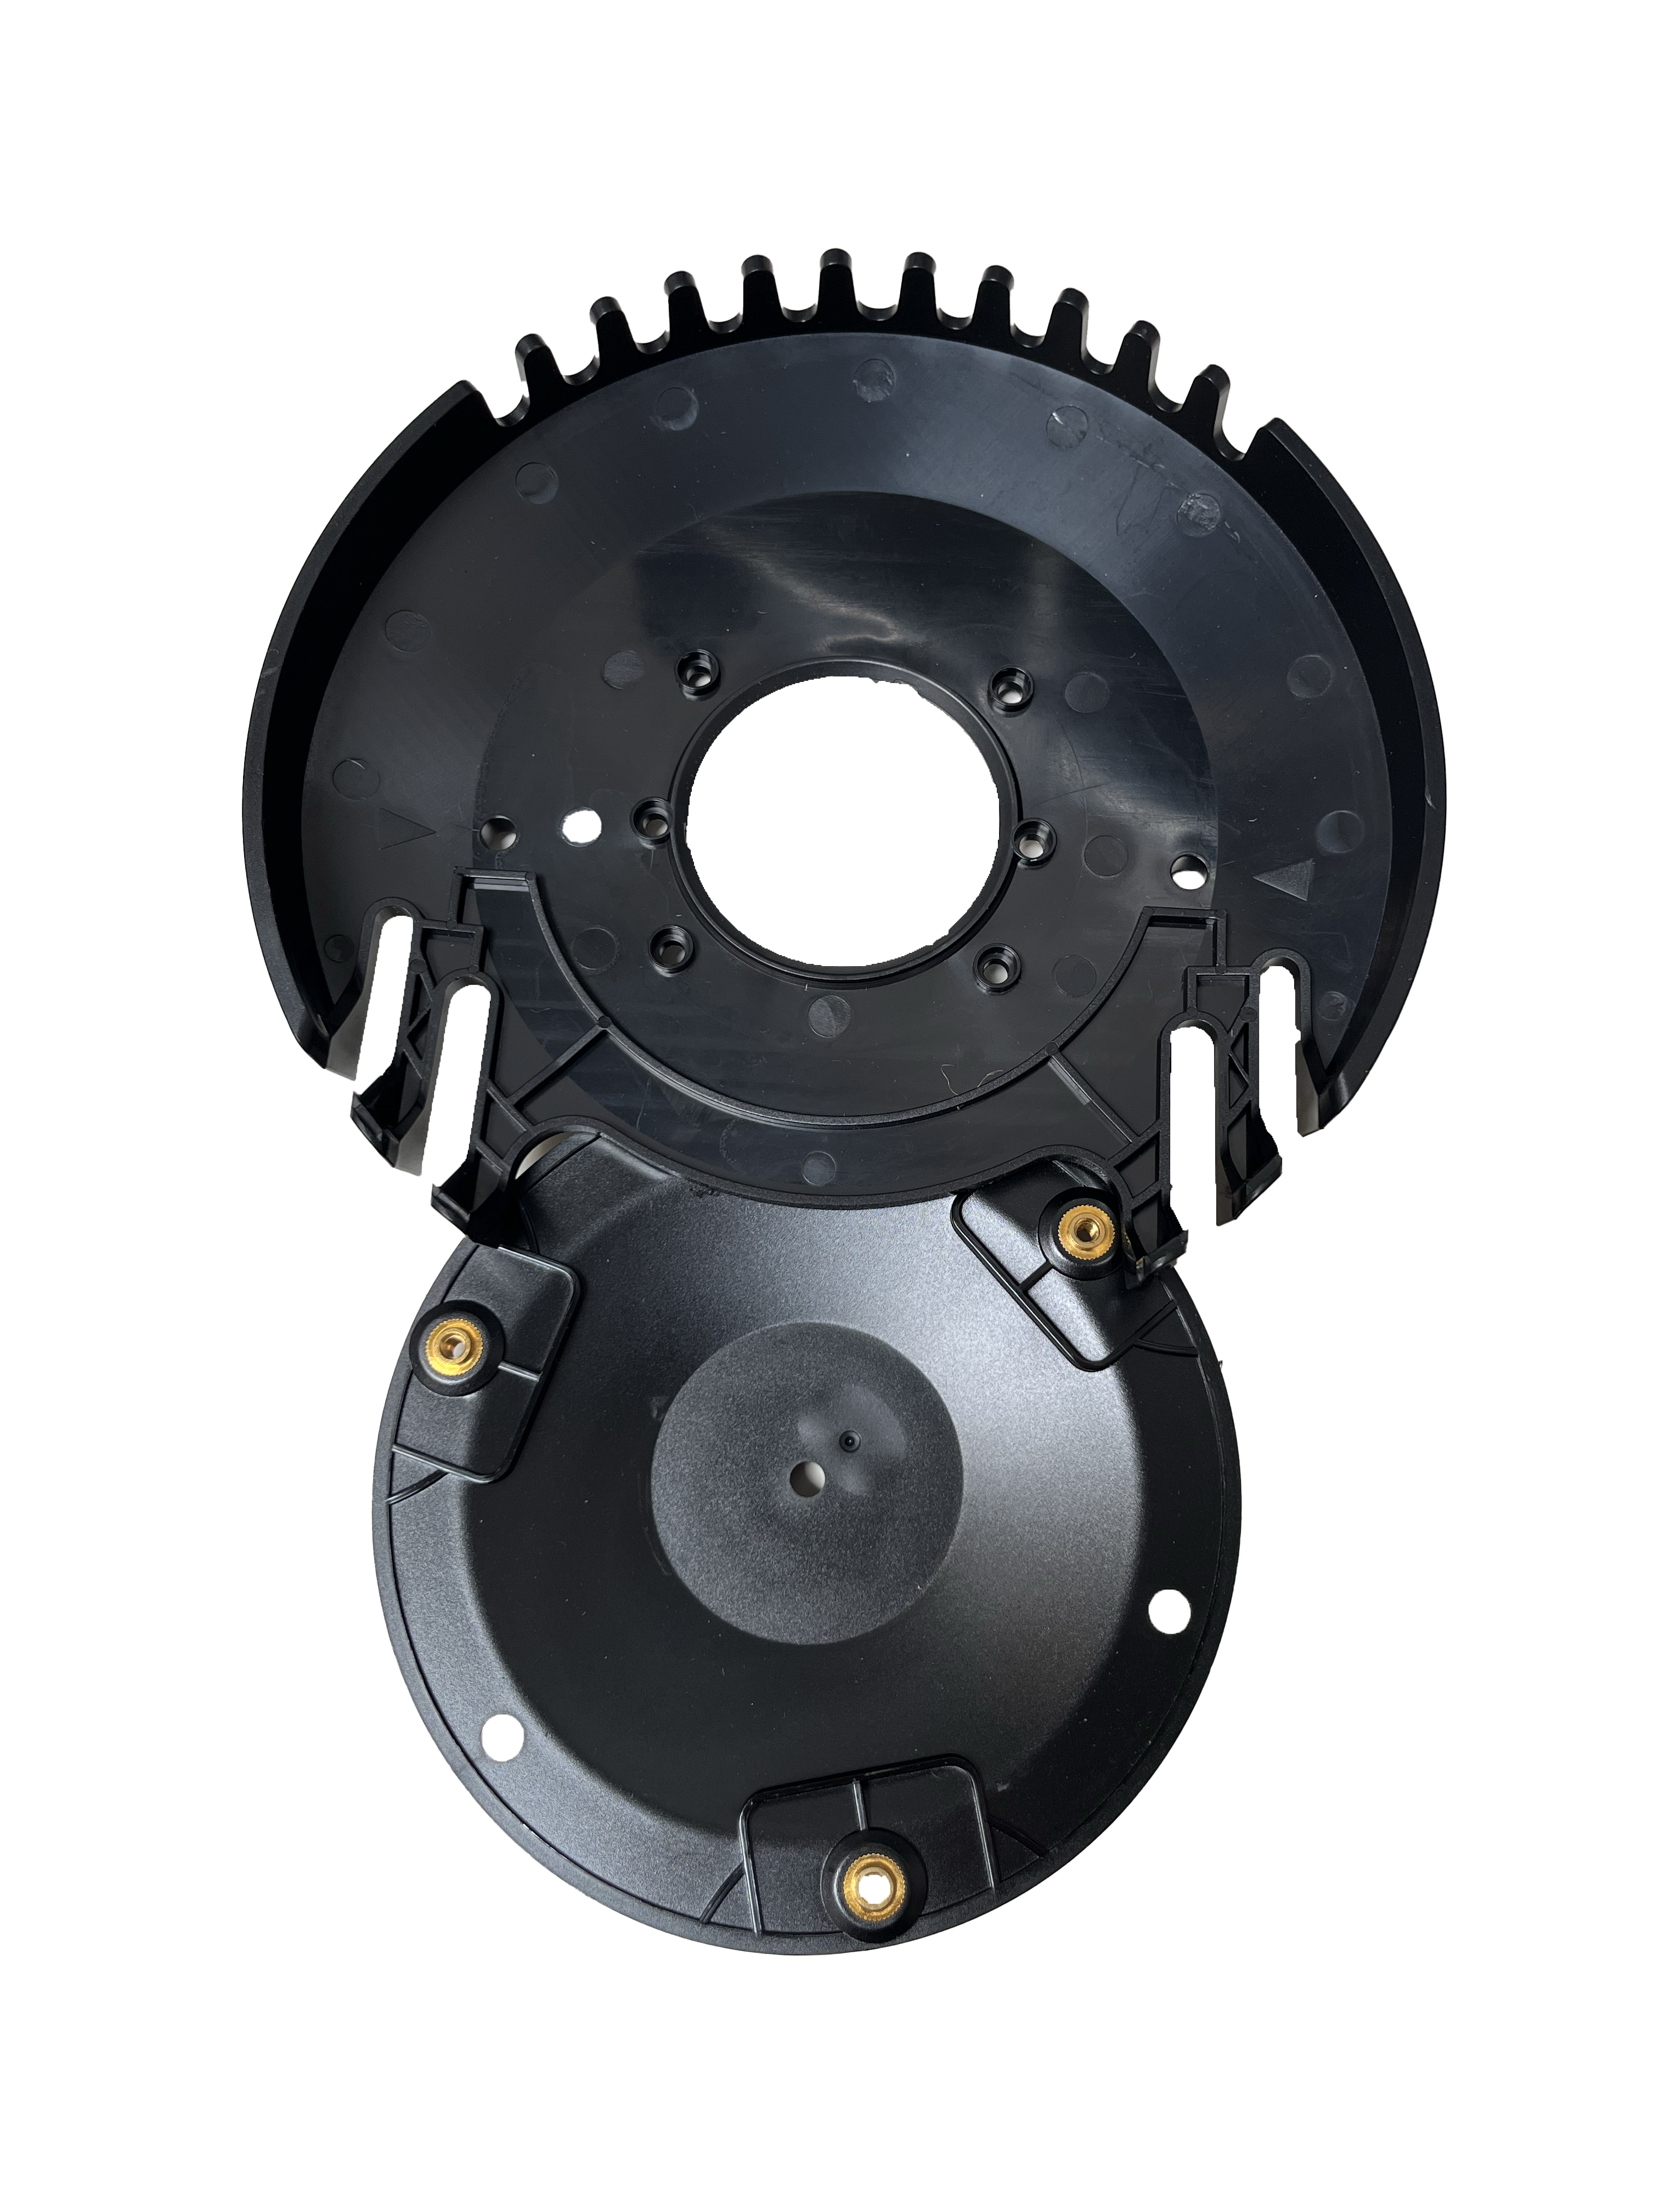
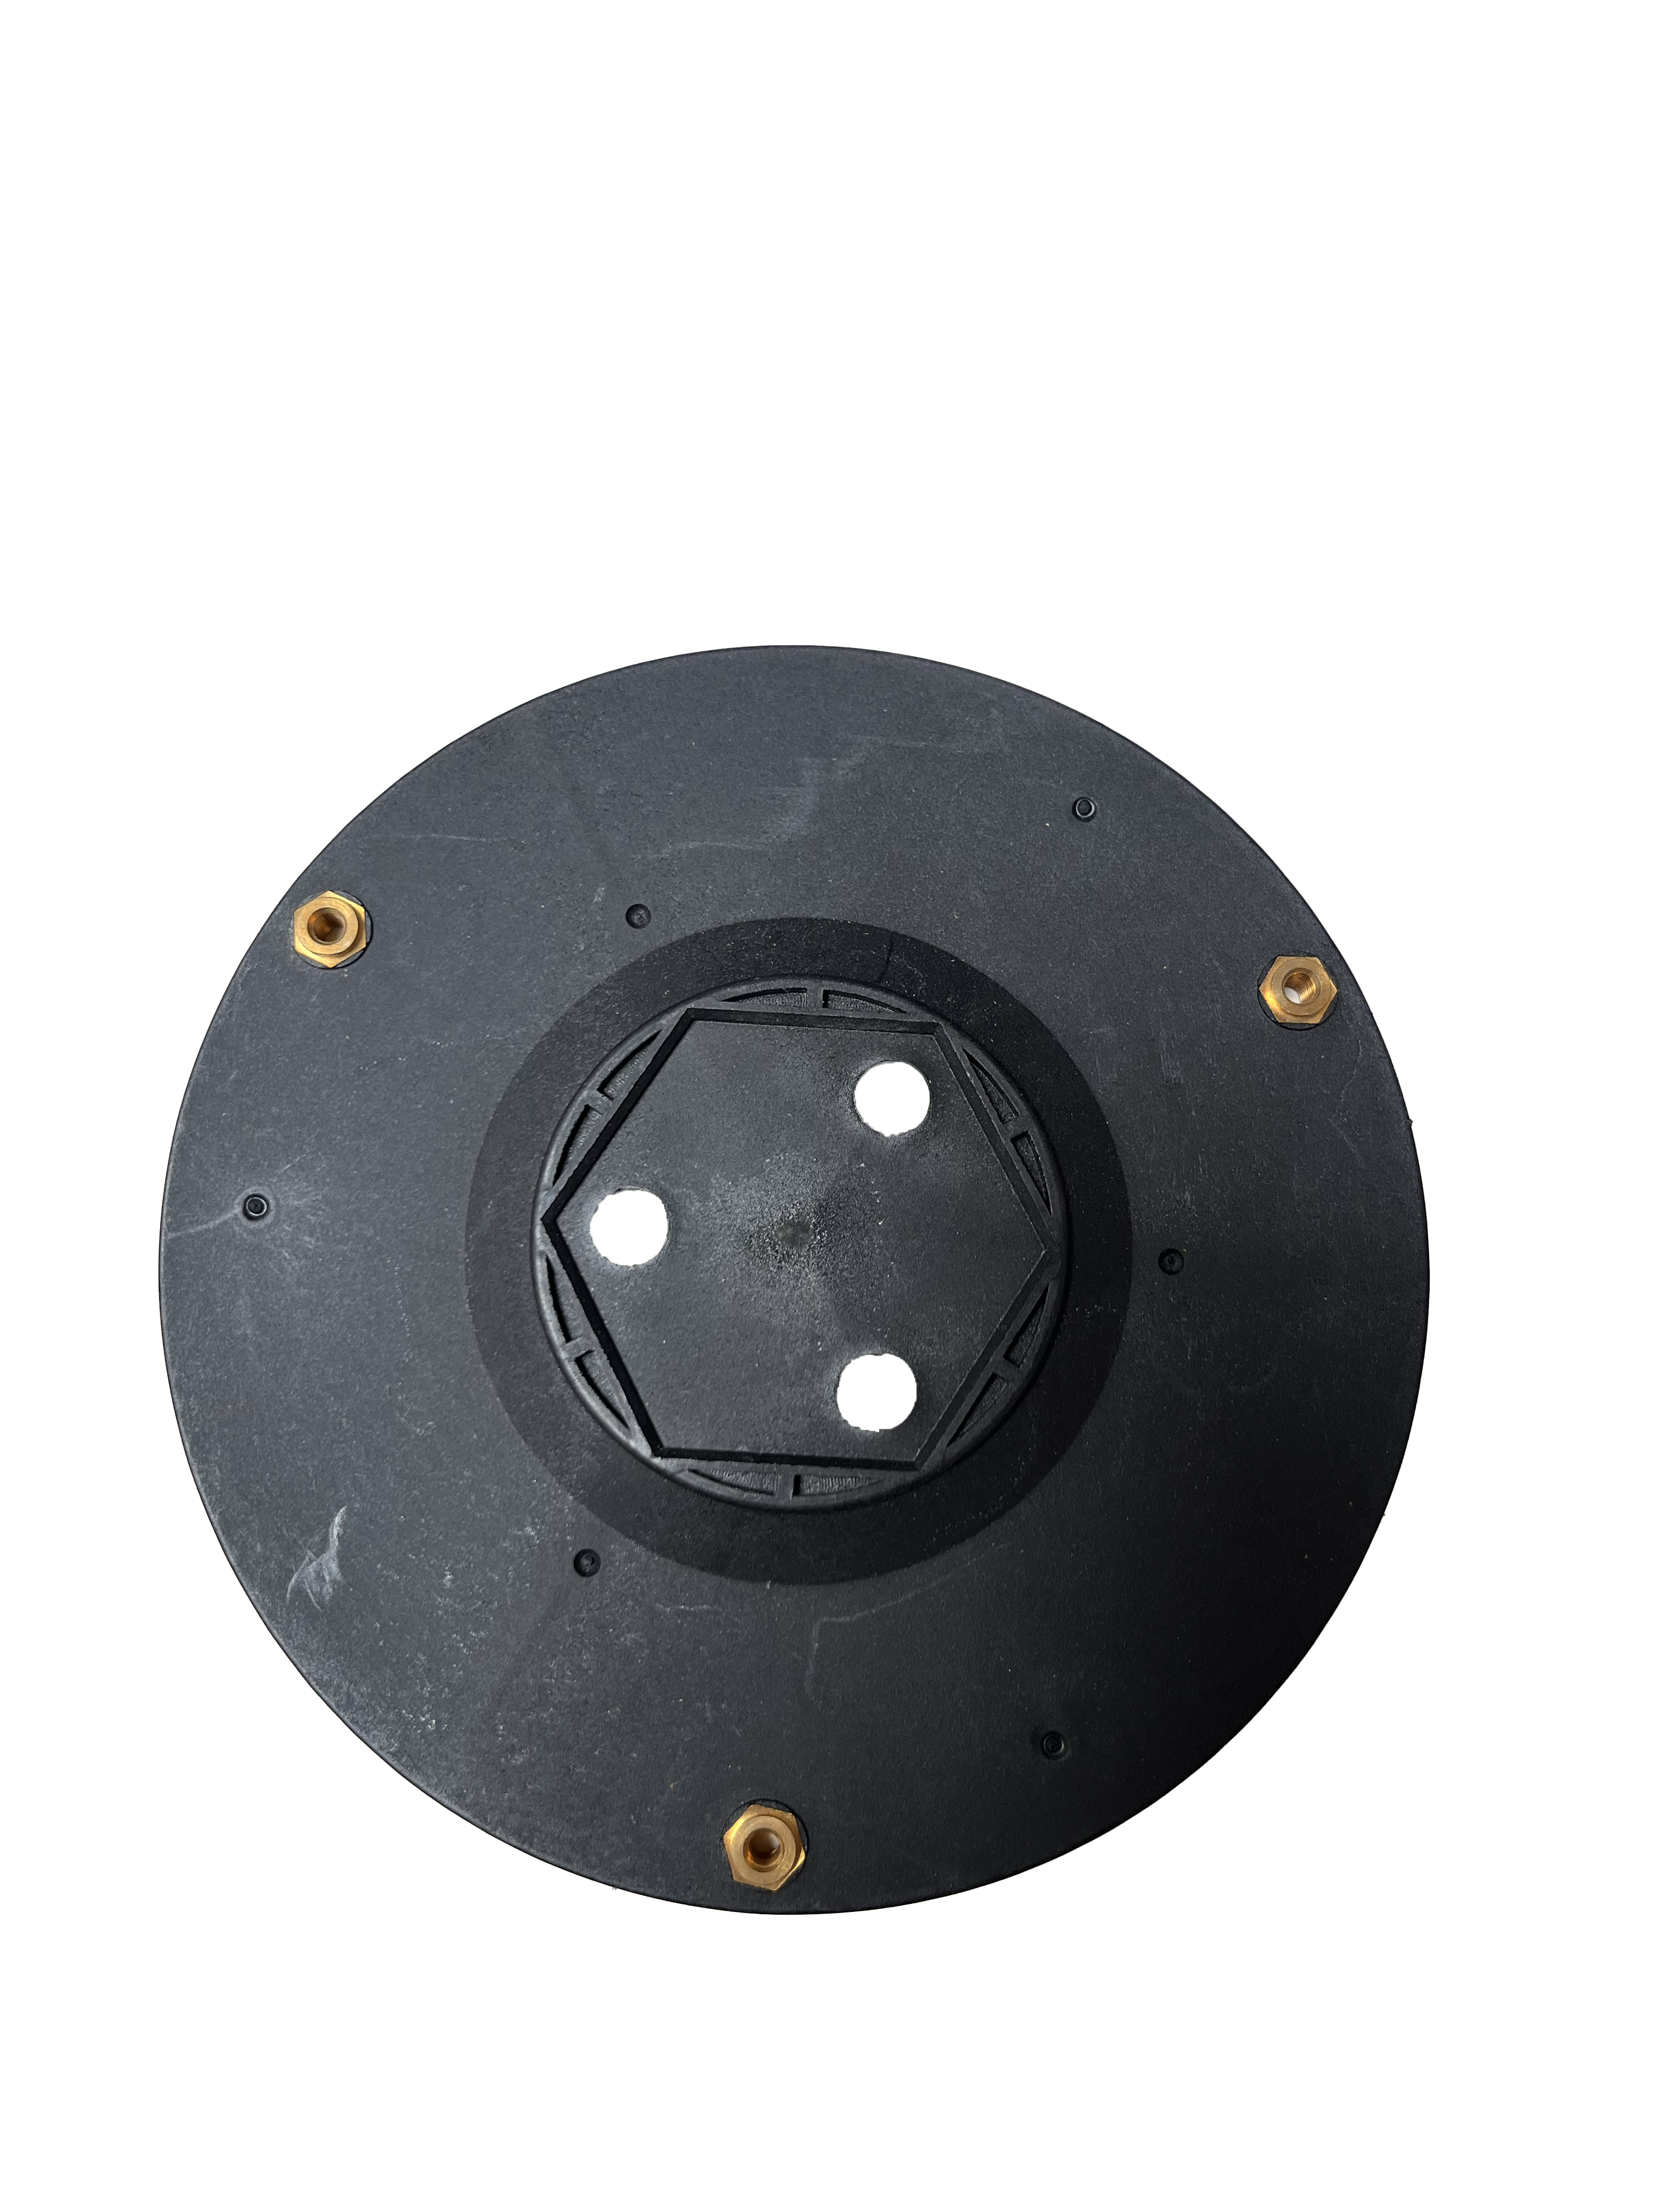
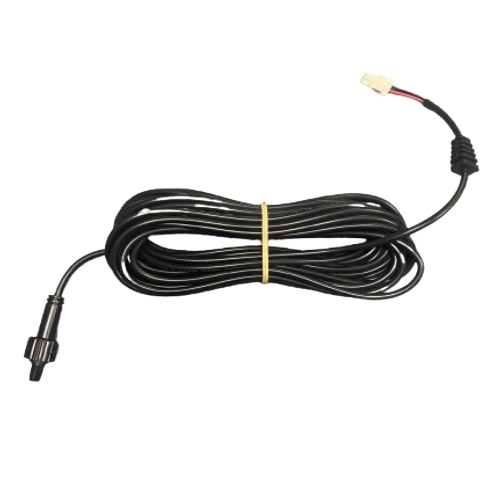
Accessories
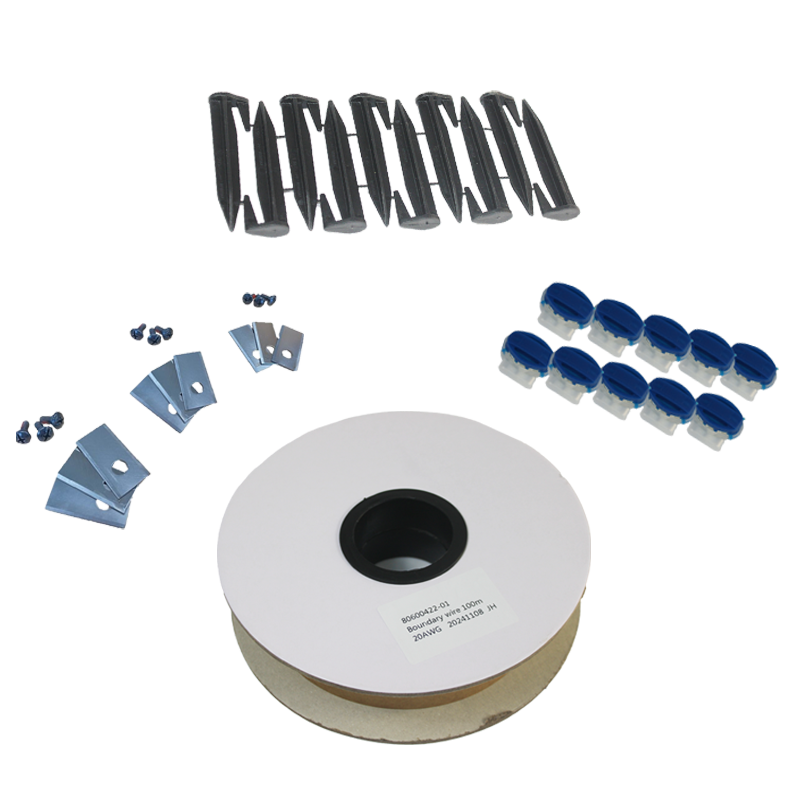
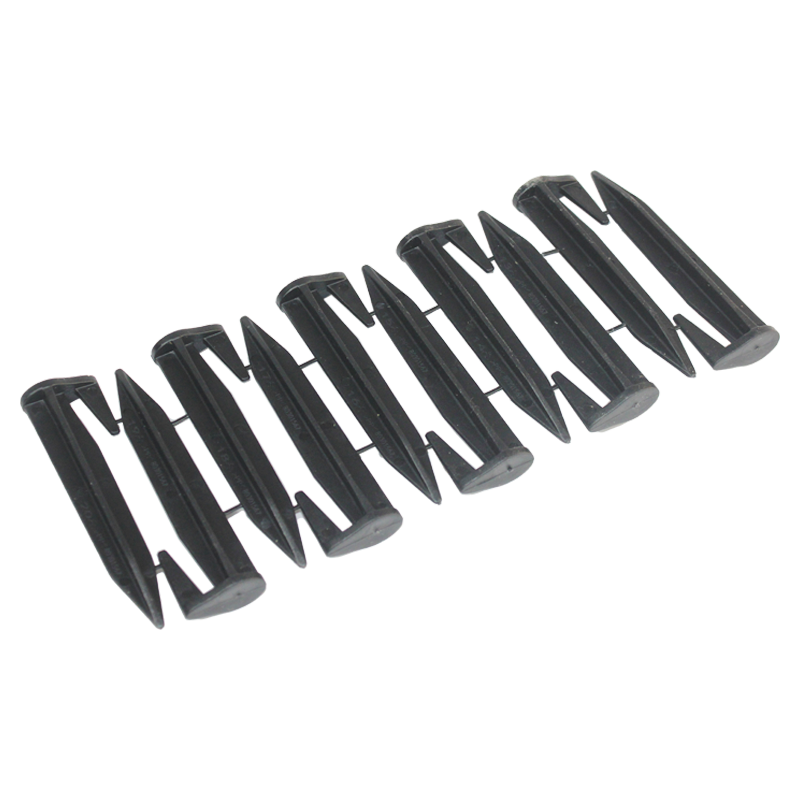
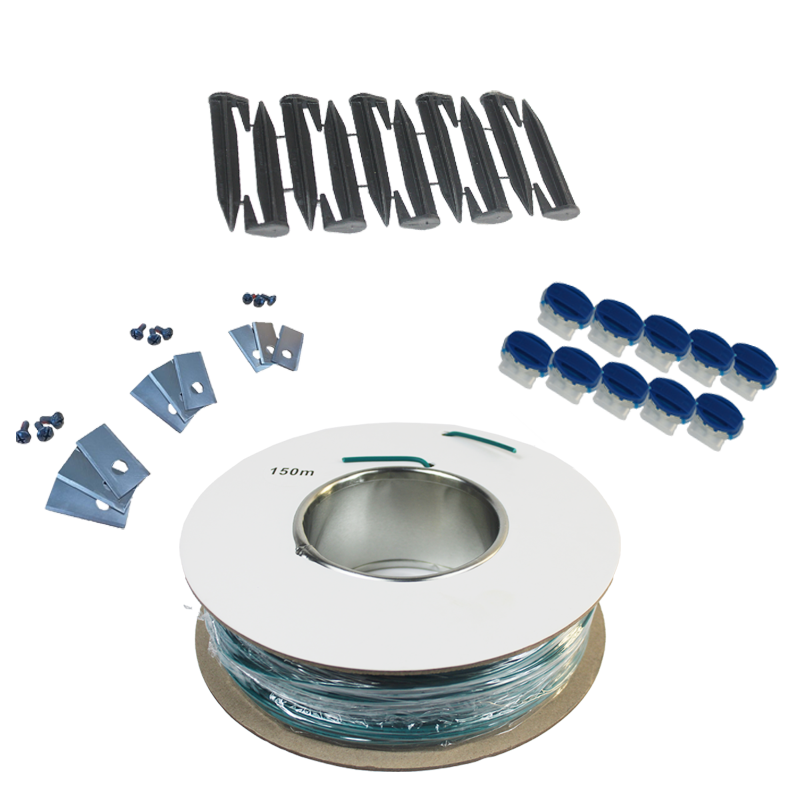
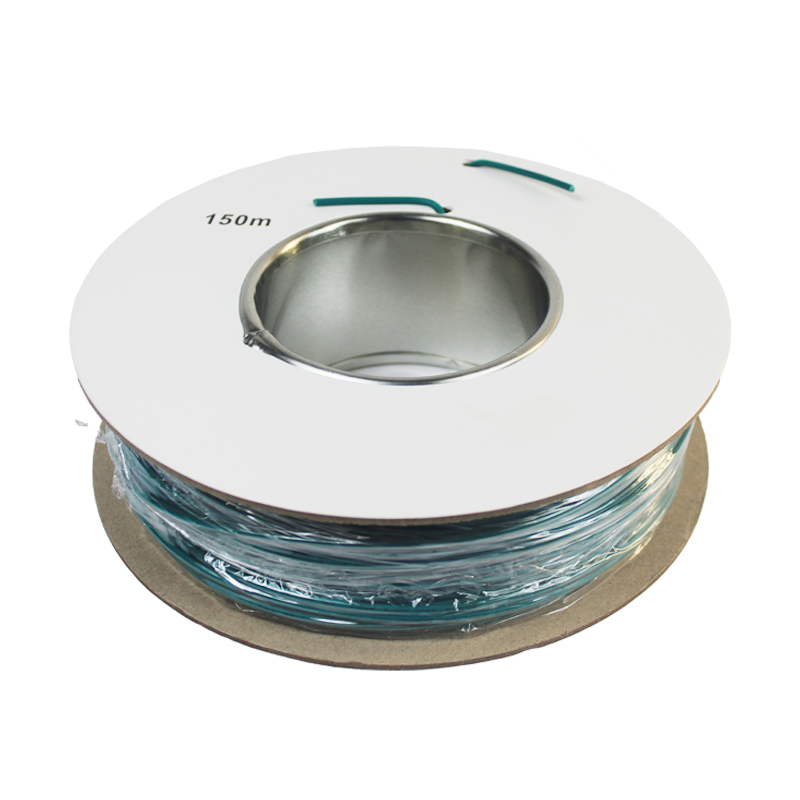
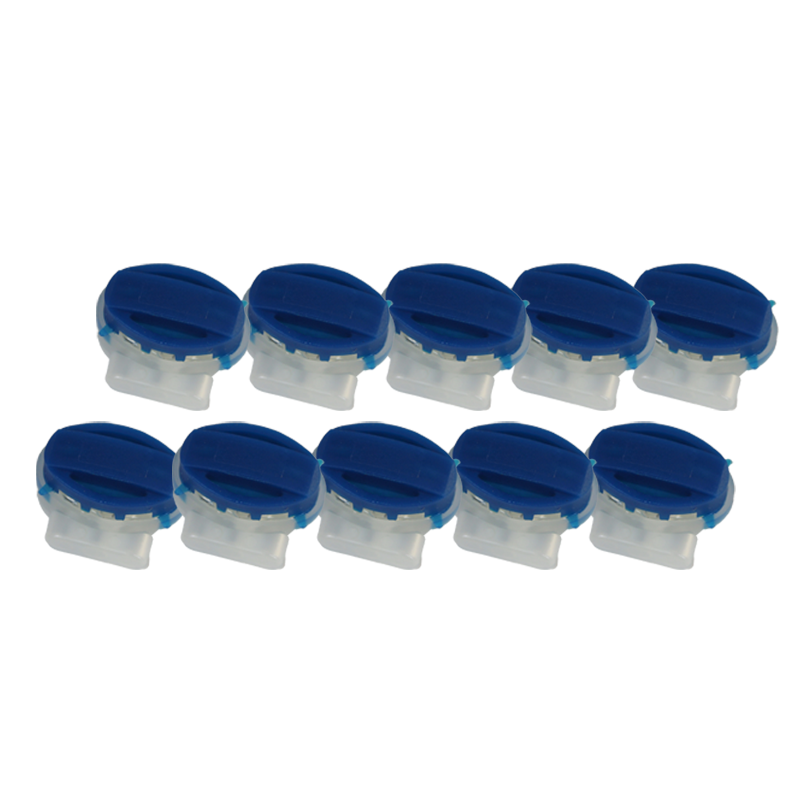
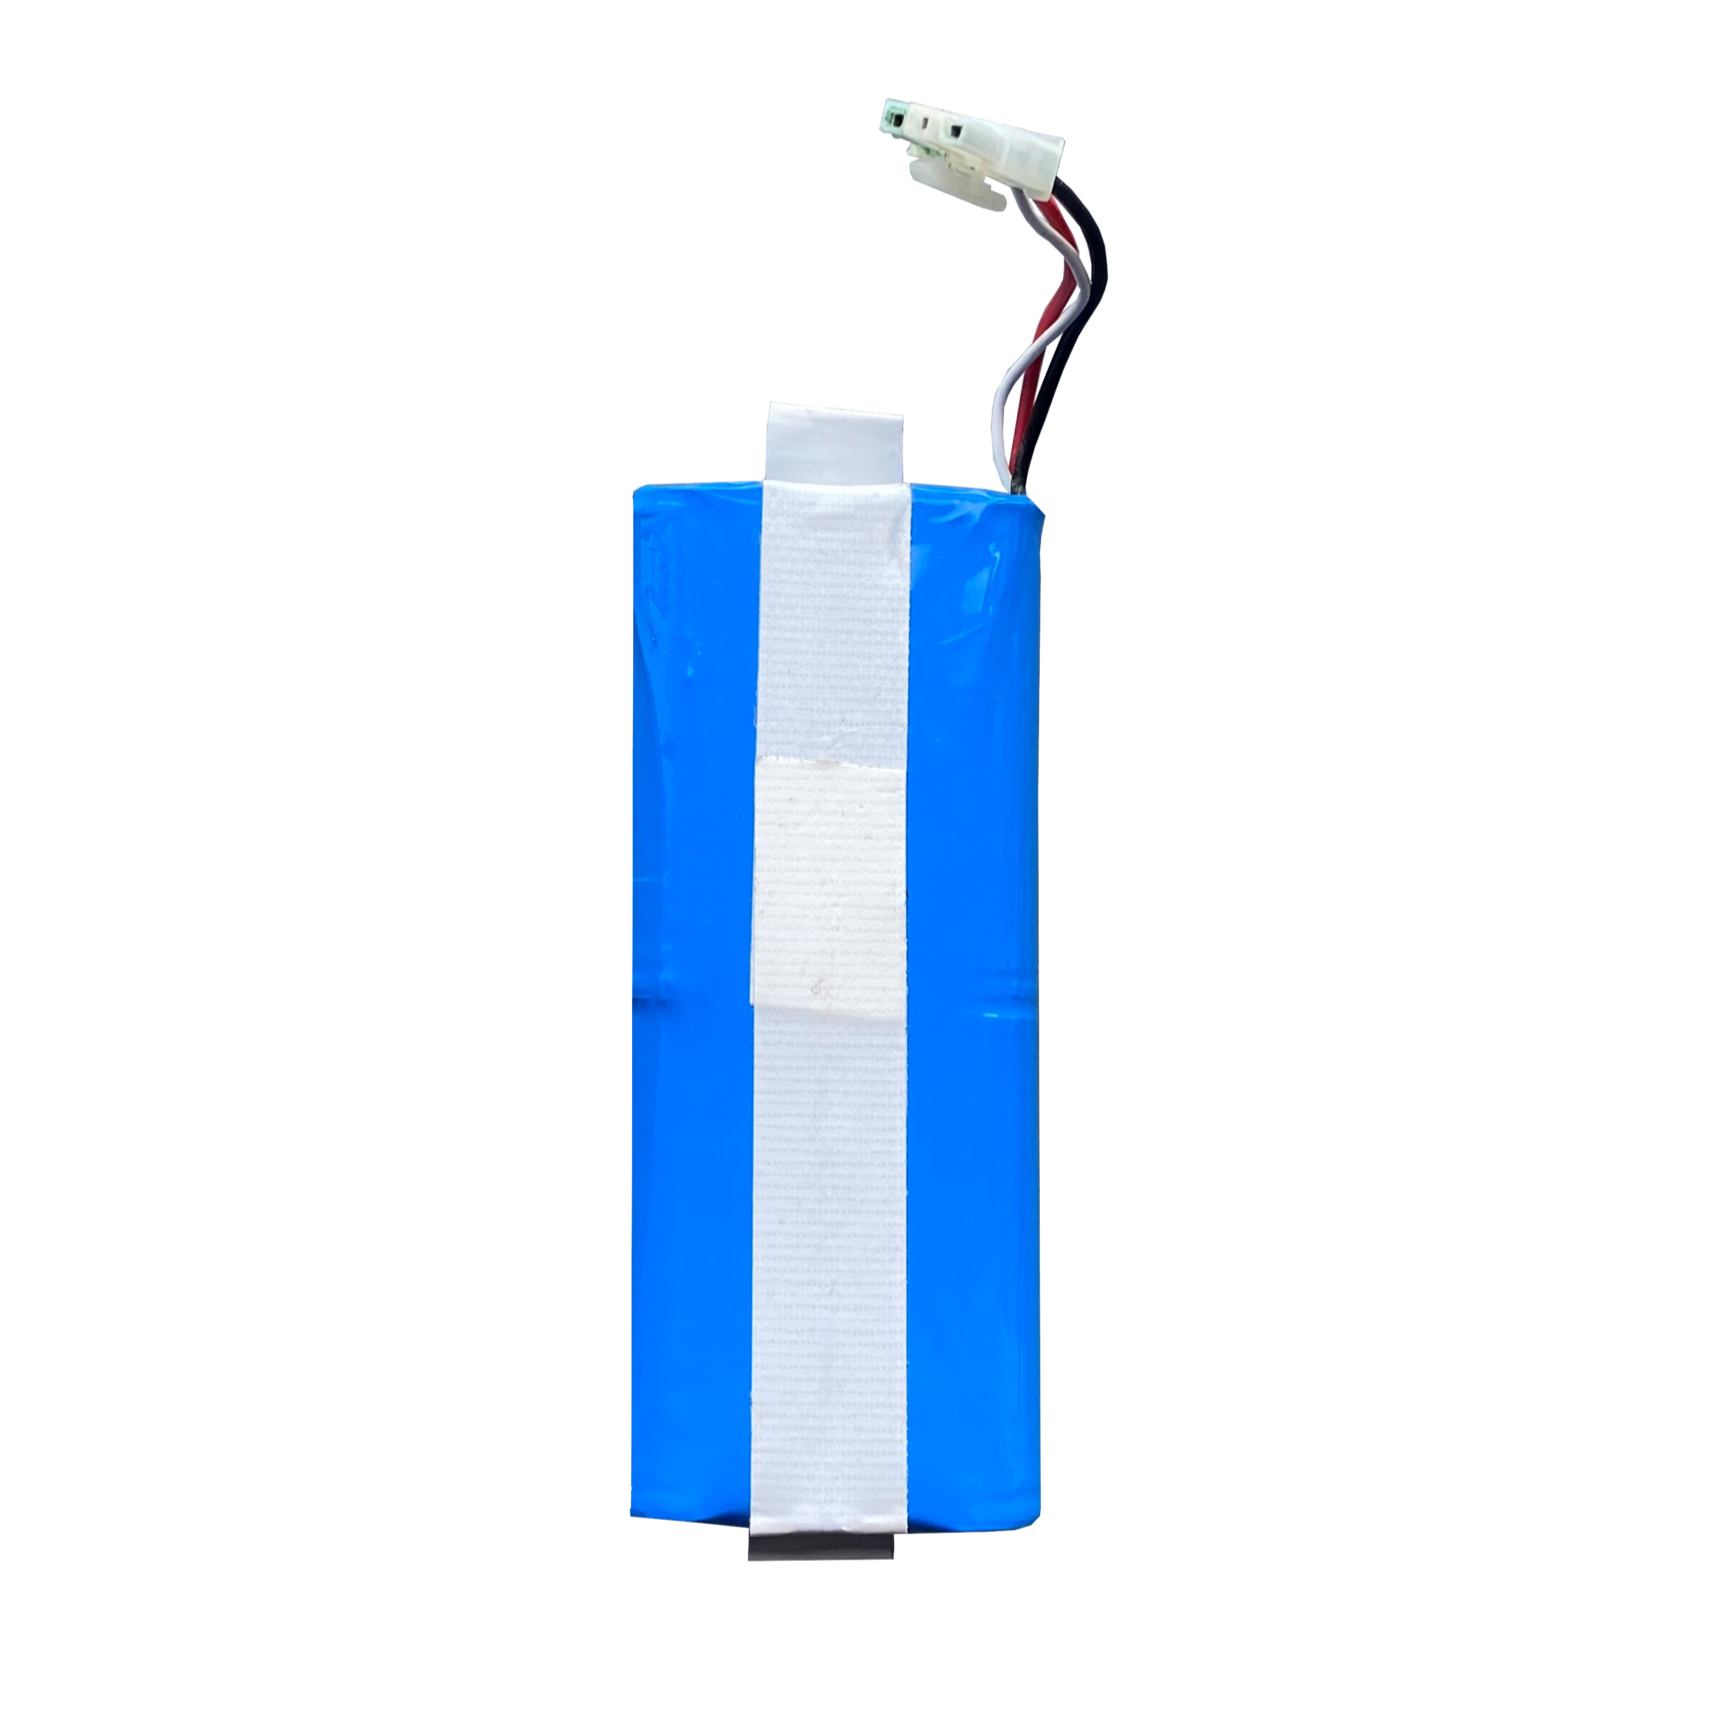
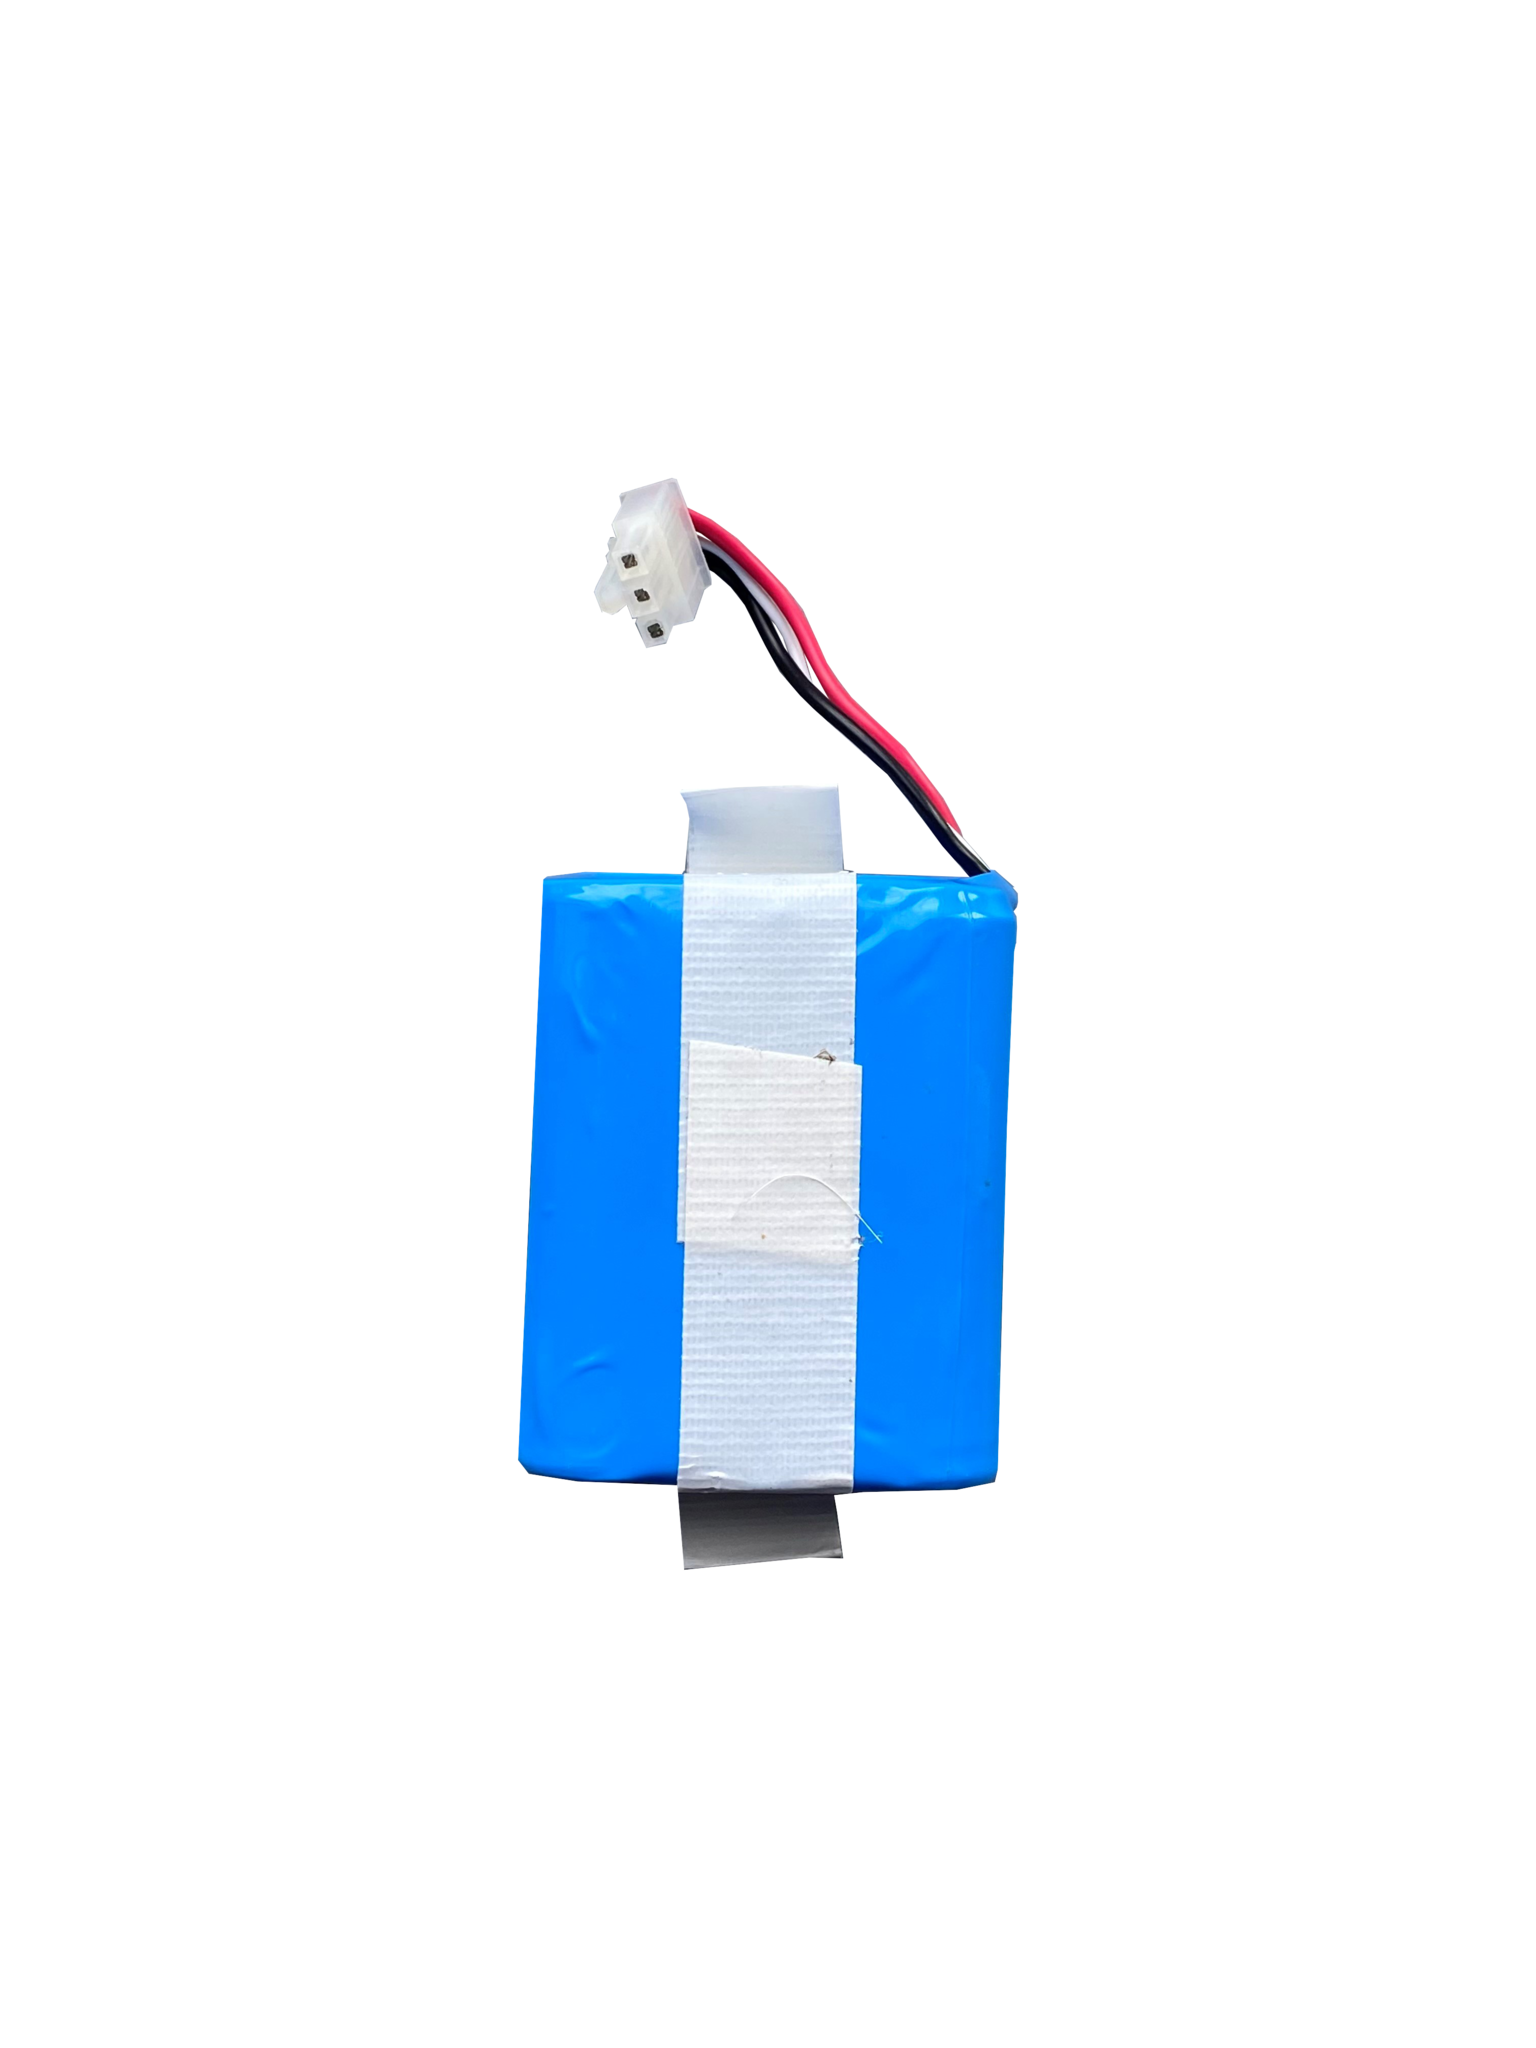
Parts
Have a question? We are here to help you.
View the most frequently asked questions from our customers. Do you still have questions? Please contact our customer service.